
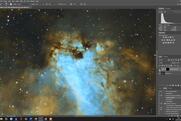
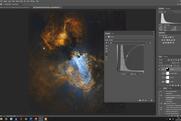
Hybrid Hubble Palette - HSO Nebula processing with PixInsight and Photoshop
1. Image registration and stacking
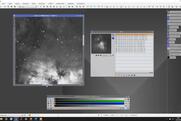
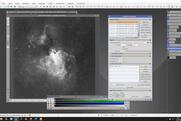
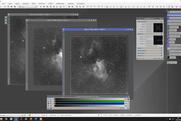
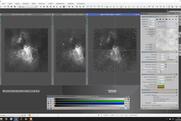
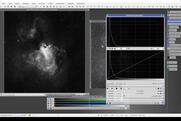
2. Histogram adjustments and star removal for processing
3. Recombination in Photoshop
4. Sharpening, colour adjustments and finishing touches
Deciding which image to use
Comments
Mr. Jenkins, the whole tutorial is very instructive especially Part 14 very useful, partial treatment with curves is very interesting. Thanks a lot.
Hi Peter,
Thanks for the tutorial - I have some images from AUS-2 which has a column defect, I applied the technique you describe - but with the limited subs from a one-click request pixinsight appears to simply blank the defect, such that when you stack you get a noticeable dark line present as opposed to the light.
Does pixinsight not populate data for the bad column by interpolating the pixel value from adjacent rows or columns? Or at least populate the values as a random noise value?
Or have I entirely missed a setting that I am supposed to apply? It seems like I have replaced a bright defect with a dark one of lesser severity.
Thanks,
John.