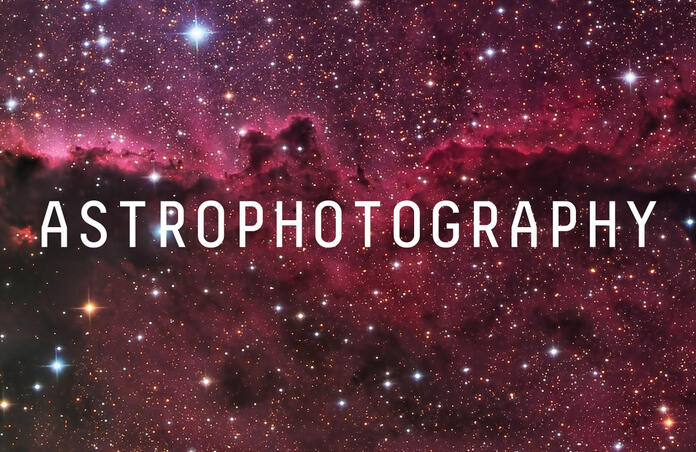
What is Astrophotography?

The discipline of Astrophotography, as the name suggests, is the art of photographing celestial objects. A camera is mounted on the telescope to record the light coming through as “seen” by the telescope.
In the 19th century, the technology of photography emerged and the very first astrophotography image was one of the Moon, in 1840. As this technology developed, it became an essential tool for astronomers, who were able to obtain increasingly detailed images of objects in our Solar System: the Sun, the Moon, planets, but also of more distant bodies like dim stars, galaxies and nebulae. Nowadays, this discipline is mainly practiced by amateurs wishing to obtain aesthetic images, since professional telescopes mostly use other types of sensors.
Most people will be thinking of astronomical photographs as very colourful. This type of images is obtained using different filters. Filters are simply coloured pieces of glass, allowing the recording of light at specific wavelengths. Typically, a handful of filters are added to a wheel put in front of the camera, so that switching between them is easy – for most of the robotic telescopes used at Telescope Live, the change will only take about 15 seconds.
You may be familiar with the RGB (red-green-blue) coding of colour, and this is one of the ways in which coloured images can be taken: recording an observation in each of those three colours and then superimposing them. So-called Narrowband filters are used to record a narrower range of wavelengths, based on the emission of specific elements, which makes them the best to use to observe nebulae. Note that in any case, the images come out in a black and white scale indicating how much light in the red, the green or the blue has respectively reached the camera.
Another useful concept is that of exposure. It refers to the amount of light that reaches the camera and notably depends on the length of the observation and focal ratio, which itself depends on the focal length (the distance between the lens or curved mirror and the focus point) and the size of the aperture (the opening through which the light comes).
The processing of the raw image is very important – if you choose to use the One-Click Observations, this will be done automatically. We’ve seen how using different filters allows for the obtention of a coloured image, but there are some other things that are done. Usually you will take multiple exposures with the same filter, these images have to be stacked, i.e. placed on top of each other to obtain the final image. As well, defects can appear, like a sky ramp where one part of the background sky appears brighter than the other, or hot pixels where one pixel on your image is bright when it shouldn’t. These defects can be eliminated notably by using telescope images that act like a “control group” and are subtracted from your observation.
