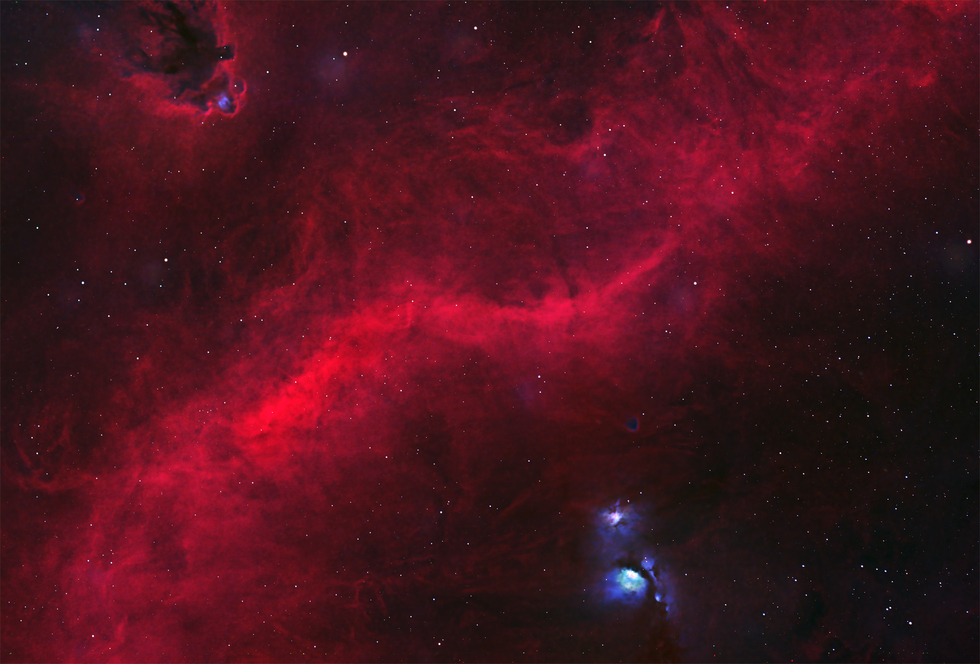
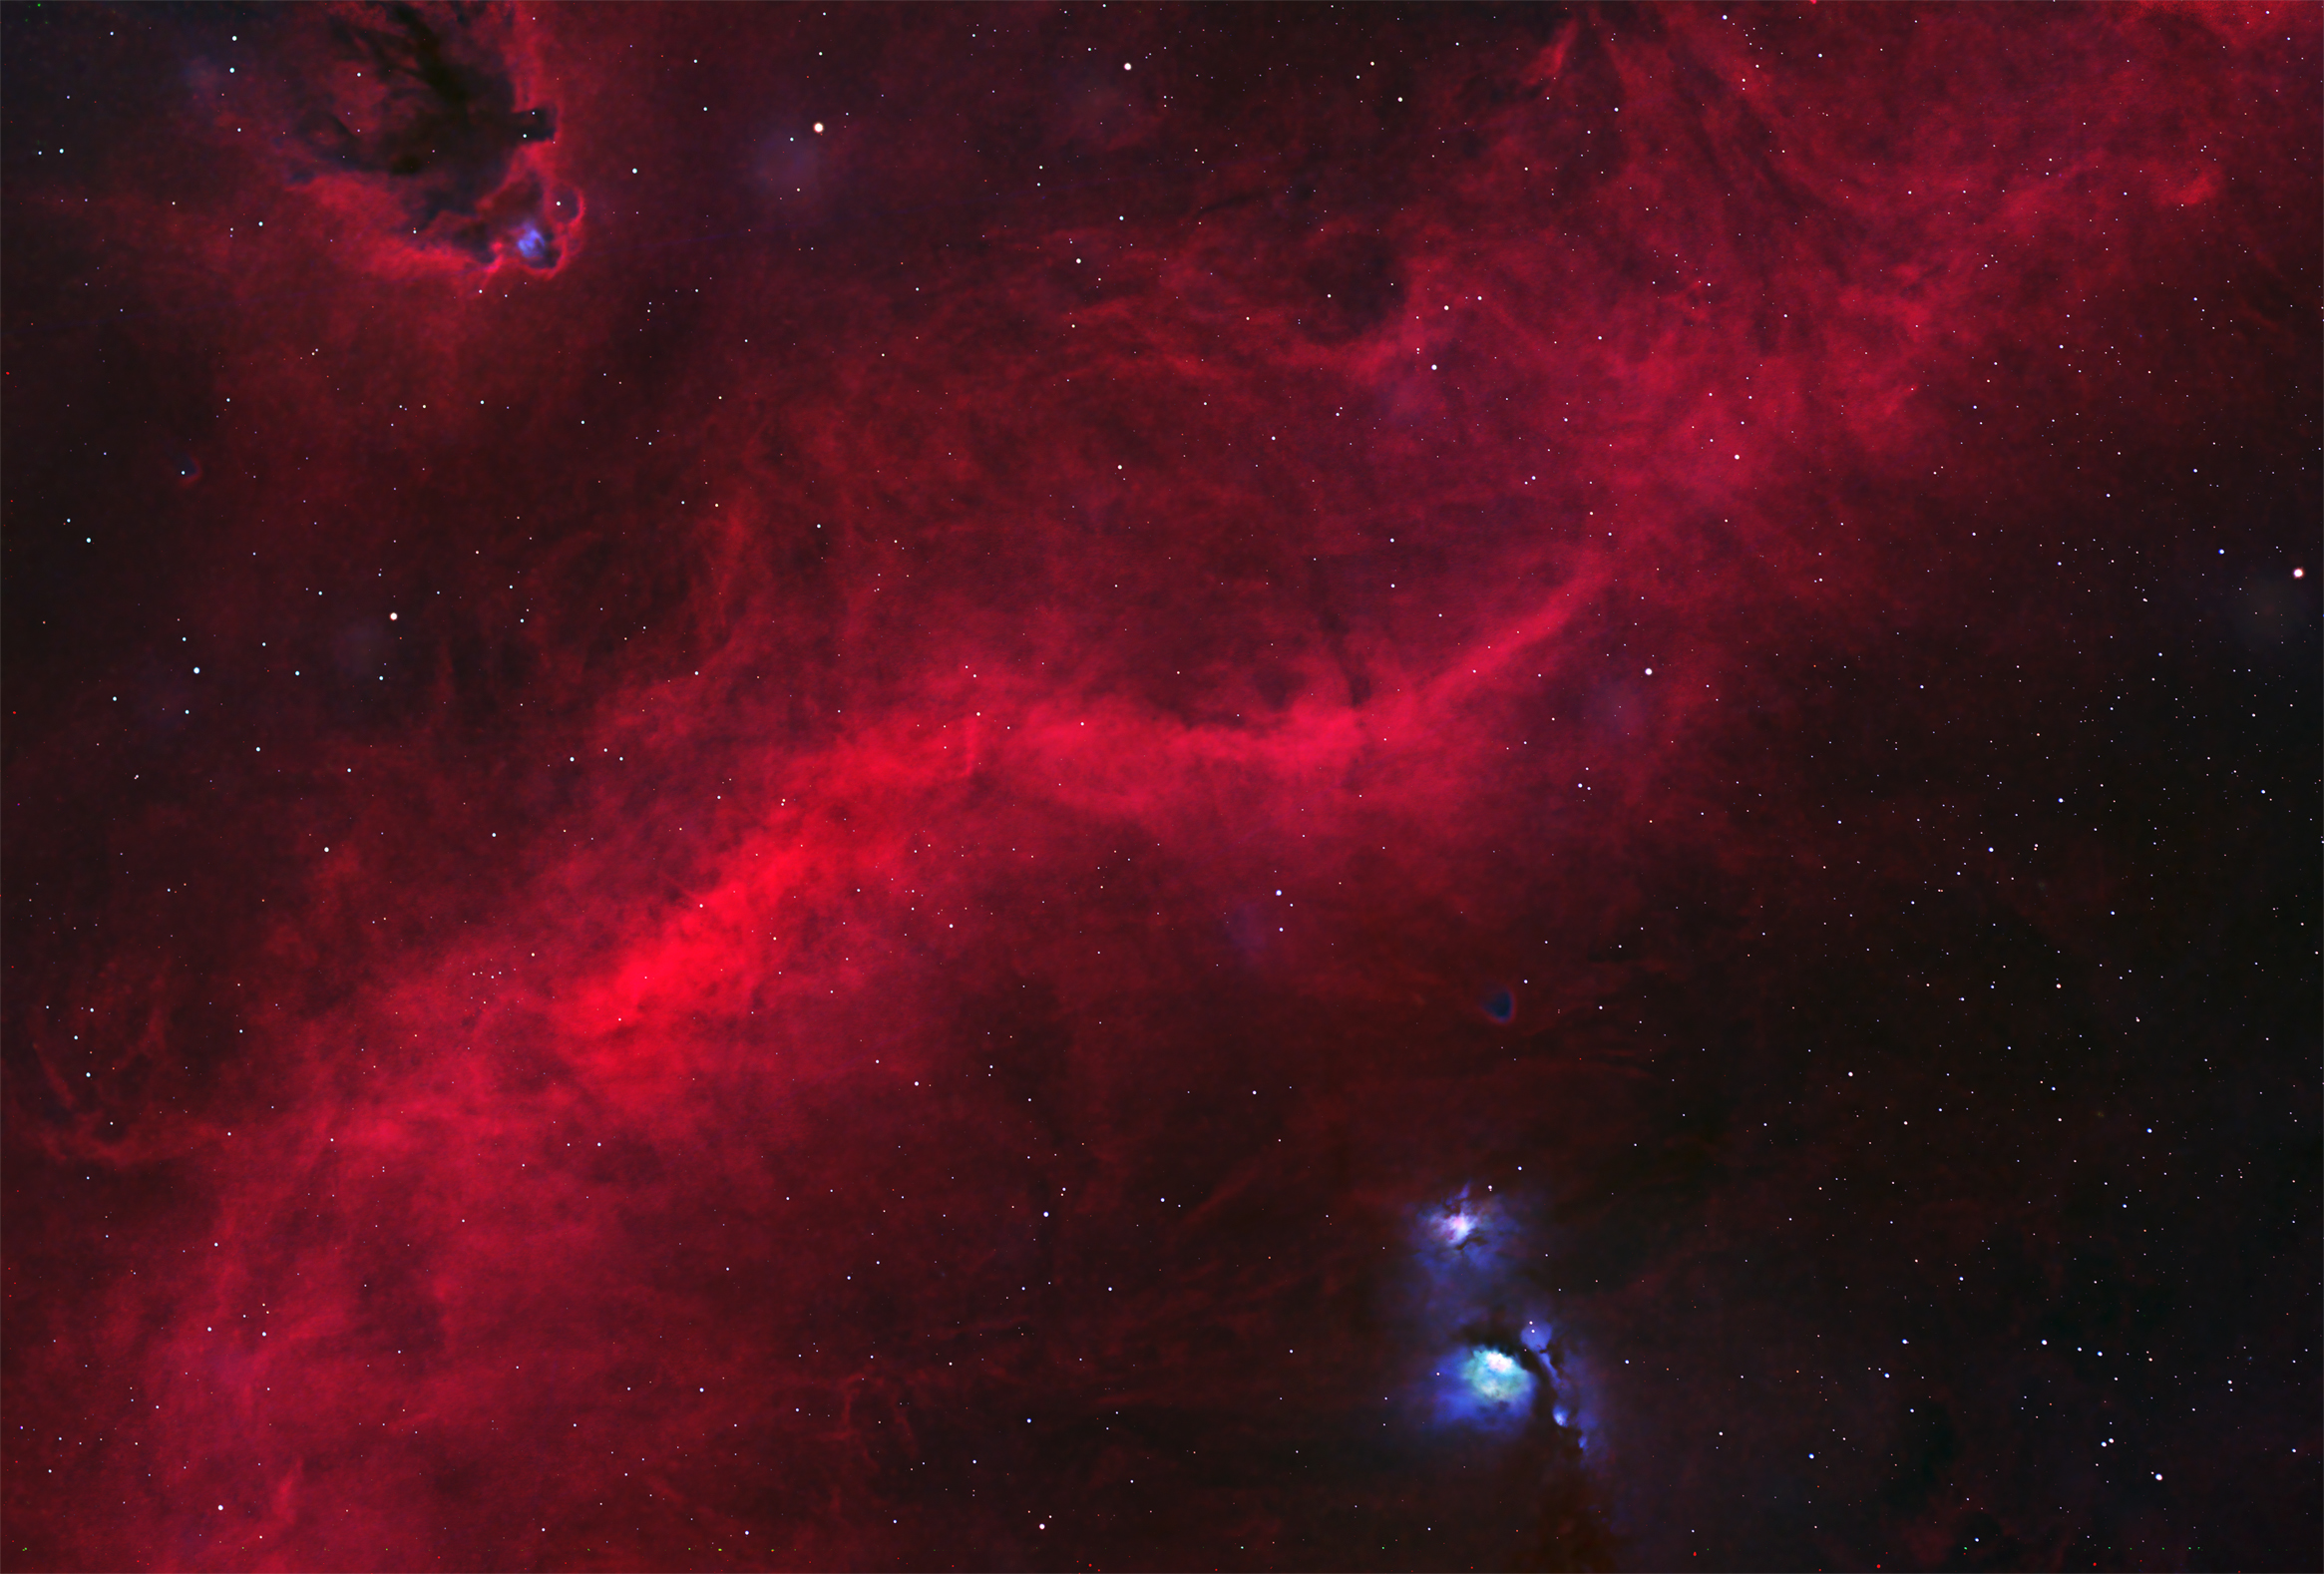
M78 to Bogeyman
The M78 region of Barnard's Loop is depicted here in an HaLRGB palette.
SPECIFICATIONS
Telescope
..........................................................................................................................................................................................................................
Camera
..........................................................................................................................................................................................................................
Location
..........................................................................................................................................................................................................................
Date of observation
..........................................................................................................................................................................................................................
Date of observation
10/20 to 11/13/2023
Filters
..........................................................................................................................................................................................................................
Processing
..........................................................................................................................................................................................................................
Processing
Maxim DL, Photoshop CS6, Topaz, StarXTerminator
Credits
..........................................................................................................................................................................................................................
Credits
One-Click Observations processed by JSE