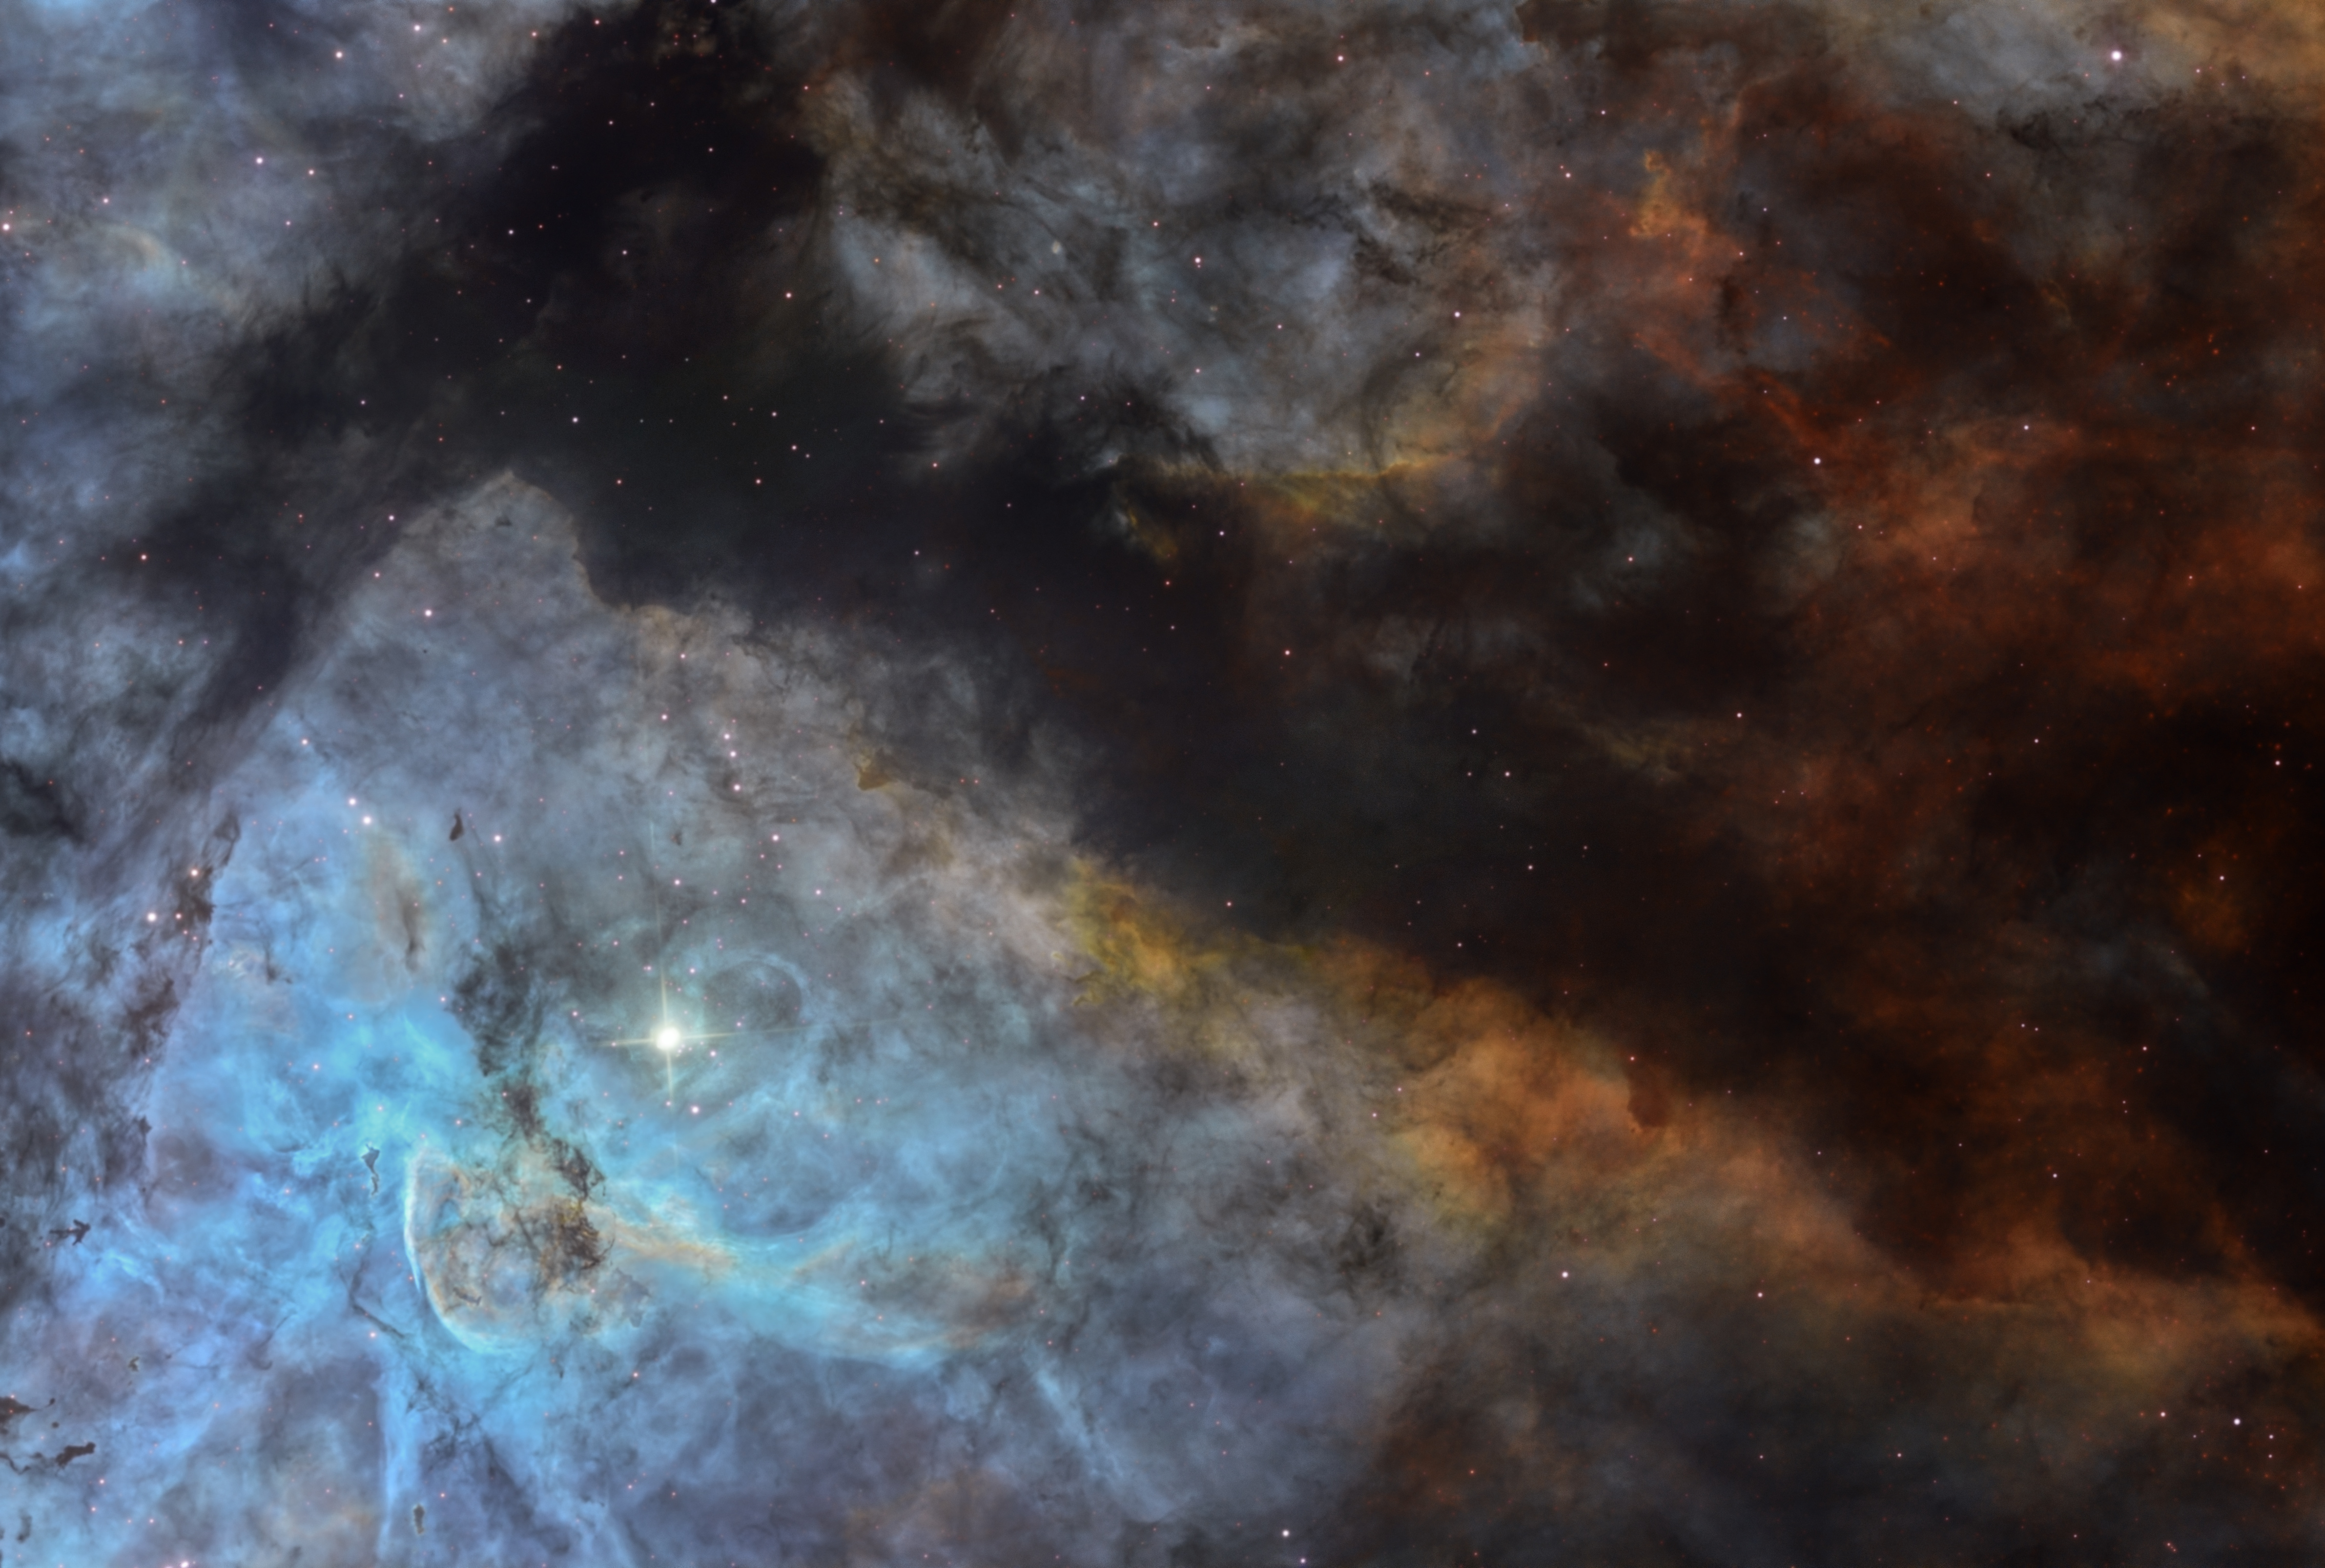
Pane 1 of the Eta Carina dataset with star reflection fix


Pane 1 of the Eta Carina dataset with star reflection fix
The hydrogen-alpha component of this dataset was spoiled by what seems to be a double reflection of the bright star in the field. It's possible to recover this using the techniques which I've included below. Hope it helps!
The key is to use the h-alpha image as a ‘luminance’ frame so the end result will be Ha-SHO image. The reflections aren’t visible on the OIII or SII data so we can use those to replace the affected area on the Ha image.
After stacking, I recommend that all three master frames are scaled and then saved as 16-bit TIFF files. The scaling should try to match the sky background as well as the brighter nebulosity. Ideally the images should be as similar as possible tonally but because of the different filters this probably will be a best approximation.
Affinity Photo or Photoshop can then be used to blend the files.
In Affinity I opened the Ha and OIII master TIFF files and pasted the Ha image on top of the OIII frame as a new layer. Working on the top Ha layer I used the Erase Brush Tool set on an opacity of around 80% and ‘painted’ over the area affected by the two reflections. The worst affected areas were against the dark sky background. By carefully erasing the affected parts of the Ha layer you can see through to the unaffected OIII layer below. It’s likely that the sky background will now appear brighter or darker (depending on how the two images were scaled) but this can be fixed by selecting the base OIII layer and either using the Levels or Shadows / Highlights tools to match the two layers.
Once done, the layers can be flattened and the image saved as a blend of the two Ha and OIII frames. To create a colour image this frame must be converted to an RGB/16-bit TIFF file.
At this stage I opened the combined SHO TIFF file and copied it to the clipboard and then pasted it onto the blended image. In the Layers menu the blending option is changed from Normal to Colour. Doing this creates the Ha-SHO layered image. Each layer can be processed separately.
Note: The SHO image will also contain the reflections but it’s less noticeable and this layer will only be used as the colour information, so should be fine to use. It may be possible to get an even better result by scaling and combining the OIII and SII master frames together at the beginning.
Good luck.
Nik
SPECIFICATIONS
Telescope
CHI-1
Camera
FLI PL9000
Location
Rio Hurtado, Chile
Date of observation
03-07-2023
Filters
Astrodon 3nm narrowband SHO
Processing
Astro Pixel Processor, PixInsight, Blur Xterminator, Star Xterminator, Affinity Photo.
Credits
Nik Szymanek / Telescope Live
The world’s largest database of astrophotography data is waiting for you! Start now your free trial
Try it free