PHD2 Guiding (Updated 2024)

This is an update to a previously published article I did on auto guiding, specifically using PHD-2.
One of the basic skills I did not fully appreciate when I first waded into the deep pool of astro imaging was guiding. The primary reason in my humble opinion that we can currently do long exposure, deep sky astro photography relatively cheaply is through the use of a guide camera and the associated software. There are mounts that are able to track targets for deep sky astro imaging without the use of a guider, but at least for me they are well out of the range of my financial resources.
Guiding is used to help correct the tracking imperfections inherent in your mount. These errors are low frequency errors in your mount’s gearing system. These are both periodic errors and random errors. You should also understand that, as hard as we try we are still not able to get the perfect polar alignment. Then there’s the problem with atmospheric refraction playing tricks by shifting your apparent position.
The basic idea for guiding is to have a separate imaging sensor in the field of view of the your primary camera’s imaging sensor. The separate guiding camera is used to monitor a star’s movement and give commands back to the mount to hold that star in the same fixed position on the guide camera’s imaging sensor. If the mount’s polar alignment is solid, the only movement corrections that need to be made are in the axis of right ascension, adjusting the mount’s tracking speed to stay consistent with the earth’s rotation. To prevent problems with slack in the gears or with backlash, the guiding software will usually make all the adjustments in the same direction.
PHD-2 is the standard for guiding software, created by a man named Craig Stark who open sourced the software so improvements it could be used by as many platforms as possible. It is almost laughably easy to use which is incorporated in the name itself - PHD stands for “Push Here Dummy”. There are a lot of tutorials out there explaining how to use it; the best one I’ve seen comes from Star Stuff by Dylan O’Donnell. I’ve attached the link here.
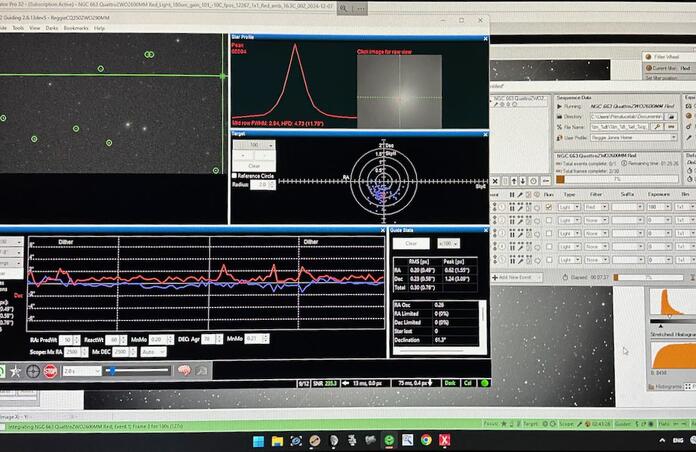
When I’m doing an imaging session, I get stressed out over making sure I have good focus for my sub exposures and on guiding. I spend most of my time keeping a close eye on how my guiding is going. If your guiding is off, your stars will probably not be the pinpoints of light you need to have and your target will have problems that will be difficult to fix. As easy as PHD-2 is to use there are some things to keep in mind to get the best out of it…
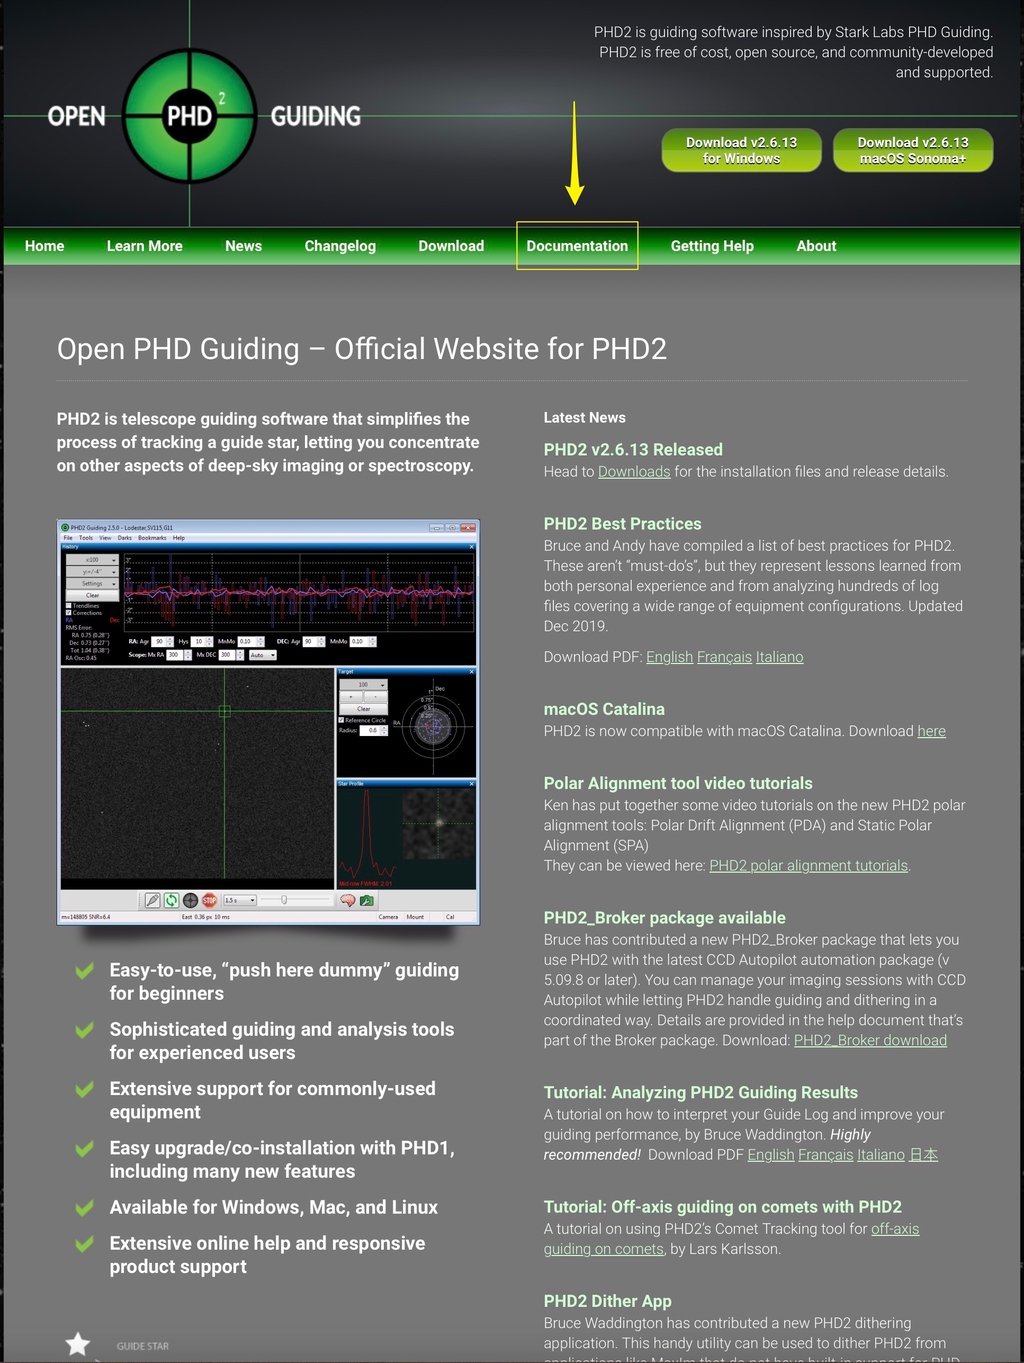
- Read through the manual; the latest updated manual can be downloaded from the PHD-2 website via the Documentation tab. This will save you a lot of painful lessons later.

- Use the setup wizard to get your equipment and equipment profile properly set up.
- Take the time to get your guide scope focused properly. If the stars aren’t focused properly, you will have problems getting a good guiding calibration and subsequently any good guiding.
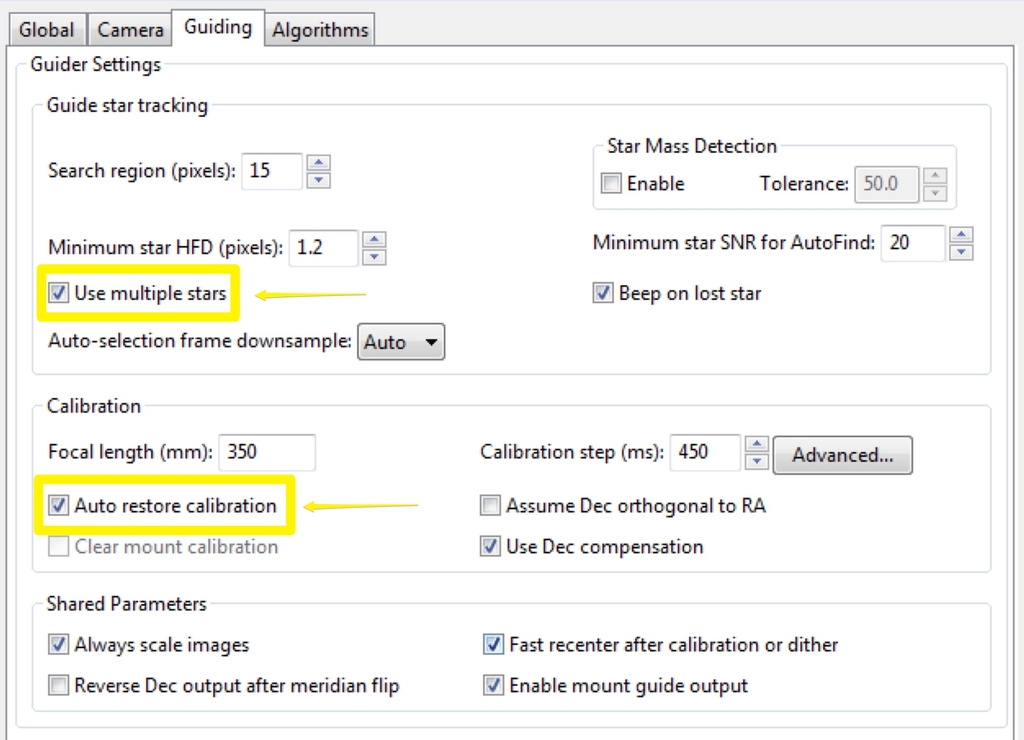
- Use the Multi-star guiding feature found in the Guiding tab. All you need to do is check the box as shown in the tab. Multi-star guiding will be much more accurate than single star guiding. Also make sure Auto restore calibration is checked in the Guiding tab. With this checked, you will not need to do another calibration as long as you do not move the equipment. This will automatically load the most recent calibration information to your mount to use every time it is connected. This is invaluable for those of us who have a semi-permanent setup and do not move the equipment for long periods of time. Its also valuable for those who are imaging over multiple successive nights.

- Use the Calibration Assistant to calibrate your guiding properly. It will slew your telescope / guide scope to the best position a few degrees east or west of the meridian to calibrate so make sure the equipment is clear of anything that might obstruct it.
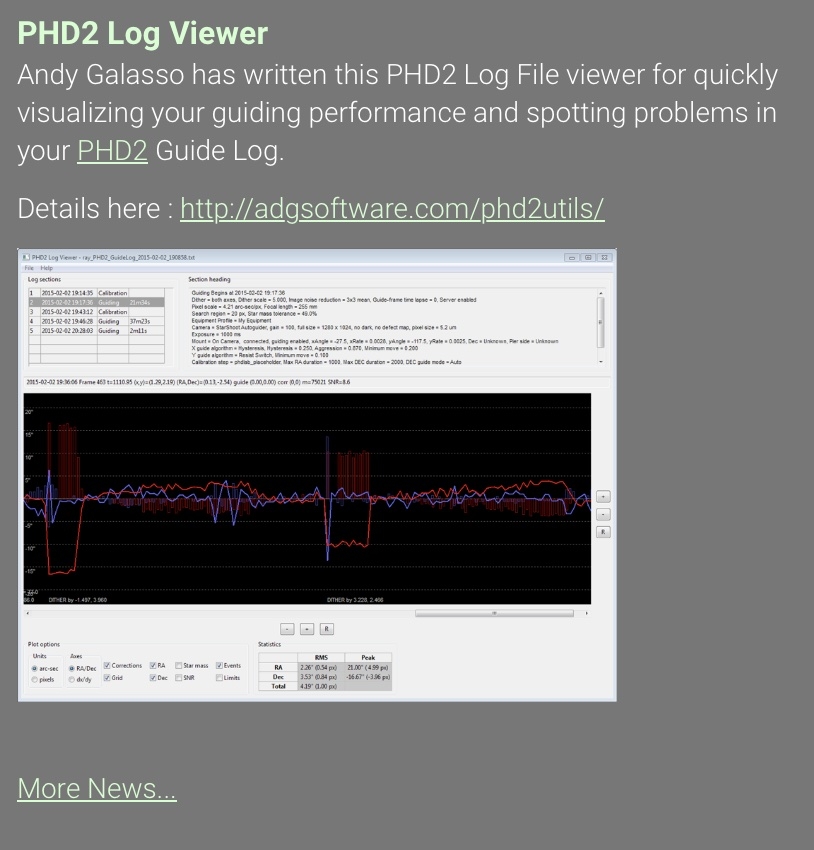
- Get the PHD2 Log Viewer. You can use this tool to review the guide log from your night of imaging to identify any problems you may have had and correct them. It's also found at the bottom of the website.

- Select the Predictive PEC guide algorithm for Right Ascension (RA) in the Algorithms tab. This will use Predictive Error Correction for guiding in RA and help improve your guiding accuracy in RA.

