Calibration Frames and why they Matter
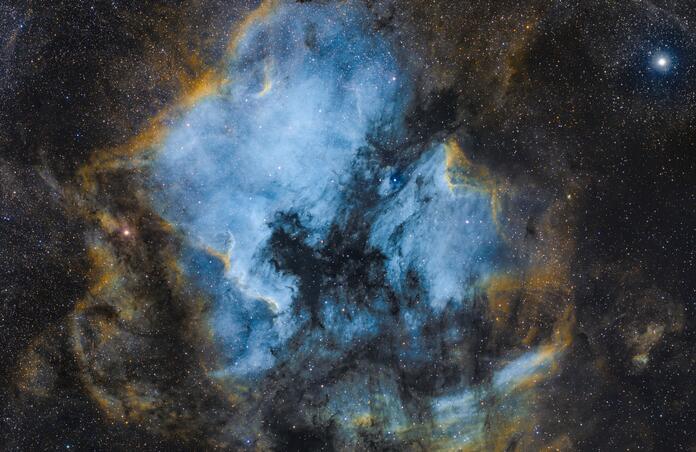
I am going through the loads of data I gathered while on a week of vacation out between Marfa and Presidio TX shooting in nice Bortle 1 skies. I ran multiple mounts and multiple telescopes (brought 8 mounts, brought 15 scopes) and I realized that one some cameras I had amp glow, some I had some extra noise, and some I had nasty dust donuts. Thankfully I also have calibration frames to take care of all of that.
You might ask yourself what calibration frames are and why you need them. First the why you need them part is so you can do things like have a nice flat image without vignetting, without dust spots, without amp glow, and with a big reduction in noise. Now there will be instances where you do not use all of these types, but you will need to use some of them at least. To get a good demonstration of why you need them on the next advanced request you do go ahead and download the calibrated frames and then the uncalibrated ones and look at the difference. It's pretty big, isn't it? Here's an example of a fully calibrated frame, then one that isn't calibrated. It is the same frame too!

So now that you see what a calibrated frame and a non-calibrated frame look like you might want to know what calibration frames are exactly. You have darks, flats, dark flats, and bias as normal calibration frames in astrophotography to go with your lights. The lights are your actual images straight from the camera.
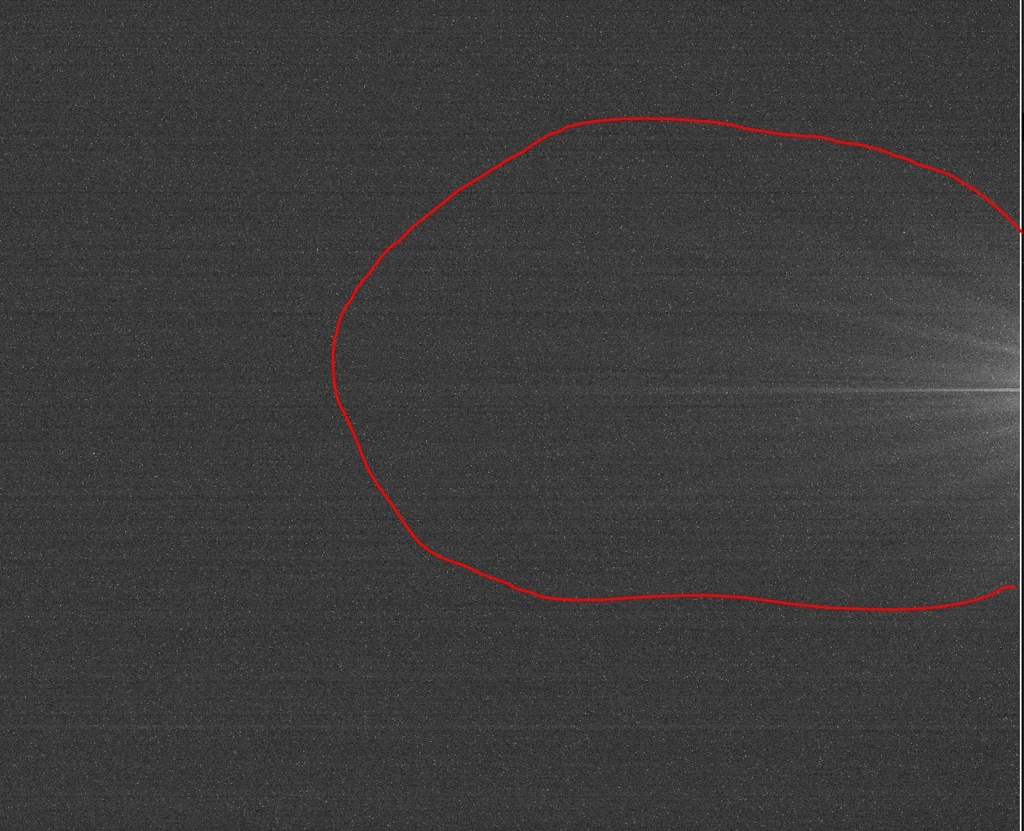
Darks are an image taken with the same gain and offset or same ISO at the same temperature as your light frames were taken and of the same exact length. For a DSLR sometimes you actually get a better result by skipping them if it is a low noise sensor and you get a large variation in temperature over the night because if not matched they can actually degrade the quality of your images. For a dedicated cooled astro camera you will definitely want them whether CMOS or CCD, and it doesn't matter if it is mono or OSC.
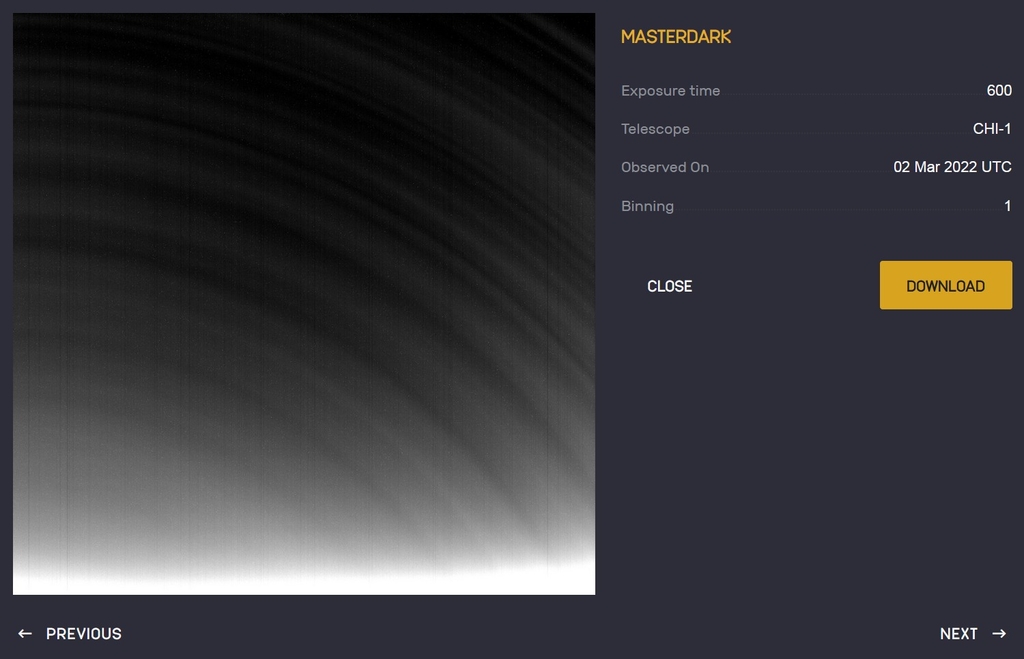
Darks work by subtracting the noise generated when things are matched and also by subtracting amp glow. With modern DSLRs you don't really run into amp glow. Amp glow is that weird spiky glow that comes on one side or that annoying glow that comes along an entire edge. Here's an example of amp glow cropped from a QHY294M Pro dark. Also notice the grain in it which is noise. This is why darks matter especially on cooled dedicated astro cameras, because they will remove these from your lights. I have also included a master dark from CHI-1.
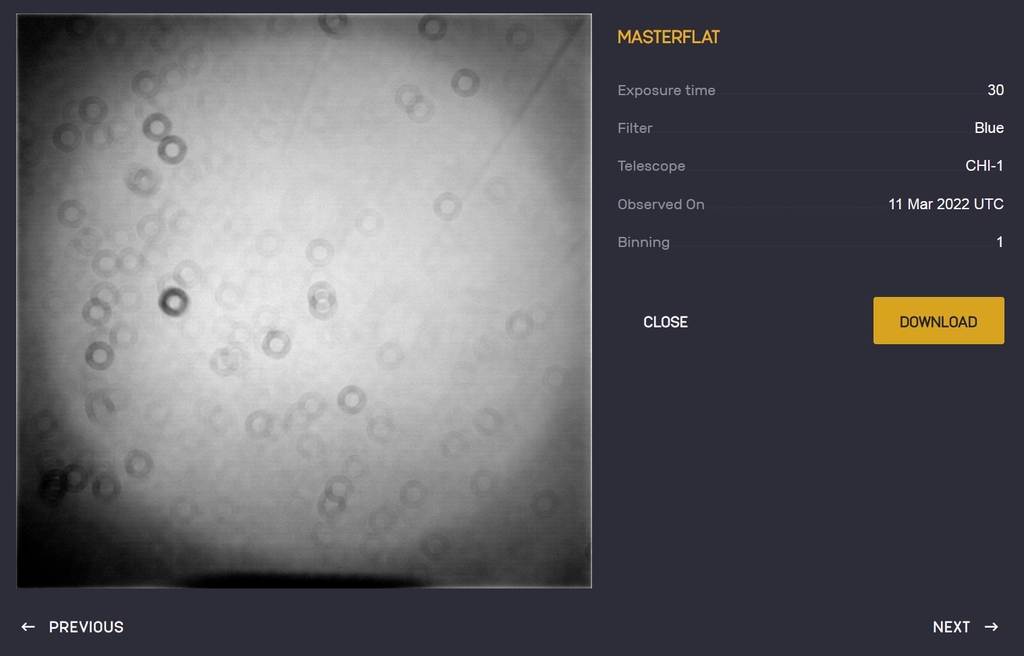
Next is flats. Flats are what will correct the weird gradients and vignetting. They also correct for dust donuts and such. If you take flats you must take them with the camera attached to the scope in the exact orientation that you took your lights in because you have to match up the dust and vignetting exactly for flats to correct them out. Here's the latest master flat from CHI-1 for the blue filter. You do have to take new flats for each filter on mono because each filter may have different dust on it and may vignette differently. Looks like CHI-1 has a lot of dust buildup!
Flats will have to be exposed in such a way where they are bright enough to show catch typical light coming in to work properly. I generally expose mine around halfway to slightly past halfway on the histogram, but you may find a different exposure works best for you. You will need these for dedicated astro cameras and for DSLRs both. The only time I have not needed them was with a perfectly clean and flat imaging train that has a sensor in it that is smaller than the fully illuminated field from the scope.
Next you have dark flats. Dark flats are simply darks which are the same gain and offset or ISO as your flats are. So the name is self explanatory, they are darks for your flats! In my experience these are more of a CMOS thing than a CCD thing, and really also more of a defecated astro camera using a CMOS sensor than anything, though I have found certain DSLR cameras also benefit from them. The frame will simply look dark and is meant to subtract noise from the flat frames.
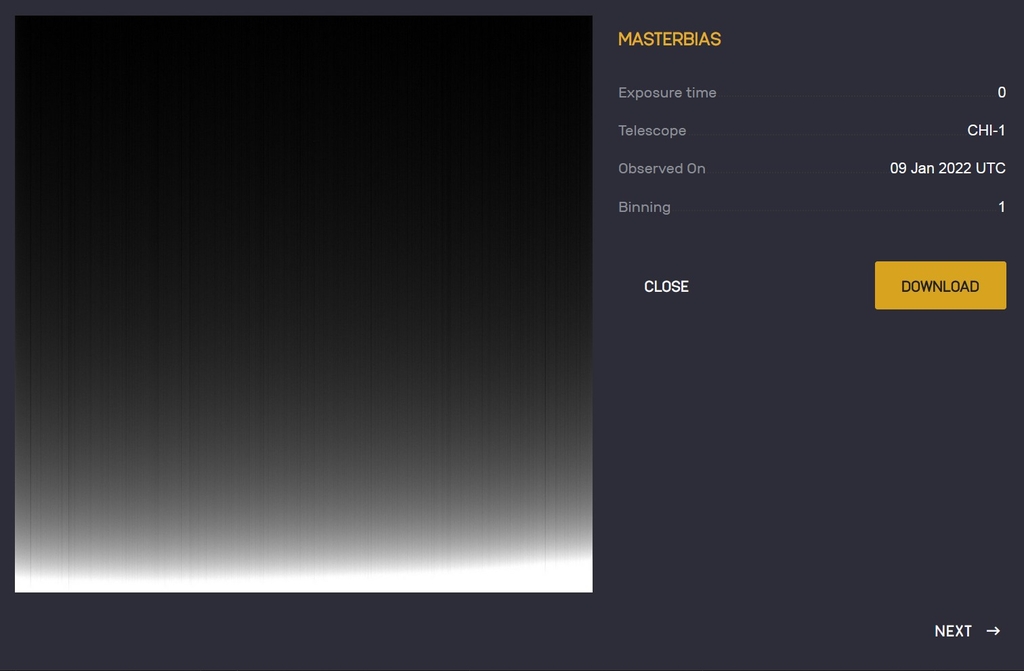
Last you have bias frames. Bias frames are a dark frame that it taken at the fastest shutter speed you can get on the camera being used and at the same gain and offset or ISO that your lights are at. They are meant to subtract the sensor read noise from the light frames. They are easy enough to do so I wouldn't skip them, though if you stack images and get a really weird result such as your color channels being weird, strange blotchiness, or colors that are way off from what they should be and in a state where they can't be corrected then go ahead and stack without these or shoot new ones. They will simply look like a dark frame with a bit less noise. Here is one from CHI-1.
The calibration frames that Telescope Live uses are darks, flats, and bias. Having the images pre-calibrated is a big help and makes things go faster with stacking. You can download the raw calibration frames or the master calibration frames and then download uncalibrated images on an advanced request, but why would you since the fully calibrated frames make things much easier?
Well, I know that most of you are here for one of the images take with Telescope Live. How about the North American and Pelican nebula area? You can get all the data here: https://app.telescope.live/click-grab/all?target=North%20America and https://app.telescope.live/click-grab/all?telescope=38...
This blog post was originally published in our Telescope Live Community.
The Community represents Telescope Live's virtual living room, where people exchange ideas and questions around astrophotography and astronomy.
Join the conversation now to find out more about astrophotography and to improve your observation and post-processing skills!
