Creating a Synthetic Flat in PixInsight to Correct Flat Field Errors


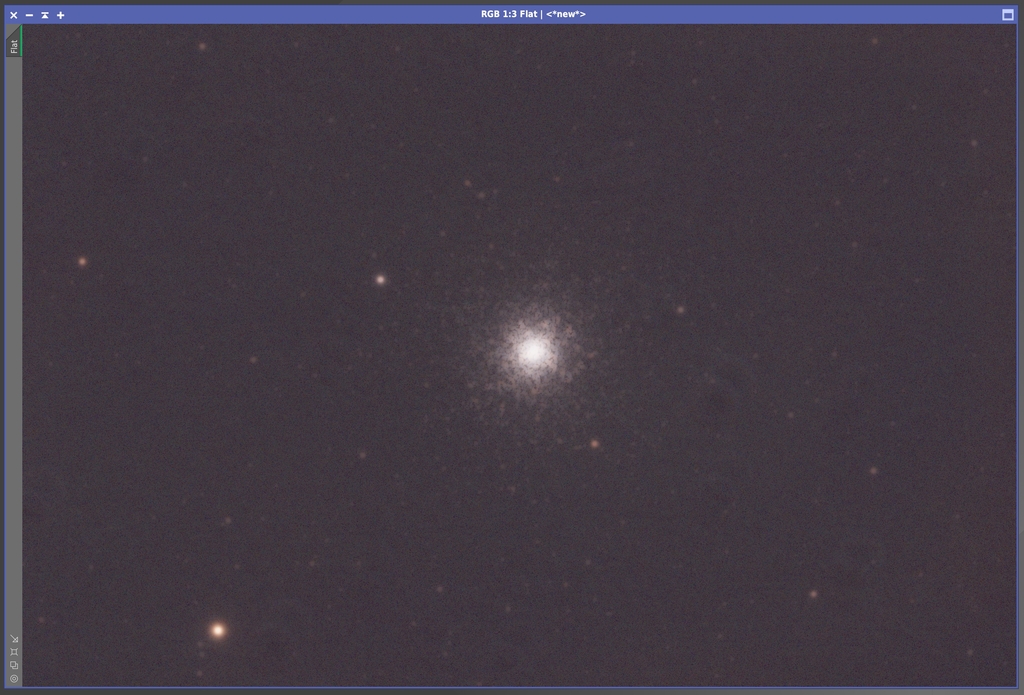
There are times when your flat field calibration frames are not adequate to correct all the flat field errors contained in your stacked and integrated sub exposures. You readily see these errors in your integrated image, some of which can get quite ugly. What are your options then? I’ve used a process I learned some time ago to help correct these problems when they occur. Here is an outline of a basic process you can use when (not if) you run into this issue. Below is an image of M3 I took recently and you can see some of the flat field problems this image has such as partial donuts in the background.
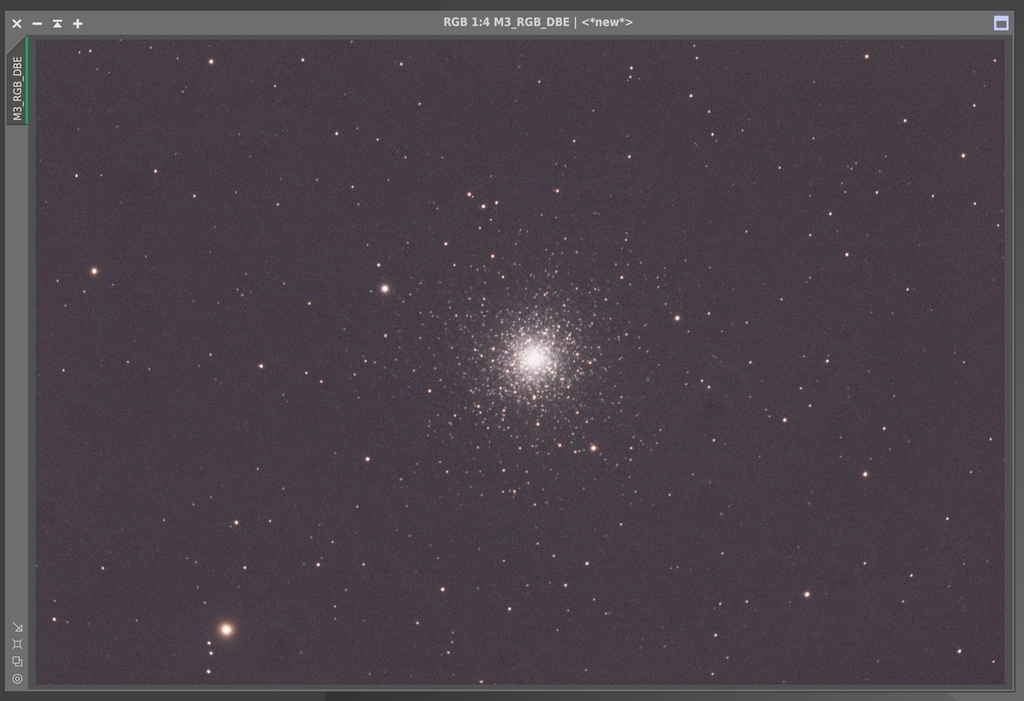
Not a huge issue here but quite annoying as you’re trying to get the best image you can create from the hard earned data you have. I use PixInsight to process astro imaging data, so this process is specific to this program.
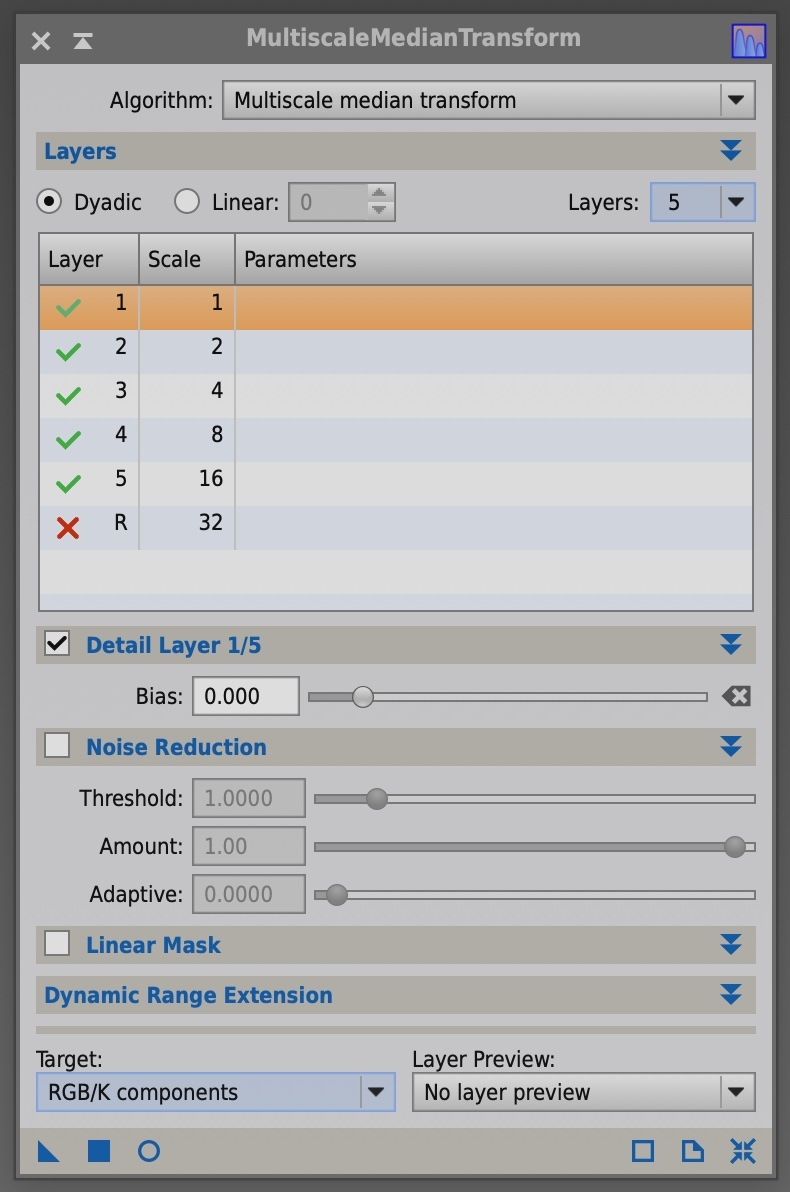
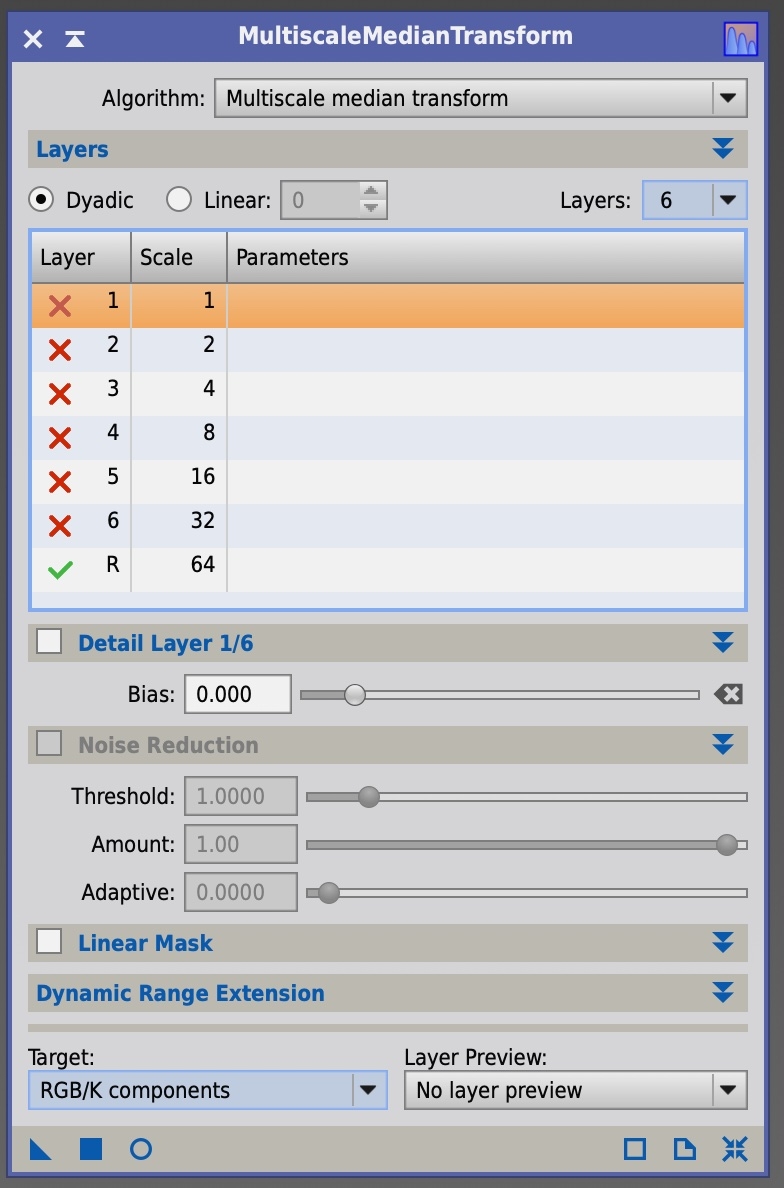
My first step is to clone the original image. Rename the cloned image to Star_Support. You’re going to then create a star mask using Multiscale Median Transform (MMT) using the settings shown:
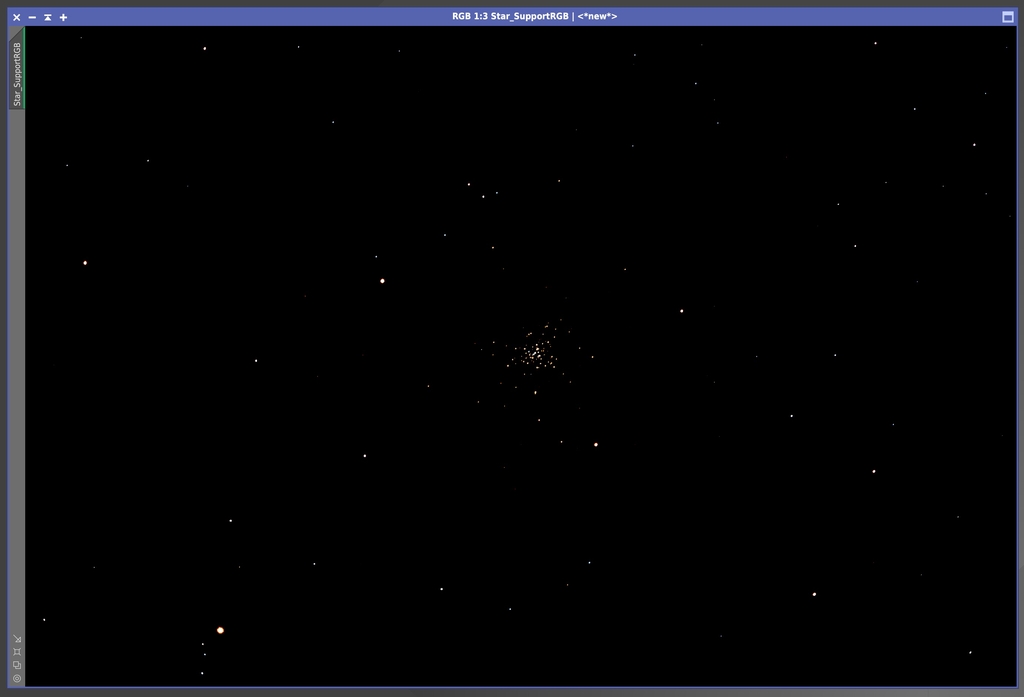
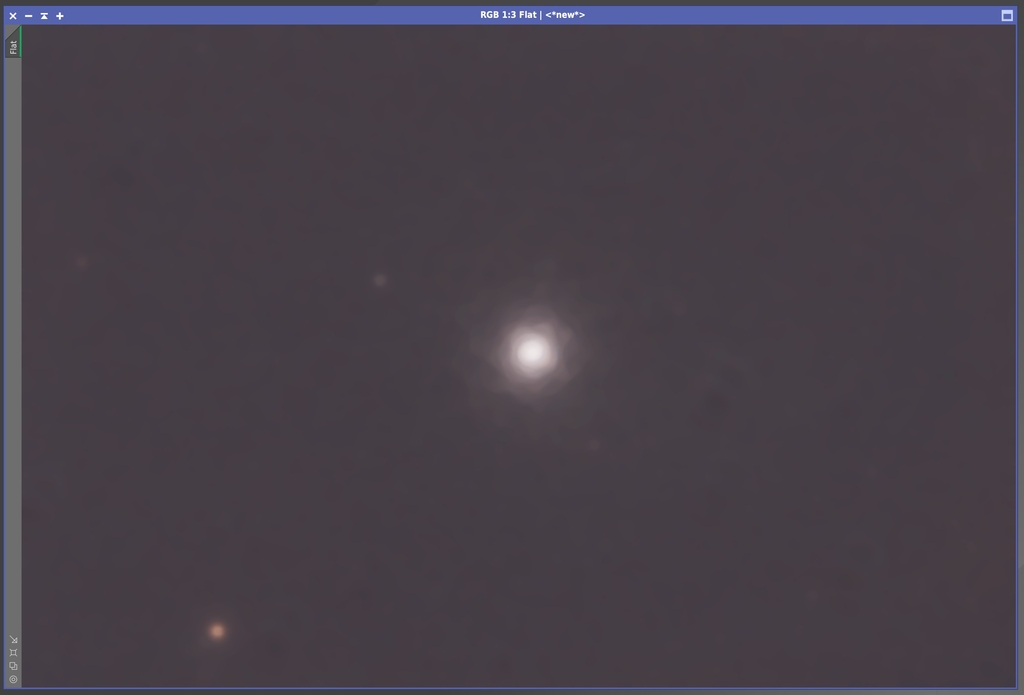
Your Star_Support image should look something like this:
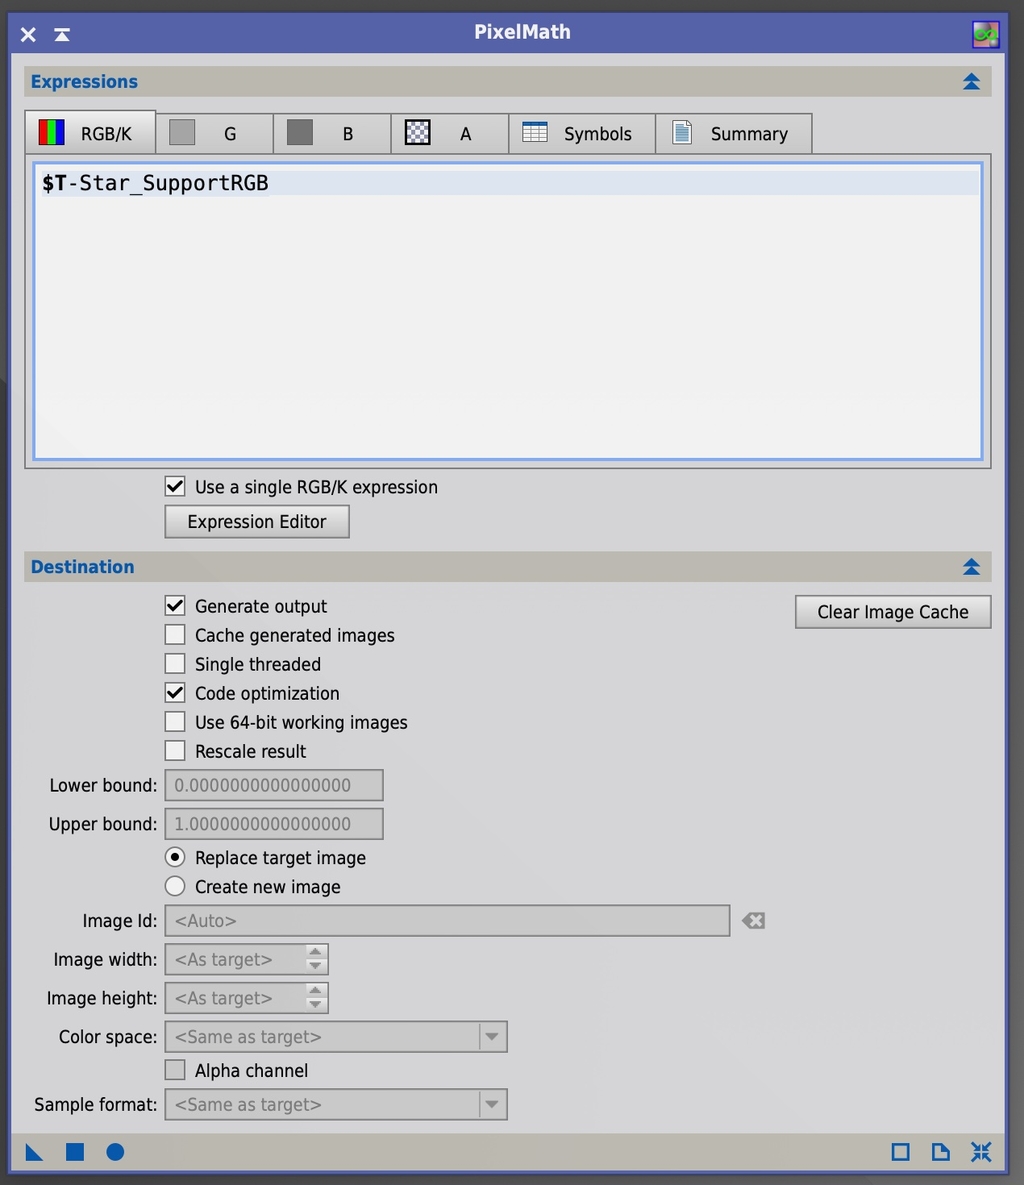
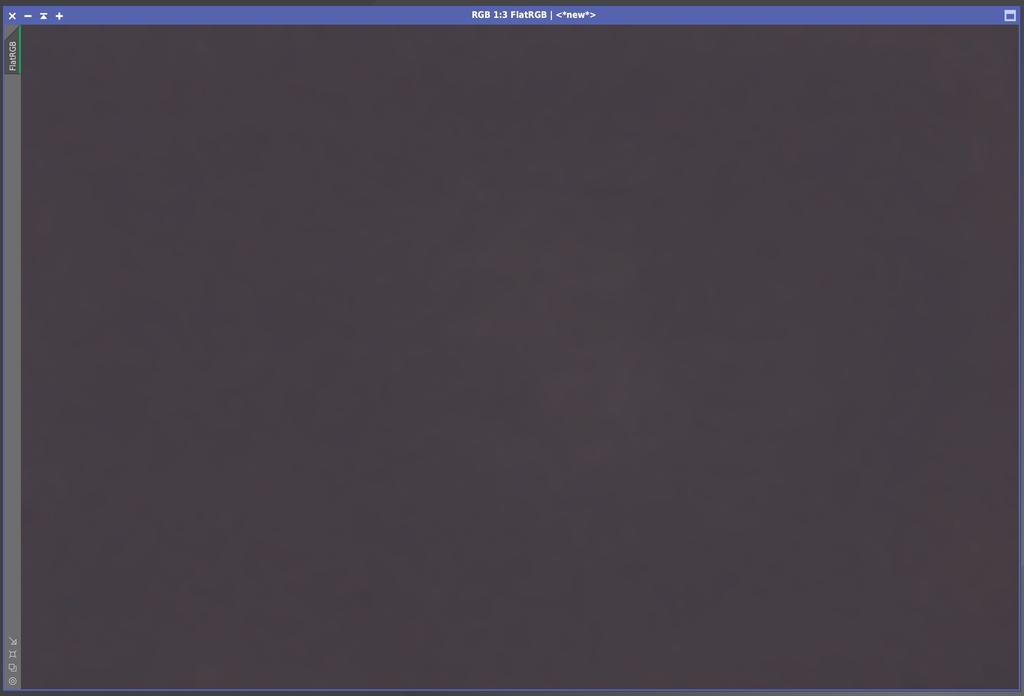
Set this image aside and then create another cloned image from the original image. Rename this new clone Flat. Now using the Pixel Math process, we will apply the Star_Support image to the image named Flat as shown:
Your new Flat image should look something like this:
You’ll note that I’ve renamed the Flat image to FlatRGB as I will need to apply this process to the luminance data and renaming these files will help keep things organized. We’re now going to apply MMT to the Flat using the settings below:
Your revised Flat image should look like this:
Here, you will need to use the Clone Stamp tool to clean up any artifacts in the Flat and make the image as uniform as possible. After cleaning everything up, my FlatRGB image looks like this:
The final step is to use Pixel Math to apply this synthetic Flat image that you’ve created to the original image to clean up the flat field errors. The Pixel Math equation to use is:
$T * mean (Flat) / Flat
and the equation in the Pixel Math process looks like this:
If you have the master dark frame, you can also use the following equation to properly apply the synthetic Flat to your original image:
$T-Dark) / (Flat) * med(Flat)
In the end, my original image was corrected to this:
You’ll find there are variations on this process for creating a synthetic flat and the MMT settings might be different for a particular situation to be successful but this basic process is a good place to at least be able to start correcting a problem you may be having.
Clear skies...
Astro Image Credits:
Cederblad 116 (https://app.telescope.live/click-grab/all?target=ced 116); Telescope Live 1-Click Observation Data, Processed using PixInsight by Reggie Jones