How to process mosaic data into an image?
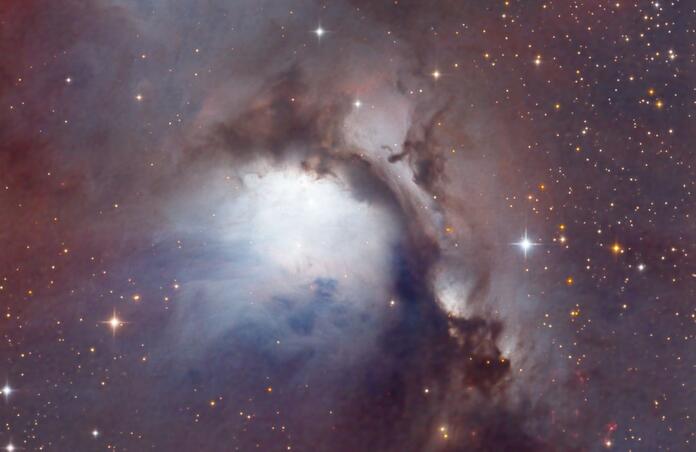
So, taking a cue from my last post I decided to try and tackle processing mosaic data into an image. Actually, this was by accident; I saw the M78 dataset in the 1Click Bundled section in Telescope Live and downloaded the whole dataset before realizing it was a mosaic. My first clue was not until I'd Blinked the data that I noticed half the sub exposures were labeled “Top” and the other half were labeled “Bottom”. At this point, I wasn’t sure just what I was getting myself into but I decided to press ahead.
The first thing I did was to see if Adam Block had a video (or 2) on doing mosaics. He hasn’t completed one yet, but he did provide the single piece of info that made all the difference for me; the Photometric Mosaic script in PixInsight is what I’d need to use and the documentation is excellent. And with that, I set off into mosaic oblivion. After struggling through and completing the process for the first time, producing what I think is a reasonable image, I’ll share what I’ve learned so far. And no, I would not say that I am even close to competent at this. I'm left with a lot more questions than I started with.
The first thing you need to do is pre process all the data you have into a combined RGB image for each section of the mosaic. For the M78 data, I had one Channel Combined RGB image for the Top and one for the Bottom. I did not do anything beyond this.I use PixInsight, so I needed to use the Photometric Mosaic script. Look under Scripts > Mosaic > Photometric Mosaic. The first thing you need to do is click on the documentation icon on the lower left of the window and read. A lot. After scanning through the Introduction, you’ll come to the Prerequisites Section. Study this completely as it outlines the steps you must take to prepare your mosaic tiles to be joined using the Photometric Mosaic script. You can download the info in a PDF and go offline to read it.
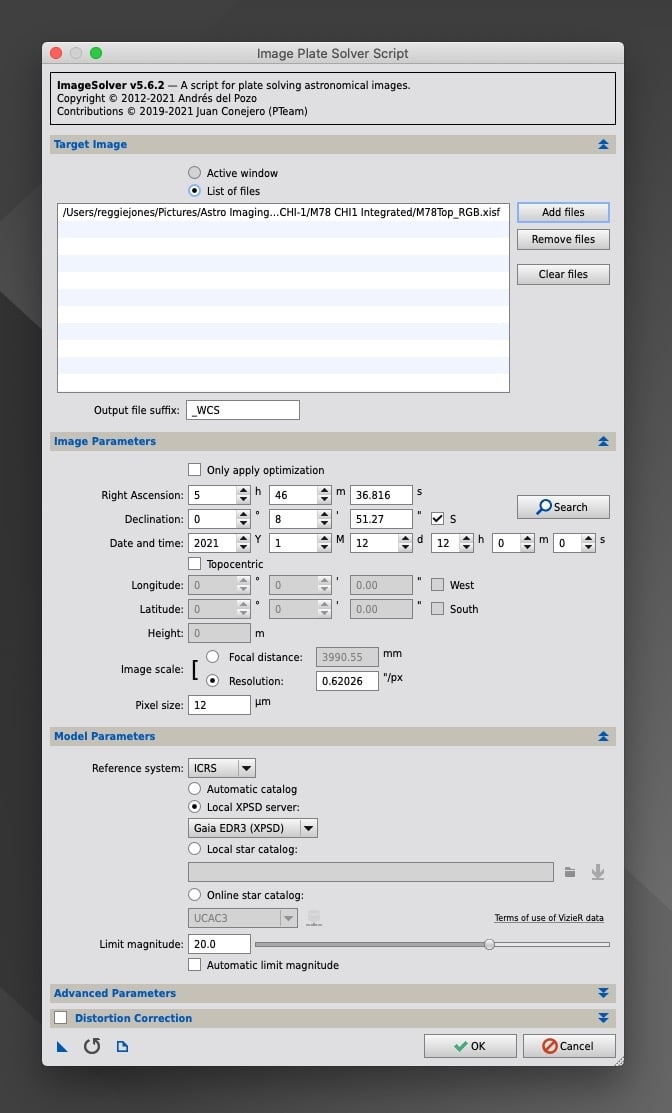
You will first need to use the Image Solver script to plate solve your tiles; Scripts > Image Analysis > Image Solver). Unfortunately, there is no documentation for this script. It essentially plate solves your tiles, giving each pixel specific coordinates using the WCS system. You add your tiles in the top window; I wound up using the active window to do this since they were open in my project. Note: I did one tile at a time; for some reason in my case, trying to do both at the same time caused problems and some grief. The next important check you need to do is to put in the date and time the data was taken AND to make sure the image scale of the equipment used is correct. I mainly made sure the focal distance of the telescope was checked and the right number entered and the pixel size of the camera was correct. It will automatically calculate the resolution. I left everything else as it was. I did look at the Advanced Parameters and the Distortion Correction settings but I got scared and backed out from them. When you run this, it plate solves your image and creates a WCS for each pixel in each tile. I have no idea where it puts the output files - there is no place to identify a location for any output files.
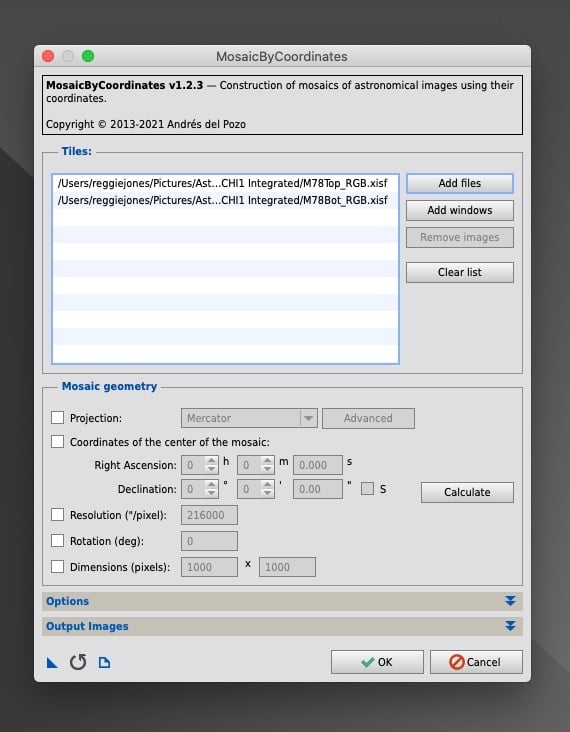
Mosaic By Coordinates is the next script to run and it has good documentation (Scripts > Mosaic > Mosaic By Coordinates); read it carefully before continuing. It takes your tiles and aligns or registers them using the plate solved coordinates you created in the Image Solver script so they can be accurately joined by the Photometric Mosaic script. Add your tiles and select where you want the output files to go. After that, read through the documentation on what to do with the Mosaic geometry and the Options sections. For me, I left them as they were and ran it. You get registered files for each of your tiles if things work.
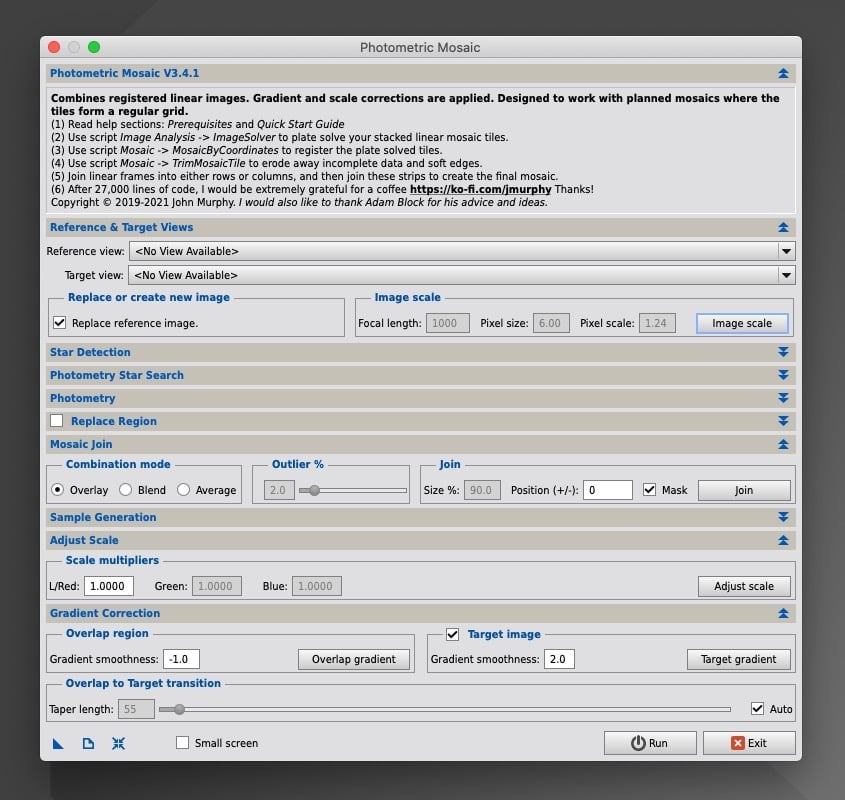
Now you’re ready to run the Photometric Mosaic script. It first asks you to identify the reference view. I didn’t see this spelled out in the documentation, so I assumed the Reference View was the Top tile of the M78 mosaic and what the Bottom tile would be attached to and put the Bottom tile in the Target View. The documentation says just doing this is generally enough to get things to work but working through the remaining settings may produce improved results. As this seemed a pretty simple set of data to join, I didn’t go much further. That said, depending on what you’re working you may need to read more of the documentation and use some or all of the available options
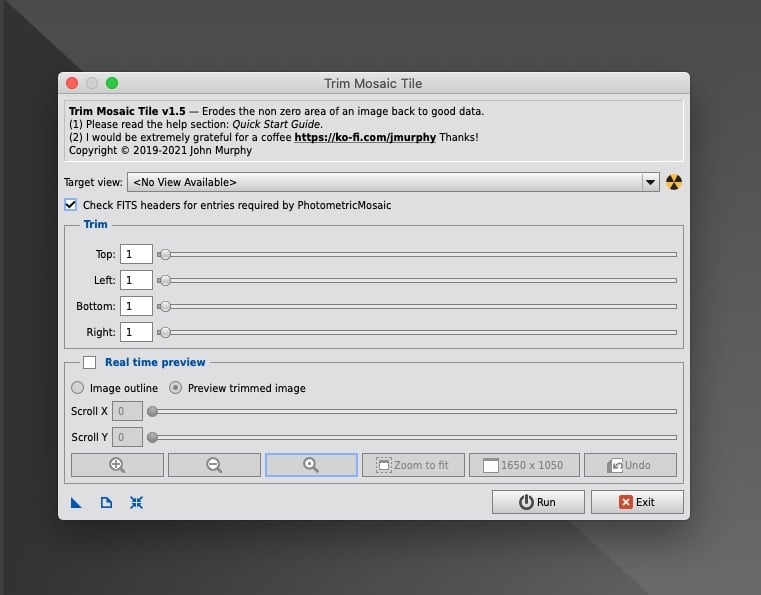
When I finally got to this point and ran it for the first time, I got an error. It said that the registered tiles needed to be trimmed and to go back and use the Trim Mosaic Tile script (Scripts > Mosaic > Trim Mosaic Tile). When you registered the tiles back in Mosaic By Coordinates, it can leave an overlay of non zero values in the space at the edges that needs to be trimmed off. The Photometric Mosaic script needs a hard edge (0 values) in order to work properly and when I thought about it, this made sense. This is what the Trim Mosaic Tile script does and it seems you should run it after the tiles are registered.
When I did get this to run, the script provided 2 files. One is your new joined file of the combined mosaic. The other is a joined mask file. The mask file is active on your combined mosaic and will show where the tiles were joined. Simply remove the mask as you would any other image file you work on and you have your file. Inspect it carefully to see if everything is as you expect; if it is, the continue to process it as you would any other image. The first thing I did next here was use Photometric Color Calibration. After some processing work, I've posted my final result.
If the joined result isn’t as you expected it would be, get help.
Stay safe, have a lot of fun if you decide to go after these targets, get your neighbors to turn off their lights at night and convince them to join in the fun….
This blog post was originally published in our Telescope Live Community.
The Community represents Telescope Live's virtual living room, where people exchange ideas and questions around astrophotography and astronomy.
Join the conversation now to find out more about astrophotography and to improve your observation and post-processing skills!
