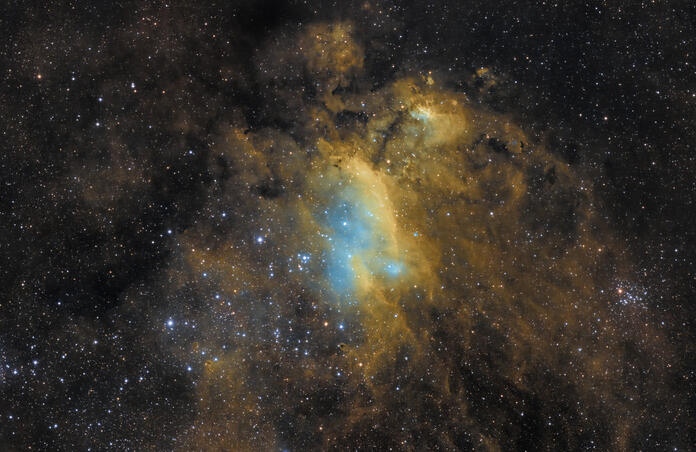
How to remove purple stars in SHO-images?

The introduction of unnatural-looking purple stars to your image, is a common problem with processing narrowband images in the well-known Hubble colour palette (or “SHO” image).
There are several ways to deal with this in PixInsight, Photoshop or alternative image processing applications…
One option is to take some RGB-data and use it only to replace the stars in your SHO-image.
You could also process a two-colour image, using only H-alpha and OIII data, to get a more natural star colour, which you could then blend in the stars of your Hubble Palette data at a later stage.
If you don’t want to blend images (no RGB- or HOO-data), there are other methods to fix purple stars in your SHO-image.
I’ll show some easy, but useful techniques in Photoshop.
When only the stars are purple and there’s no purple/magenta on the rest of the image, you can simply desaturate magenta (and purple).
Masking certain areas of the image can help avoid changing colours where you don’t want to (e.g. with “Select and Mask” tool).
If you have Noel Carboni’s “Astronomy Tools” as a plug-in in Photoshop, you can use the “Select Brighter Stars” function that only select the stars in your image for further processing. (Astronomy Tools is a highly recommended set of one-click Photoshop “actions” for processing astro images)
But there are other ways to select the stars only in Photoshop, if you want (e.g. via Color Range and select Highlights).
An easy way to desaturate the star colours is to go to “Selective Color” in Photoshop or use the “Color Mixer” in Camera Raw Filter, pick Magenta and just move the slider all the way to the left.

Another technique is to first invert your SHO-image in Photoshop (CTRL+I on a PC), decrease the saturation of the green colours in the image (as green is the opposite of magenta) and then invert again. You can again make this adjustment in the “Selective Color” or “Color Mixer” menu (or as an alternative: run Hasta-La-Vista-Green HLVG, as explained in my post of June 1st).
Finally, you can also use the lens correction tool in Camera Raw filter (“Optics” > “Defringe”) and move the “Purple Amount” slider to the right (to “0” level).


I used images of the Prawn Nebula (IC 4628) to illustrate these actions in Photoshop to fix the purple stars. (Pro Dataset curated by Scotty Bishop; images captured with CHI-6 - Officina Stellare RH200)
What do you do to correct purple/magenta stars in your Hubble Colour palette images?
This blog post was originally published in our Telescope Live Community.
The Community represents Telescope Live's virtual living room, where people exchange ideas and questions around astrophotography and astronomy.
Join the conversation now to find out more about astrophotography and to improve your observation and post-processing skills!