How to use the Projects feature in PixInsight

It took me a long time to finally use the Projects feature in PixInsight but now, I always use this feature when I am ready to do image processing on any Astro imaging project data. This feature allows you to contain an entire image processing session in one location, where you can interrupt, save all your work in the middle of a session and come back to it later where you left off to continue your work as if you never stopped working on it. This also allows you to be able to share your work with others, such as if you get stuck on a problem and need to get help from someone. Share a project through DropBox or some other application for them to review and assist with the problem you’re having. But also be warned - these files will get quite large and take up a considerable amount of space/memory. Here are a few of the things you should understand before using it.
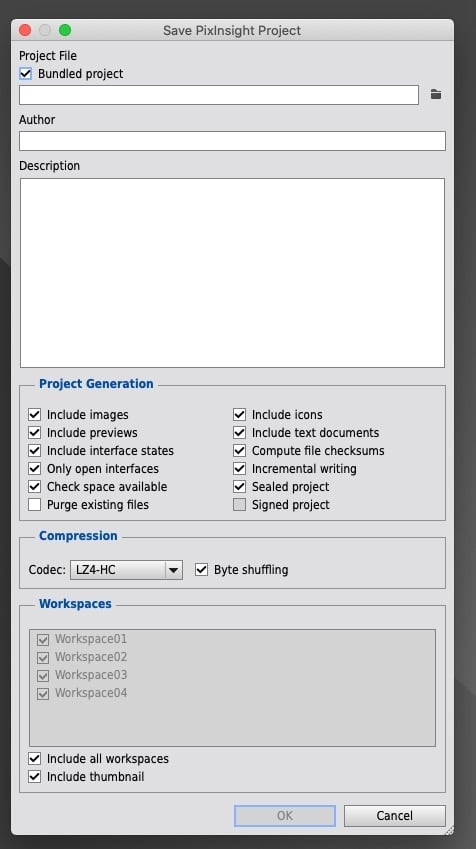
When you first create and save a project, you have a lot of customization options as shown in the attached image. I usually check the Bundled Project option; this means the information in the project is included in a special directory with the extension .pxiproject that will have additional files that include metadata. As I understand it, the Bundled Project directory info is only noticeable in MacOS (I use an iMac) or PI’s File Explorer.

Click on the folder icon on the far right of the window under the Bundled Project selection to tell PI where the Project will be saved. Make sure you name your Project effectively. The Author section is self-explanatory. I use the Description section to log information regarding the target being processed; i.e. the equipment (Telescope and Camera) used, dates the imaging took place, the total number of sub-exposures, the type of sub-exposures, how many were actually integrated by type, and the specific reference files used for alignment and integration.
For the Project Generation section, I would use the defaults. I don’t change anything in this section or in the Compression and Workspaces sections. That’s pretty much it. As an additional note, I saved a default Project which includes all the basic icons I normally use for image processing. That way I don’t have to load them all the time.
Stay safe, have a lot of fun if you decide to go after these targets, get your neighbours to turn off their lights at night and convince them to join in the fun…

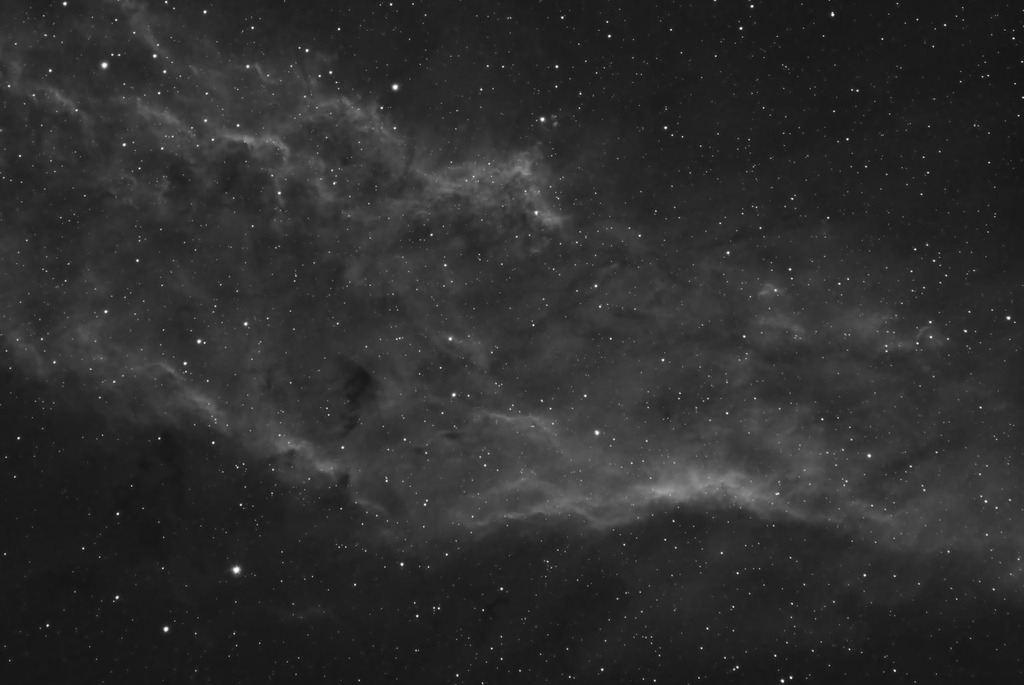
with Ha 12nm Filter; 6 x 600 sec sub - exposures January 29, 2021 - Processed in PixInsight
Image Credits / Info
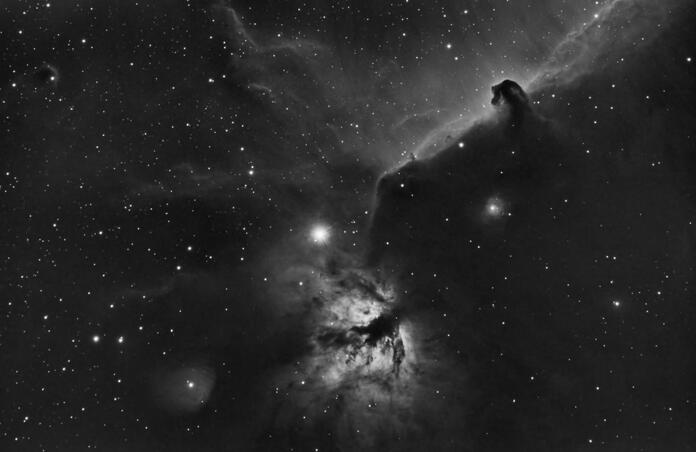
-IC 434 - Alnitak Complex with Horsehead and Flame Nebulae; Backyard in Los Angeles, Astro Tech AT102ED, QHY 294M with Ha 12nm Filter; 24 x 300 sec sub - exposures - February 5, 2021 - Processed in PixInsight
This blog post was originally published in our Telescope Live Community.
The Community represents Telescope Live's virtual living room, where people exchange ideas and questions around astrophotography and astronomy.
Join the conversation now to find out more about astrophotography and to improve your observation and post-processing skills!
