Mosaics to the rescue

Sometimes, regardless of focal length, you just can't fit it all into one frame.
Mosaics to the rescue!
A mosaic is a composite of multiple frames connected at their edges to create one large image.
The resultant image covers much more of the sky than a conventional frame. Although a wide-field view may contain a target image, a mosaic can assemble a broader view of an object with the magnification of a large focal length lens.
Think of it assembling a puzzle. Fortunately, these are puzzles with a small number of pieces.
The first thing to do is to plan your final image. This is done by laying out the target using a single instrument or FOV. You must determine how much of the object fits into one frame. You don't need an image at this point. Graph paper works well. You need to determine the object's dimensions and draw it on the graph paper. You can use an arcminute or degree as a measure. Draw a box on the graph paper the size of the telescope's FOV. Then draw the approximate size of the object. This can also be determined with software that frames the FOV. Software Bisque's TheSkyX works well.
Even better, Astro Mosaic is a tool by our own TelescopeLive Jarmo Ruuth for planning telescope observations. It shows a visual view of the target using selected telescope visibility during the night, and it calculates mosaic coordinates. https://ruuth.xyz/AstroMosaic.html. You will then see how many frames it will take to cover the area of sky you wish to capture.
The greater the focal length, the smaller the FOV, the closer the zoom. You will need more frames to cover the same area of the sky. You will need to allow for an overlap of at least 10 percent wherever the edges of the frames meet. The Astro Mosaic tool takes this into account.
Acquiring the images
The next step is to take a series of images using the coordinates generated by the AstroMosaic tool. Use the Advanced Request feature to submit the image request. Each location should contain the same filters and exposure time. That means, if you are making a four-frame mosaic, you will need 16 images for an LRGB photo.
Processing
Once the images are captured and processed into four integrated images, PixInsight has a dedicated script made for mosaic stitching.
You will then use the StarAlignment tool to register the images.
Once registered, use the process called 'Gradient Merge Mosaic .' Use trial and error with average, shrink, and feather radius parameters.
You will have to remove artifacts at the seams, where the overlap might be more obvious.
More details can be found athttps://ruuth.xyz/AstroMosaicInfo.html, and https://pixinsight.com/.../Mosai.../MosaicByCoordinates.html
#### 19JAN2022
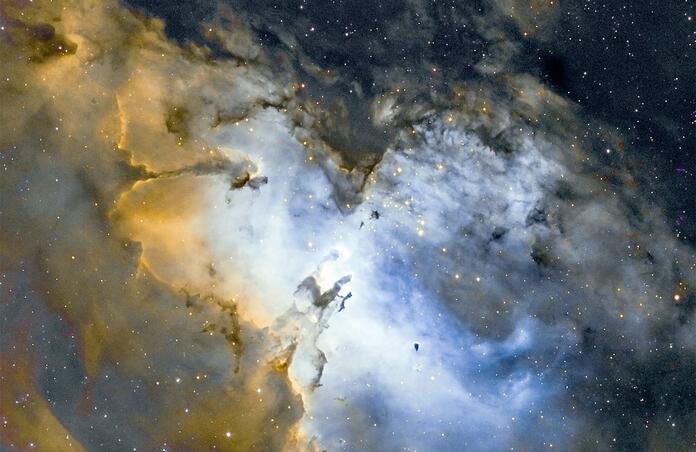
M16 PRO DATA SET
El Sauce Observatory Chile
29OCT20
(not a mosaic)
This blog post was originally published in our Telescope Live Community.
The Community represents Telescope Live's virtual living room, where people exchange ideas and questions around astrophotography and astronomy.
Join the conversation now to find out more about astrophotography and to improve your observation and post-processing skills!
