Processing SPA-2-CMOS Datasets


Some of the latest SPA-2-CMOS datasets have a bit of noise and may not be as flat as we would like them to be, and that will eventually be resolved, but in the meantime there is a way to take care of it all using a combination of Photoshop and APP. In fact, I am not afraid to book Advanced Requests on this telescope because as I say, there is a way around it. I am using the recent Cat's Eye Nebula sets for this tutorial.
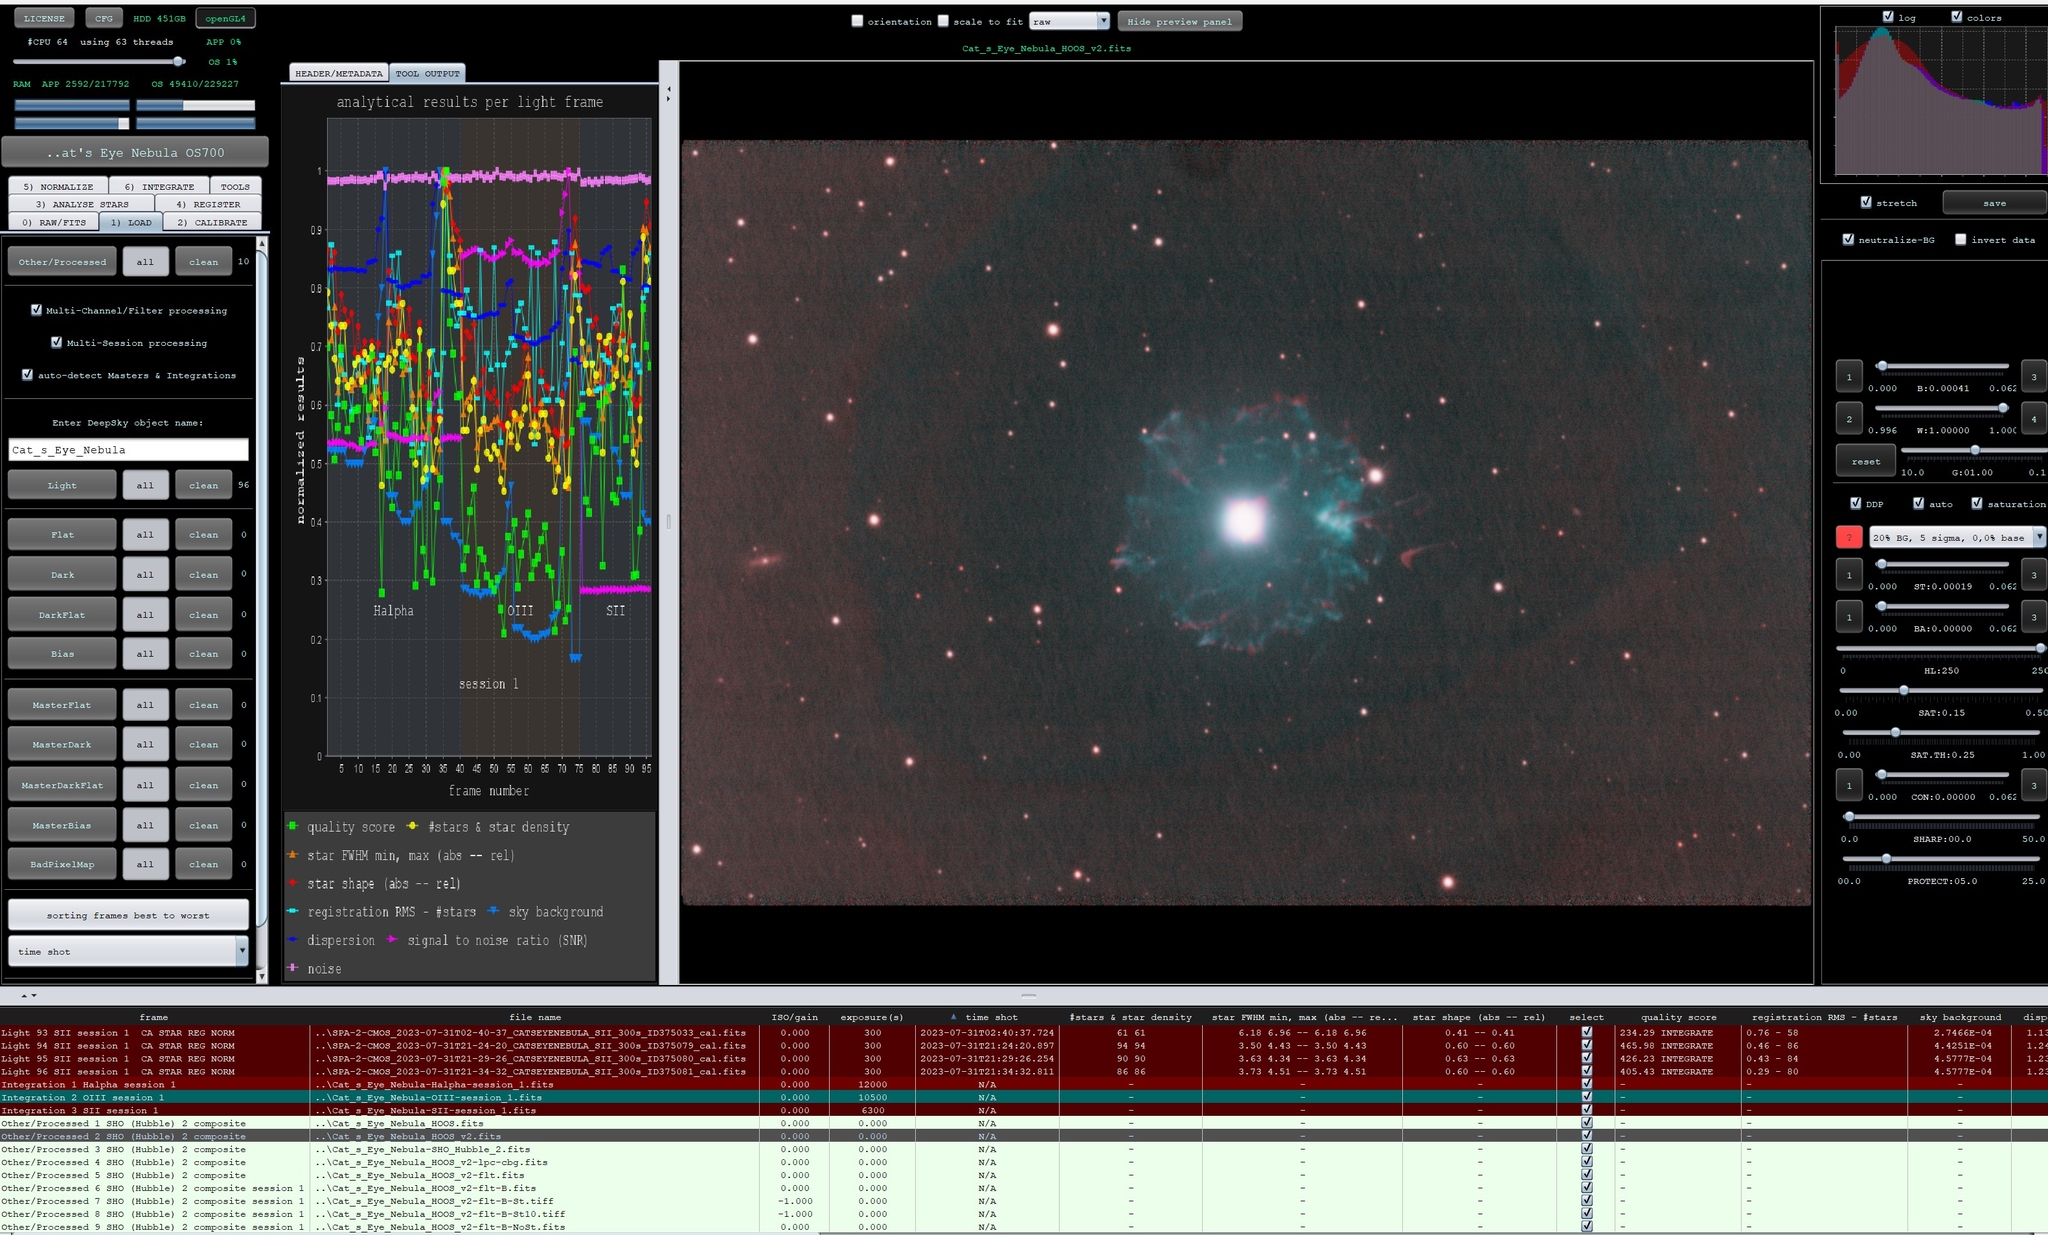
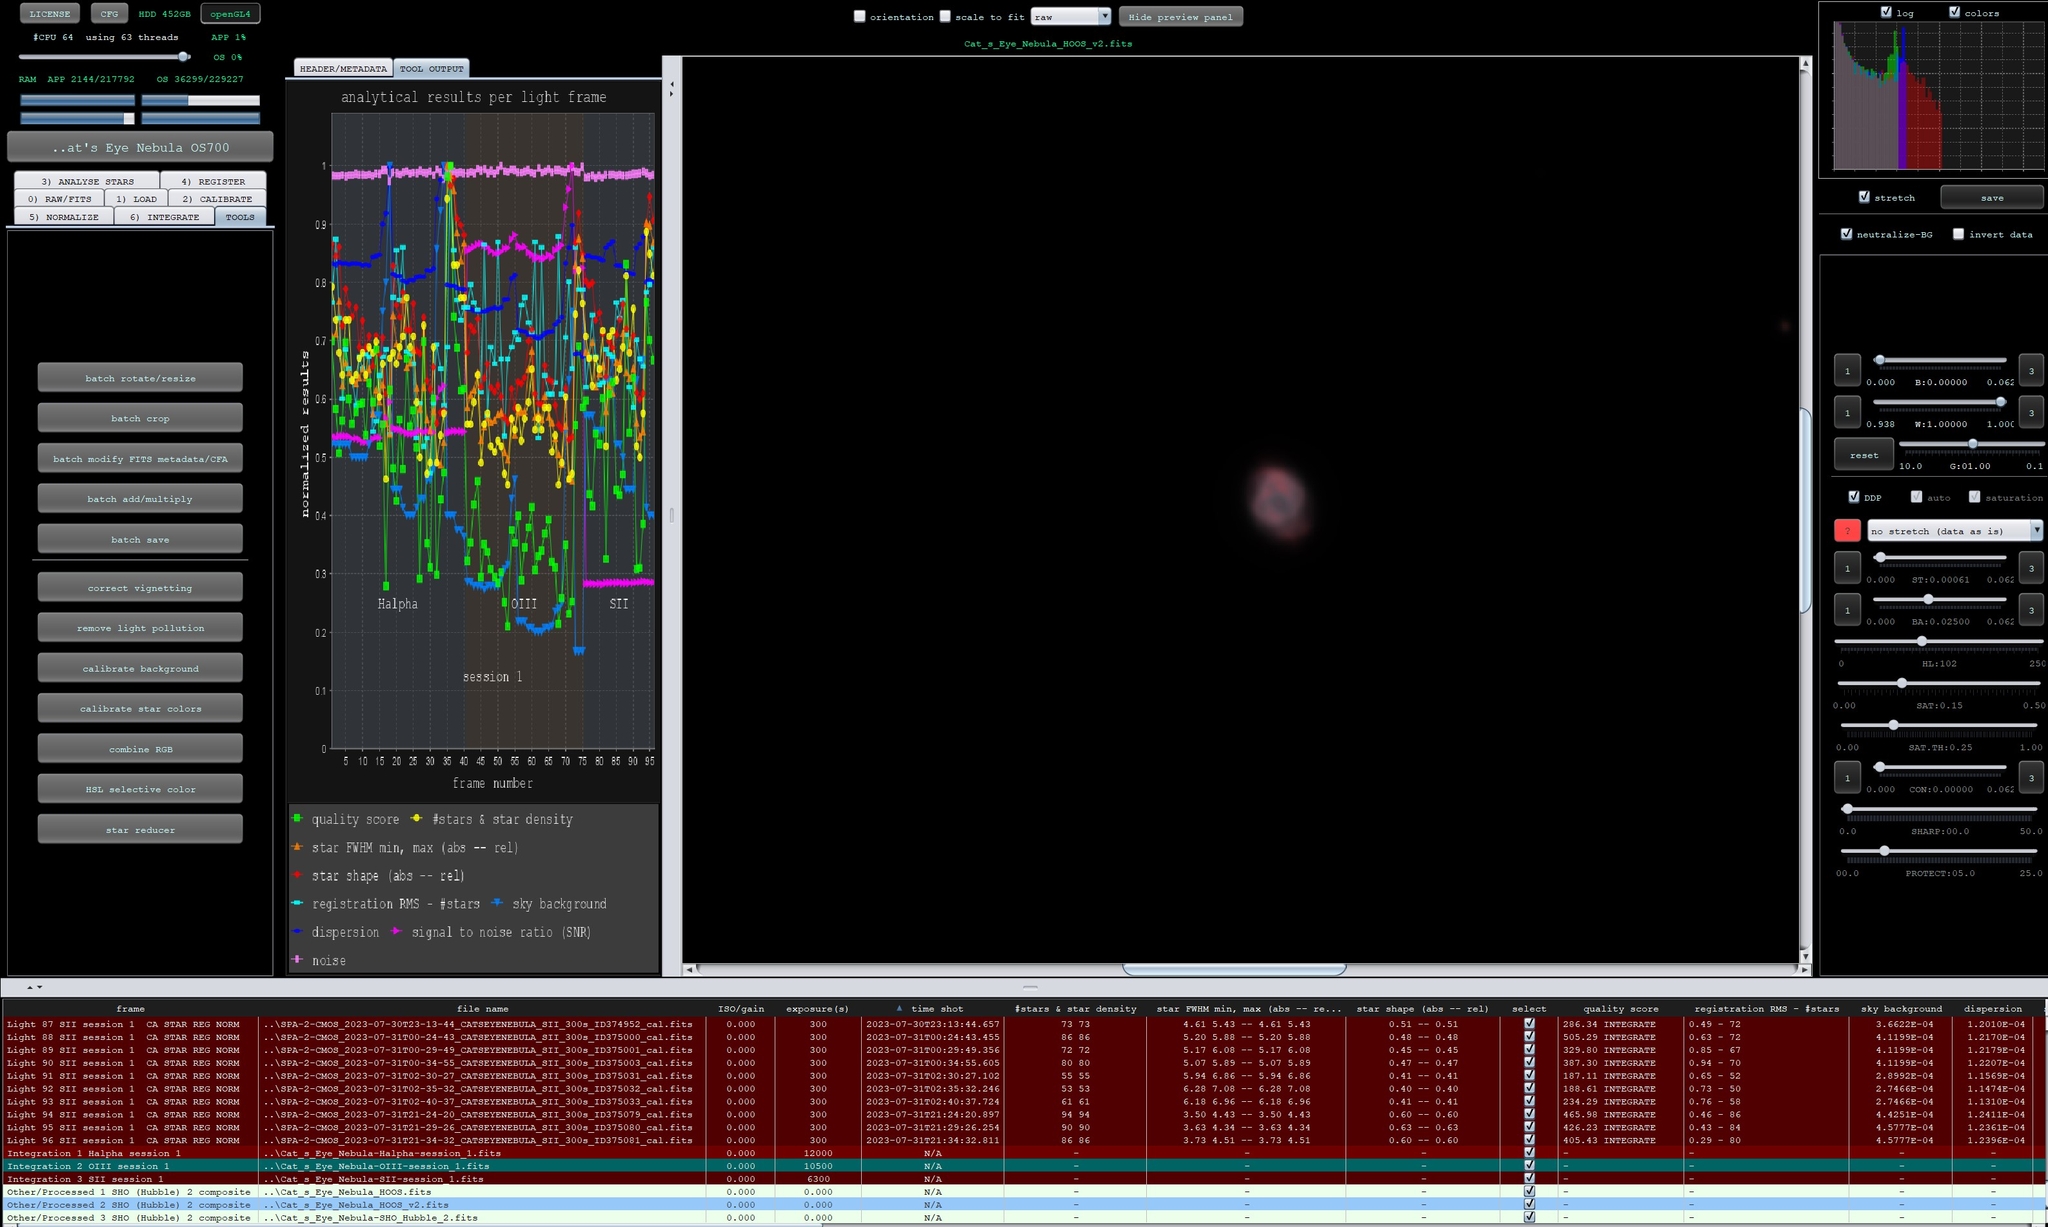
I am going to start at a point where I have the image stacked and the channels combined. First we are going to take the gradients out using the Remove Light Pollution tool in APP. You will want to have the image stretched pretty hard in APP so you know where to put your boxes. I like to do one of the 20% auto-stretches for this part. Don't worry, the image is still going to be linear even if it doesn't look like it. You can say that this is basically a preview of what you would get if you were to apply the changes and save it stretched, almost like STF Autostretch in Pixinsight.
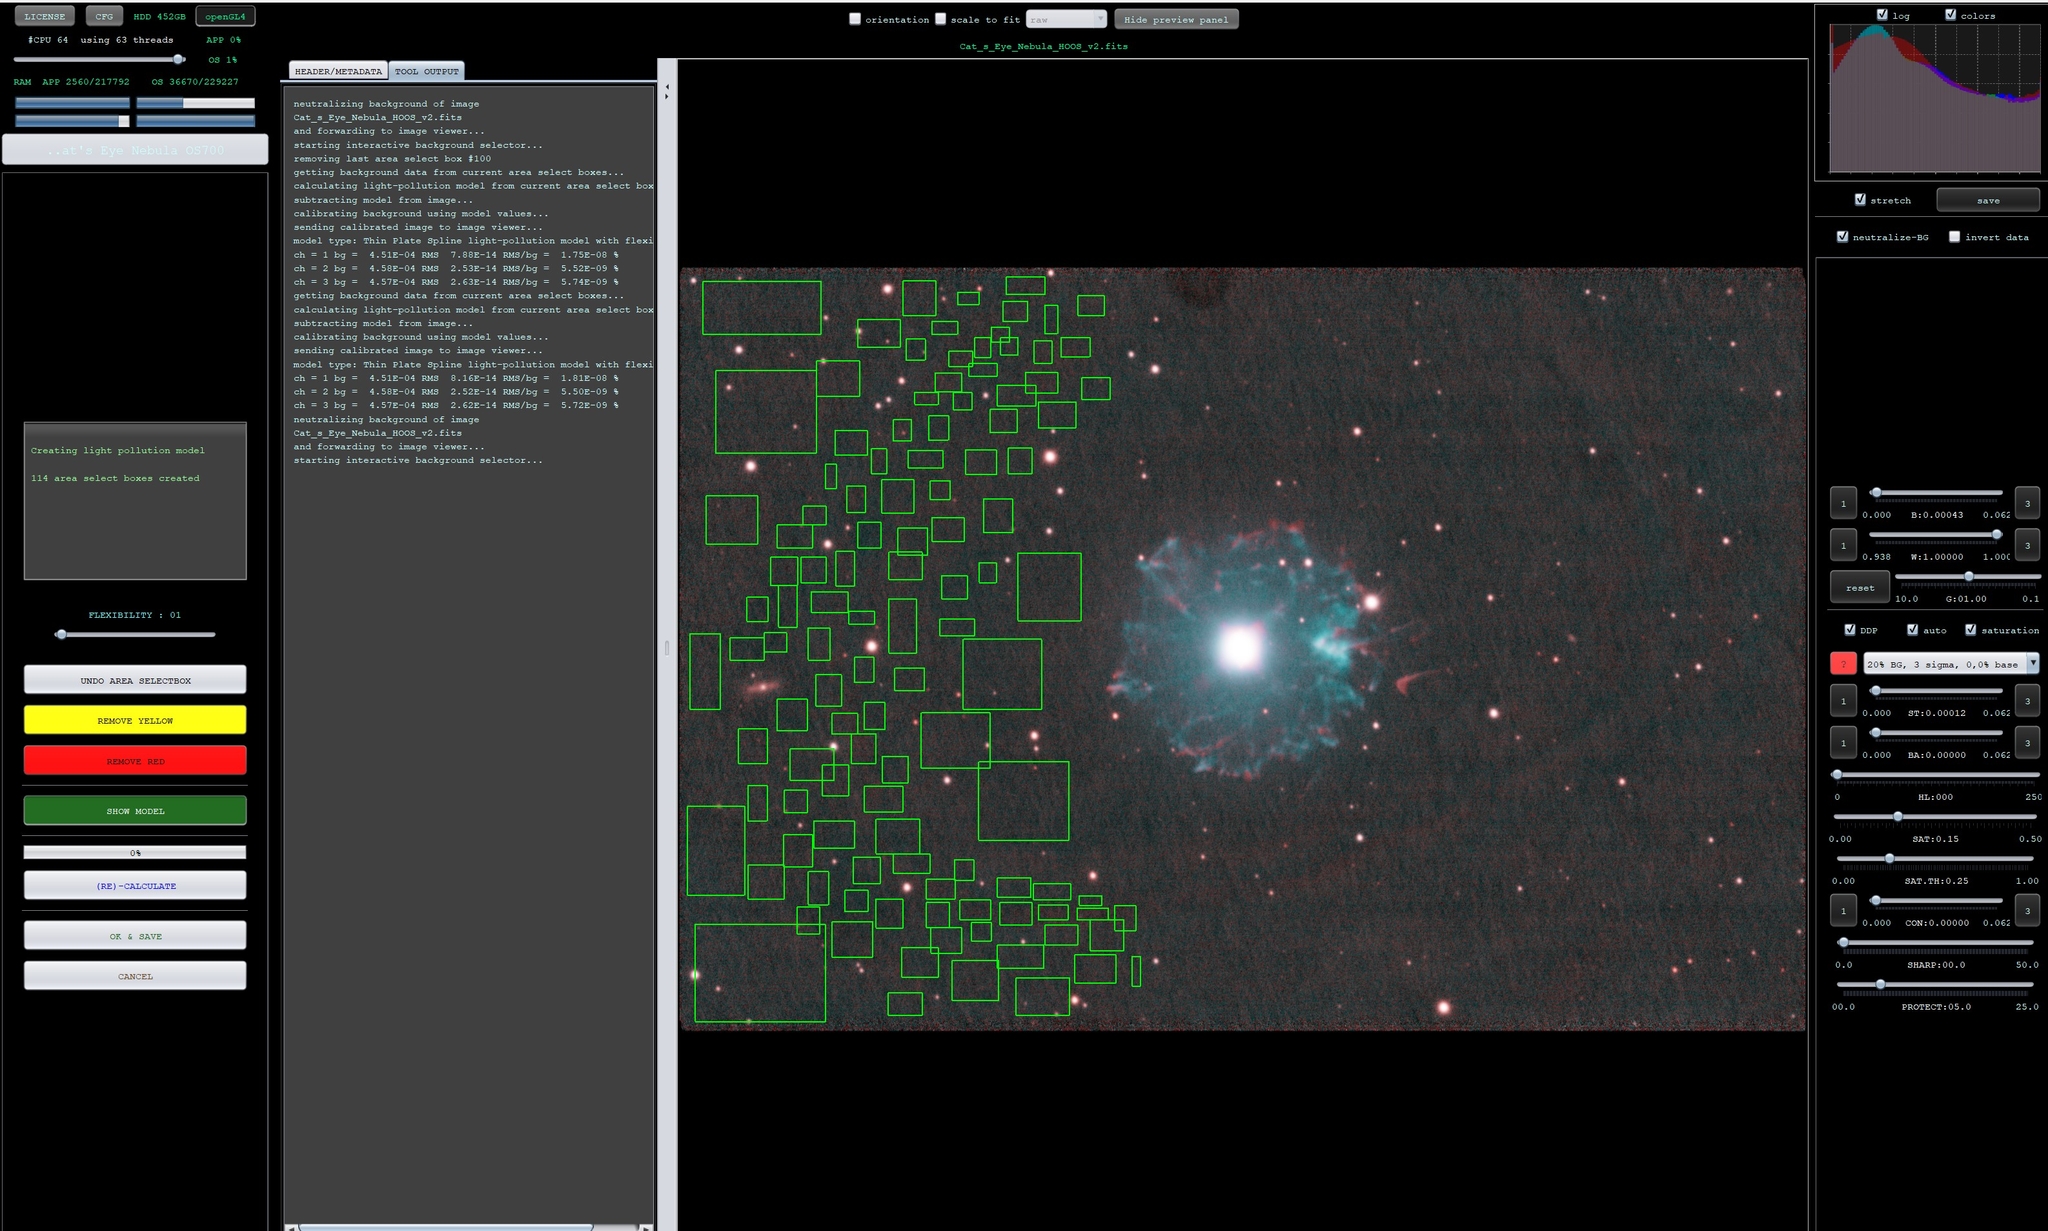
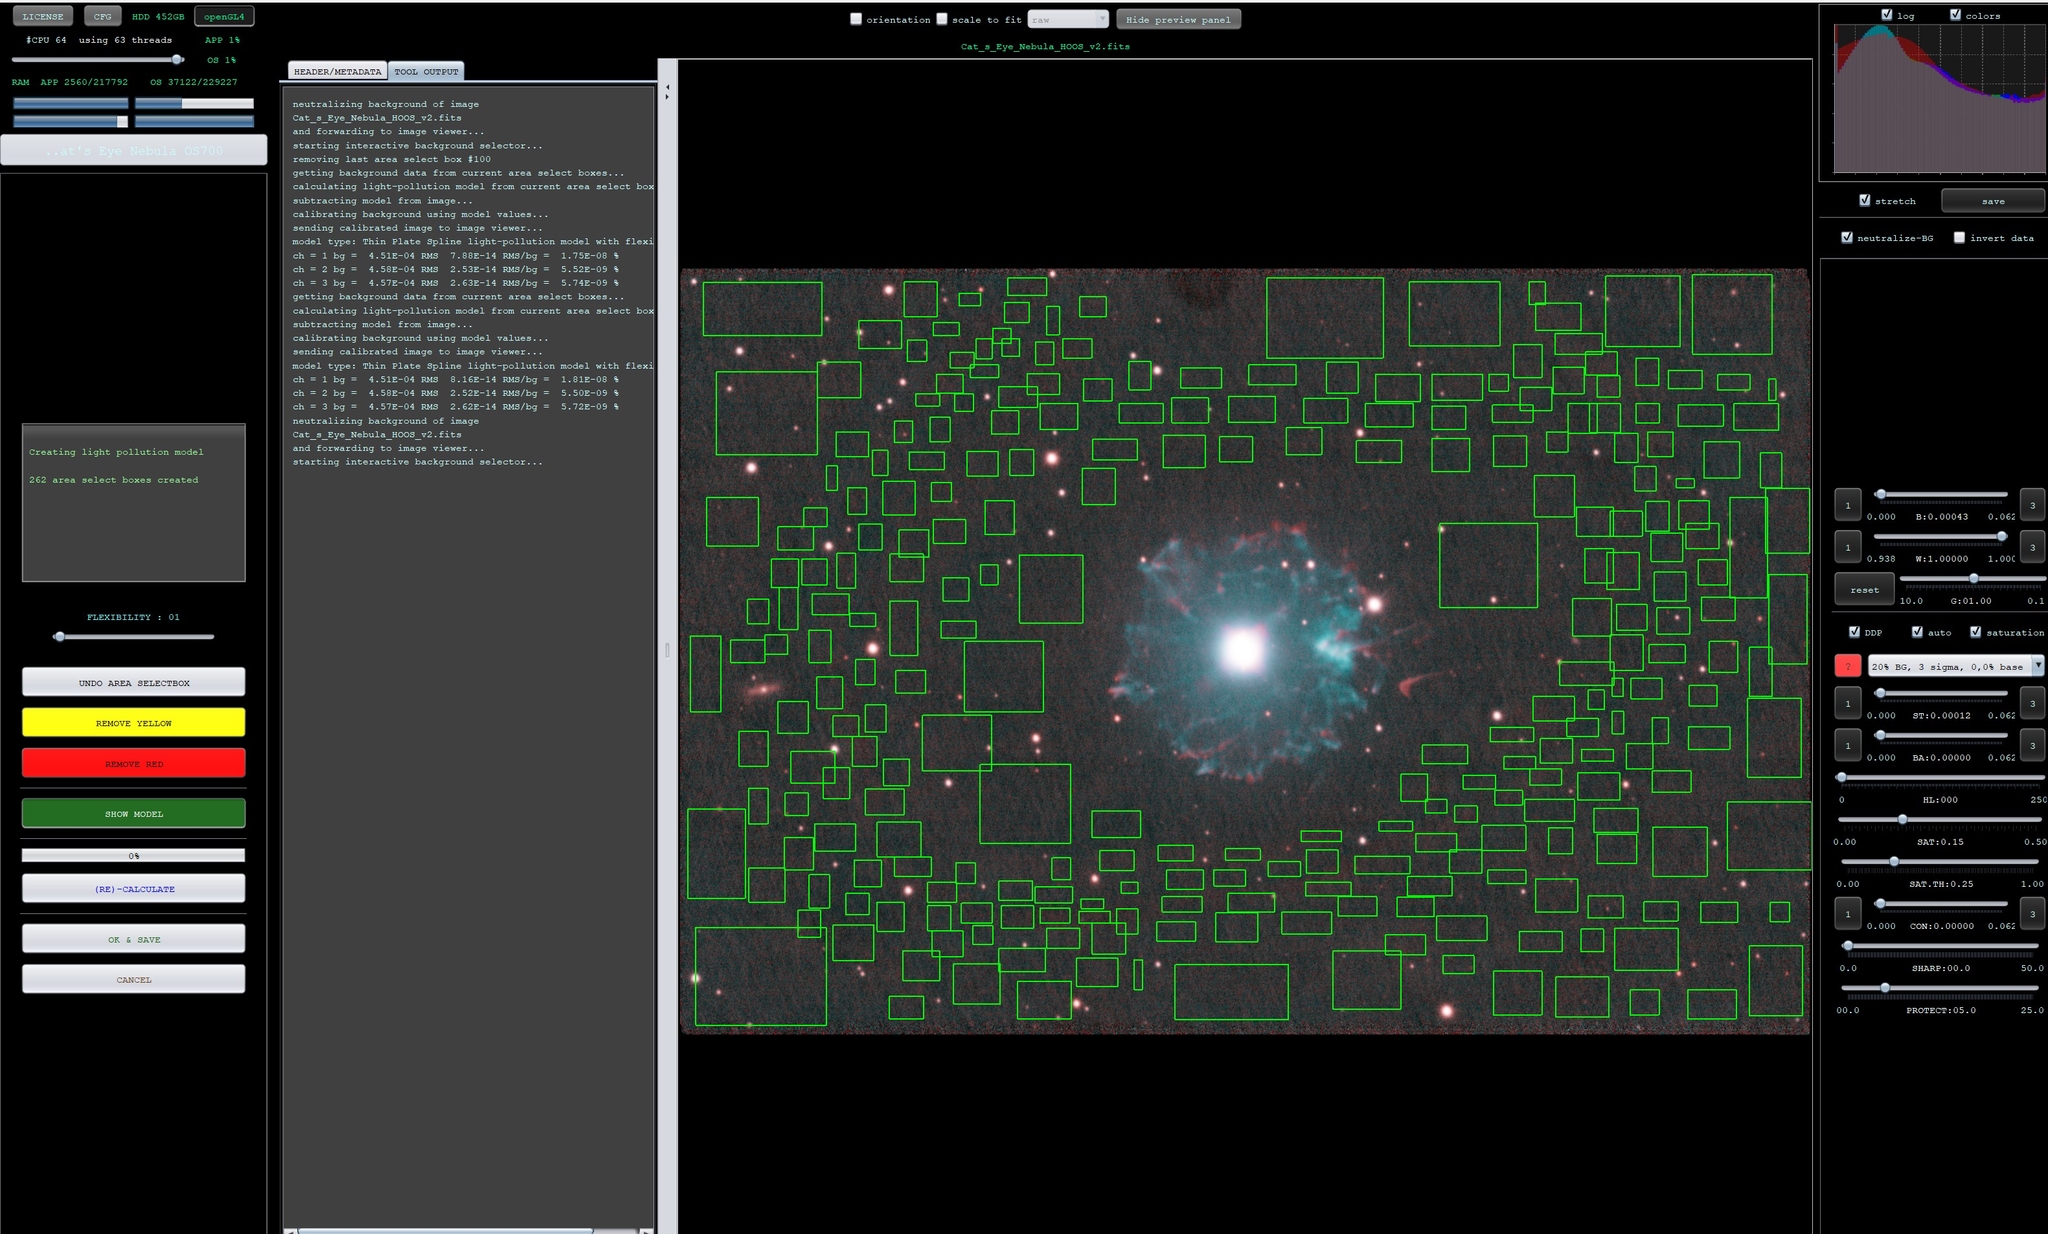
Notice that I put a lot of small boxes following any gradient lines in the image, and bigger ones in other parts of the image. I have included both part way done and fully done with my boxes so you can see what I have done. Do not worry about the dust donut at the top, because while you can fix it with this method, you are in many cases better off with using Clone Stamp in PI or Photoshop. I ended up using it in Photoshop to eliminate it further on into the process.
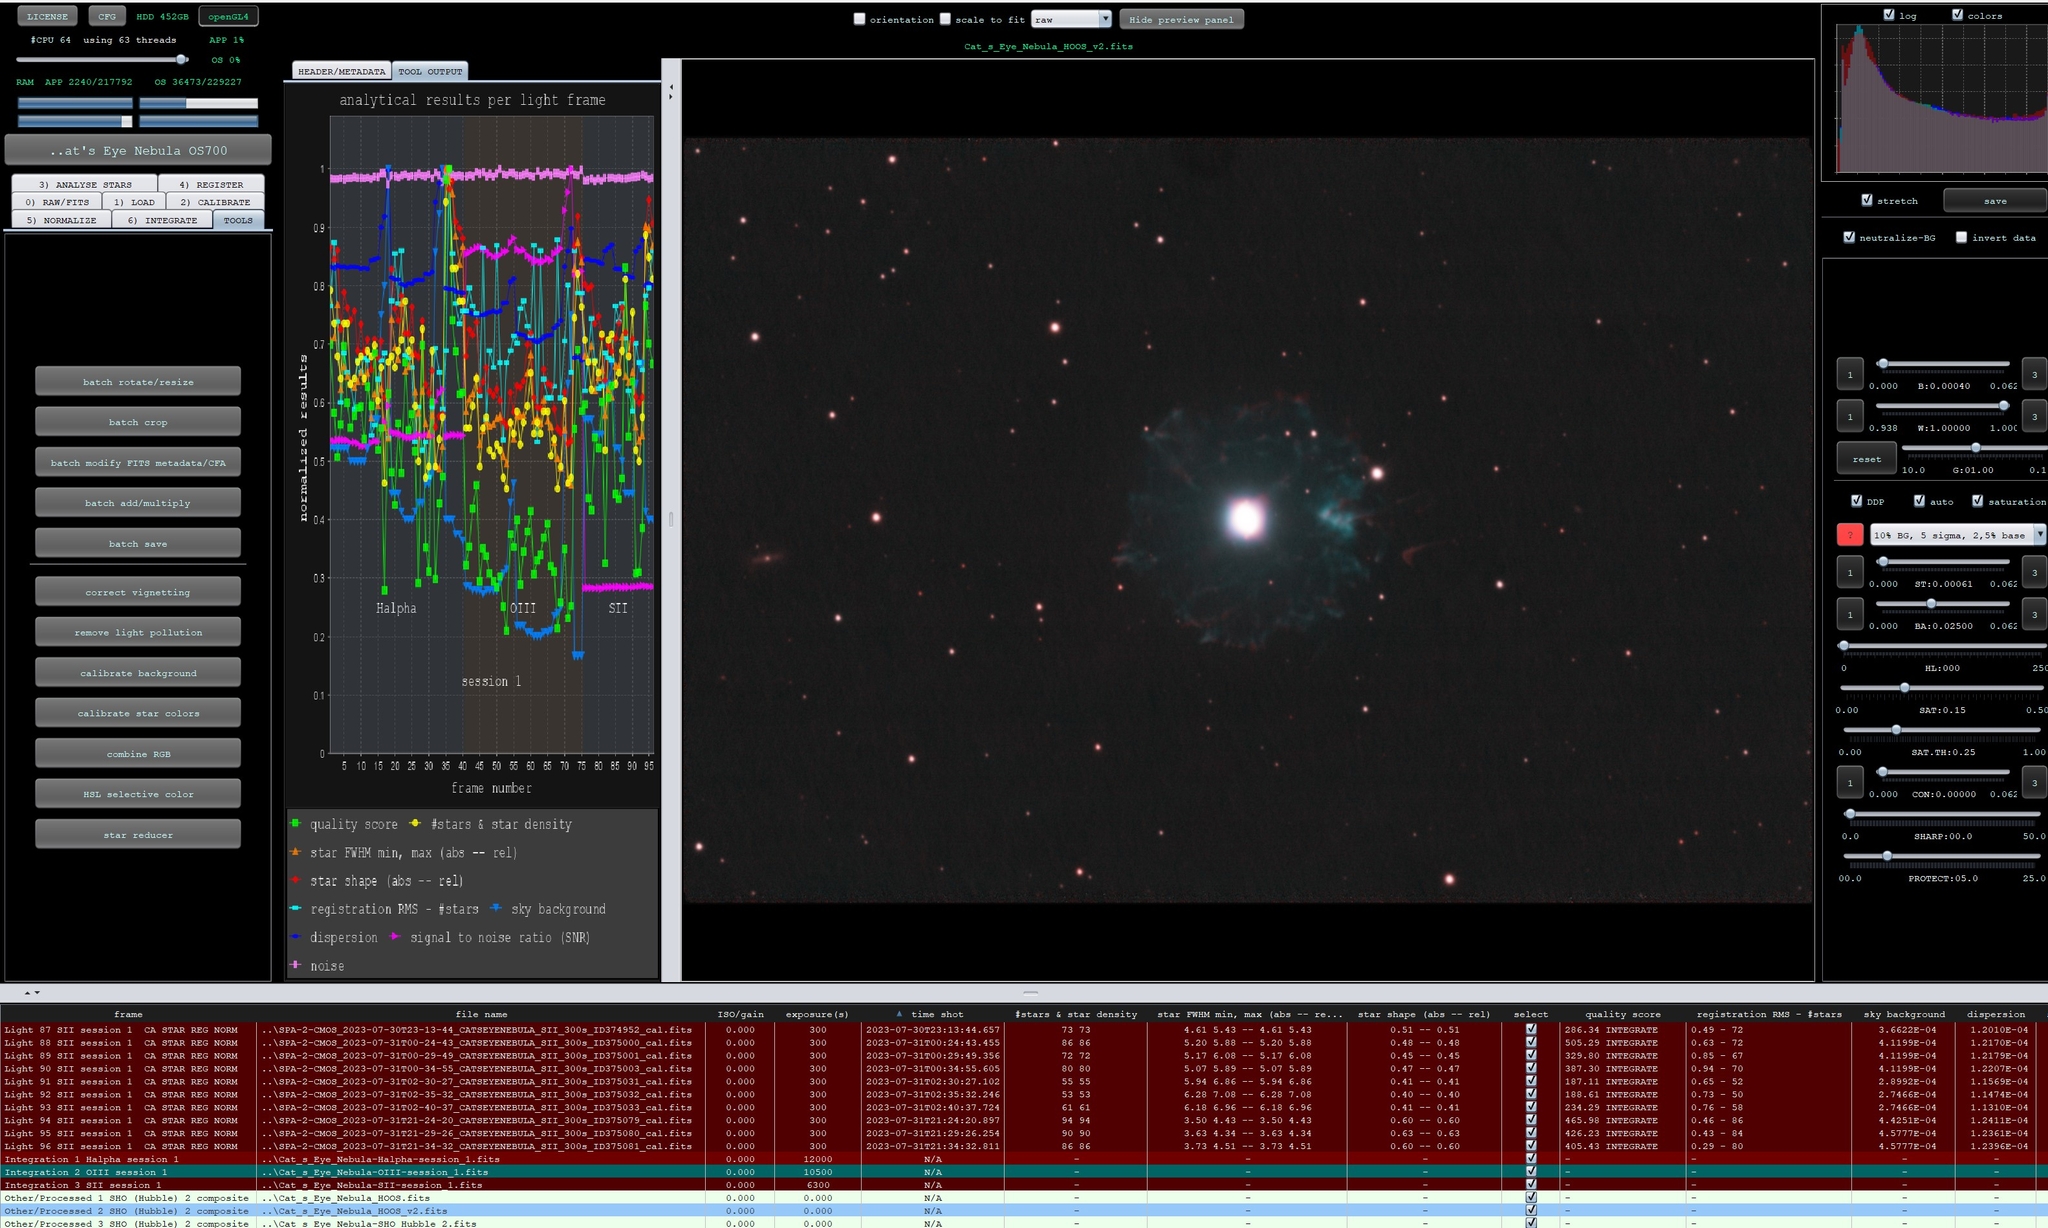
One thing to remember is that this does not reduce the noise in the images, but it does even things out a bit. This method depends on the elimination of any harsh gradients. Also, this is an iterative process. On this one I had to do this twice to get to where I was satisfied. You will need to save this image between each iteration so you do not make things worse. Here is my final result. It isn't perfect, but now it is flat.

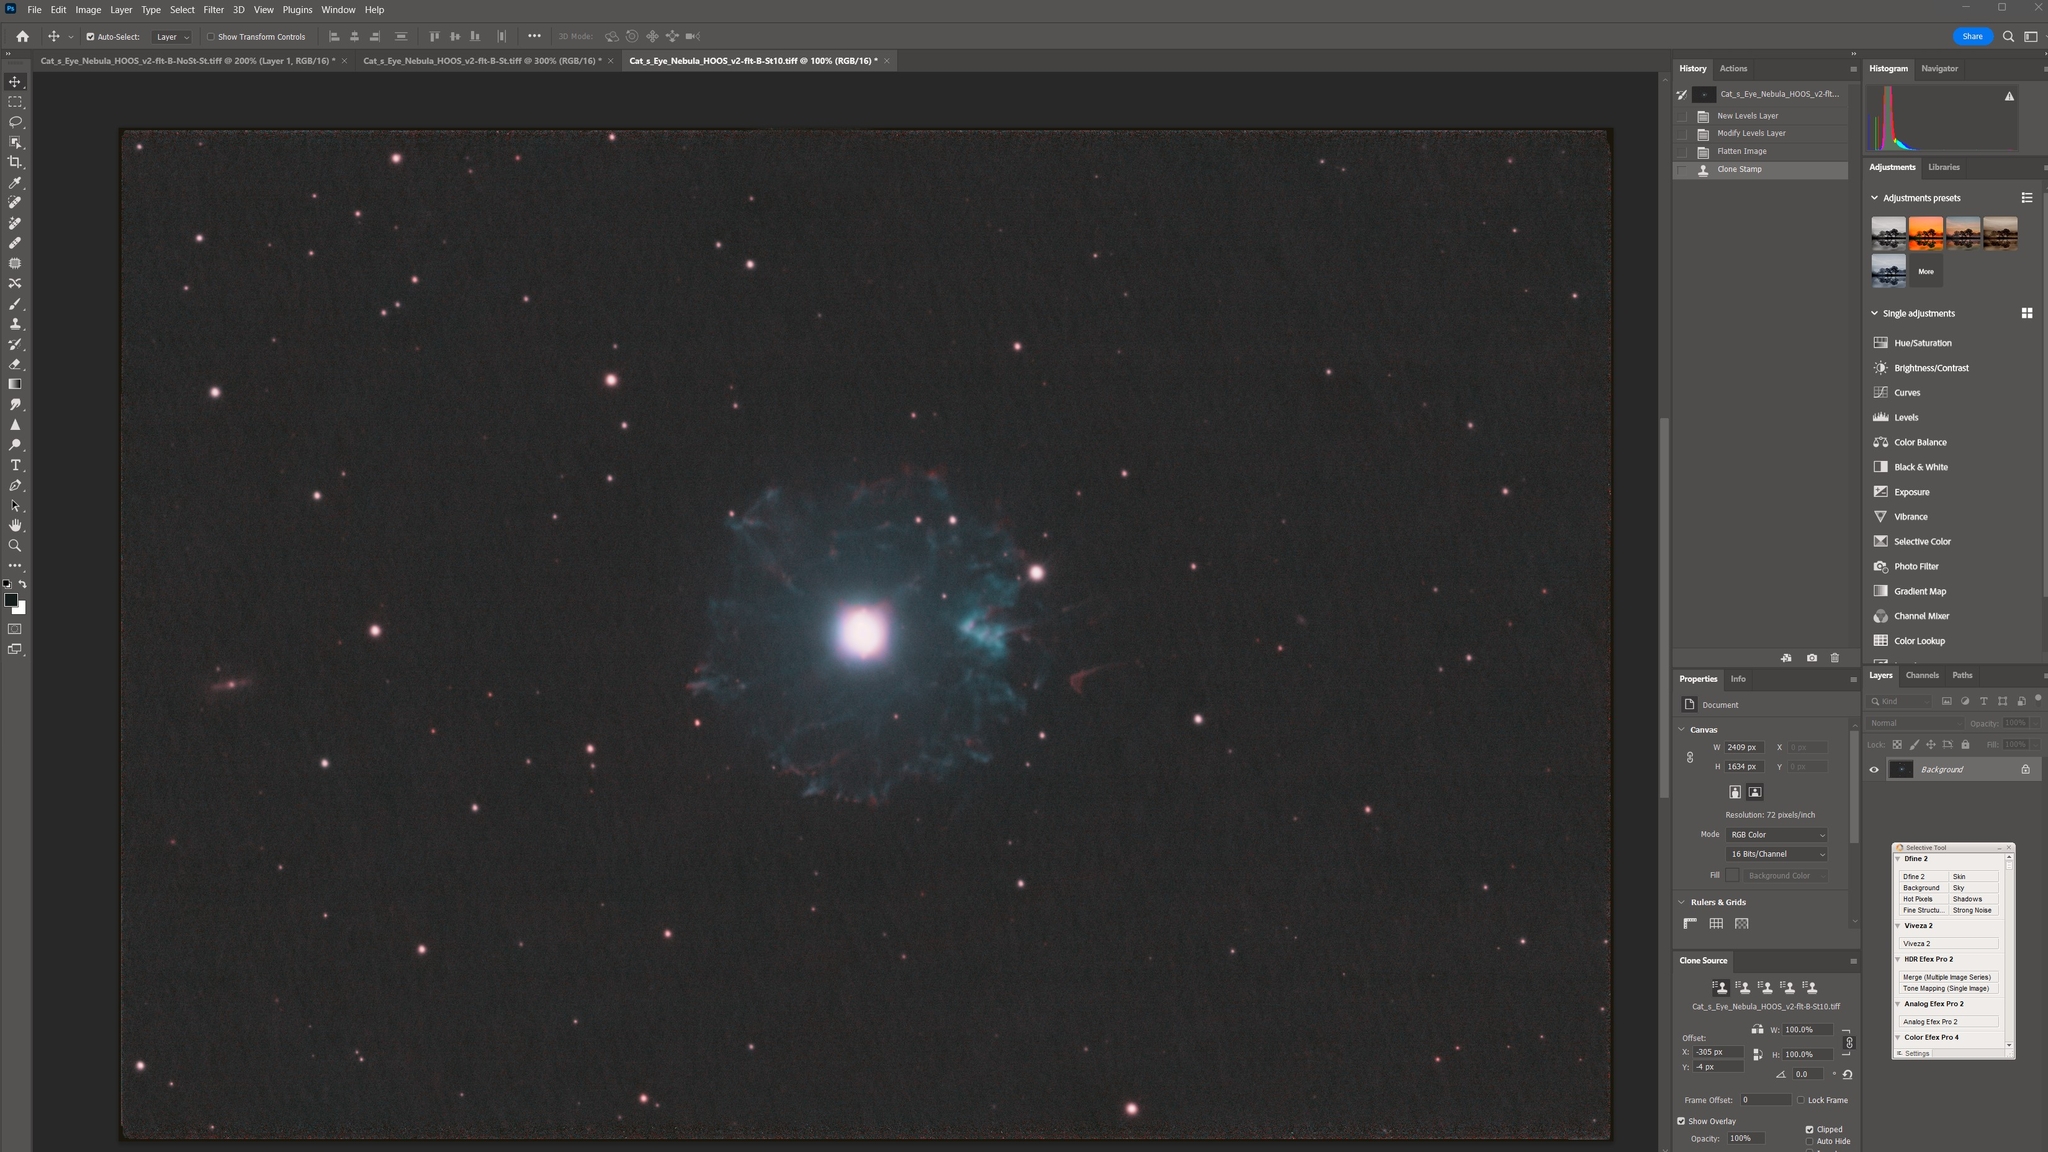
Now we have something we can work with. Here is what it looks like with the auto stretching backed off some. As you can see we are definitely in a much better position than what we started with. This is how the image needs to be so noise can be dealt with. You will see that I have both a 10% stretched and a zero stretch. You will need to save both of these as a 16 bit tif file. First save the 10% stretched one with the "stretch" box checked in APP, then after that is done set your auto stretch part to "no stretch (data as is)." The zero stretch is for detail in the center of the nebula itself, and you will not use any noise reduction on that one.
Now you are going to go into Photoshop and open both of these images in different tabs Use clone stamp to clear the dust donut at the top at this point. Once you have done this the image is ready to start being worked on for noise removal.
The first thing you need to do is use Select > Color Range and pick shadows. For this one the best starting point was to set fuzziness to 10% and range to 30. You will see a preview of what you have selected at this point. If you are on the image itself in Photoshop you will see the "marching ants" around your selection. Due to pulling screenshots that is not present in any of my examples because I used a different tool to get what I needed to pull out.

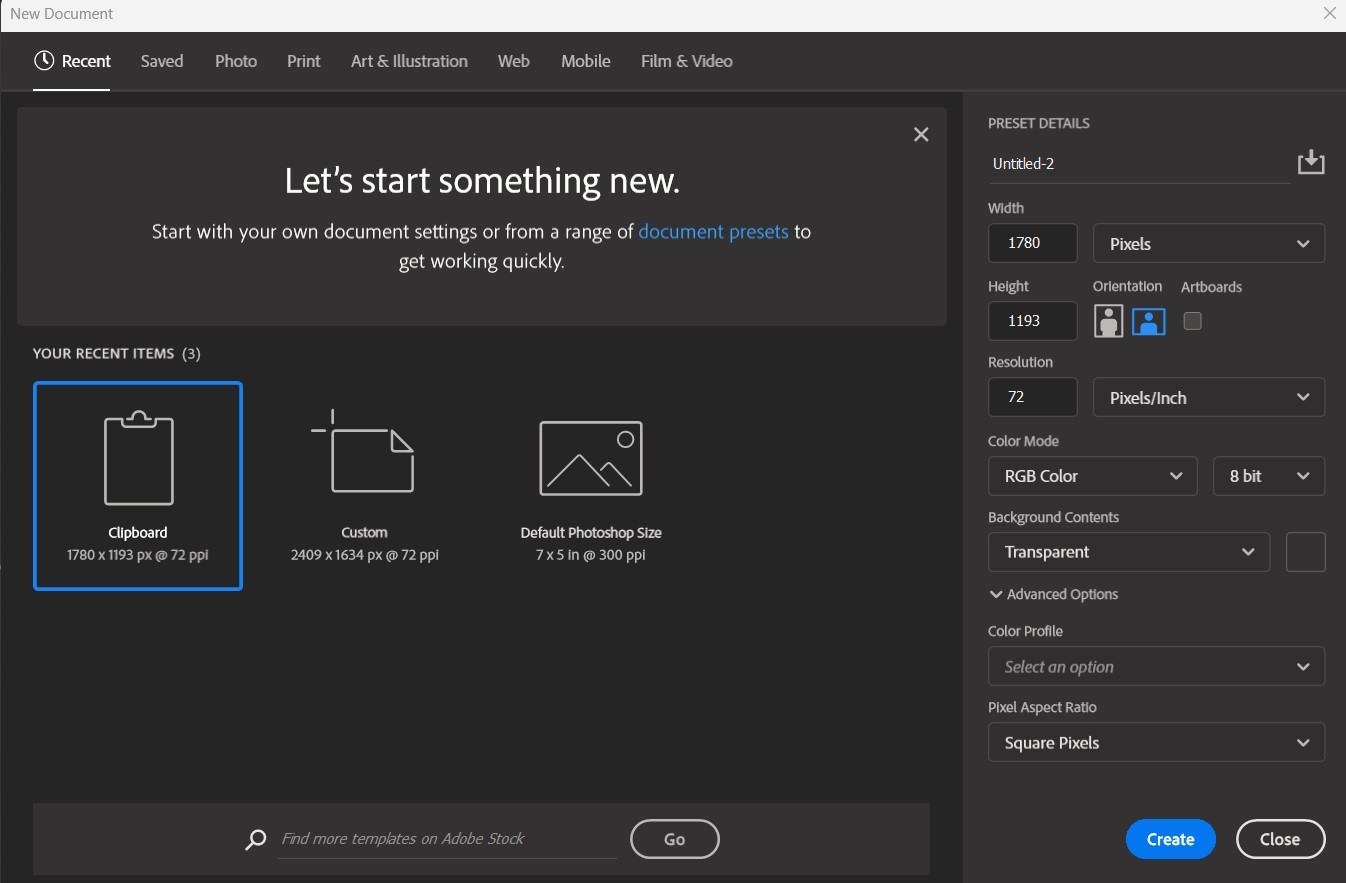
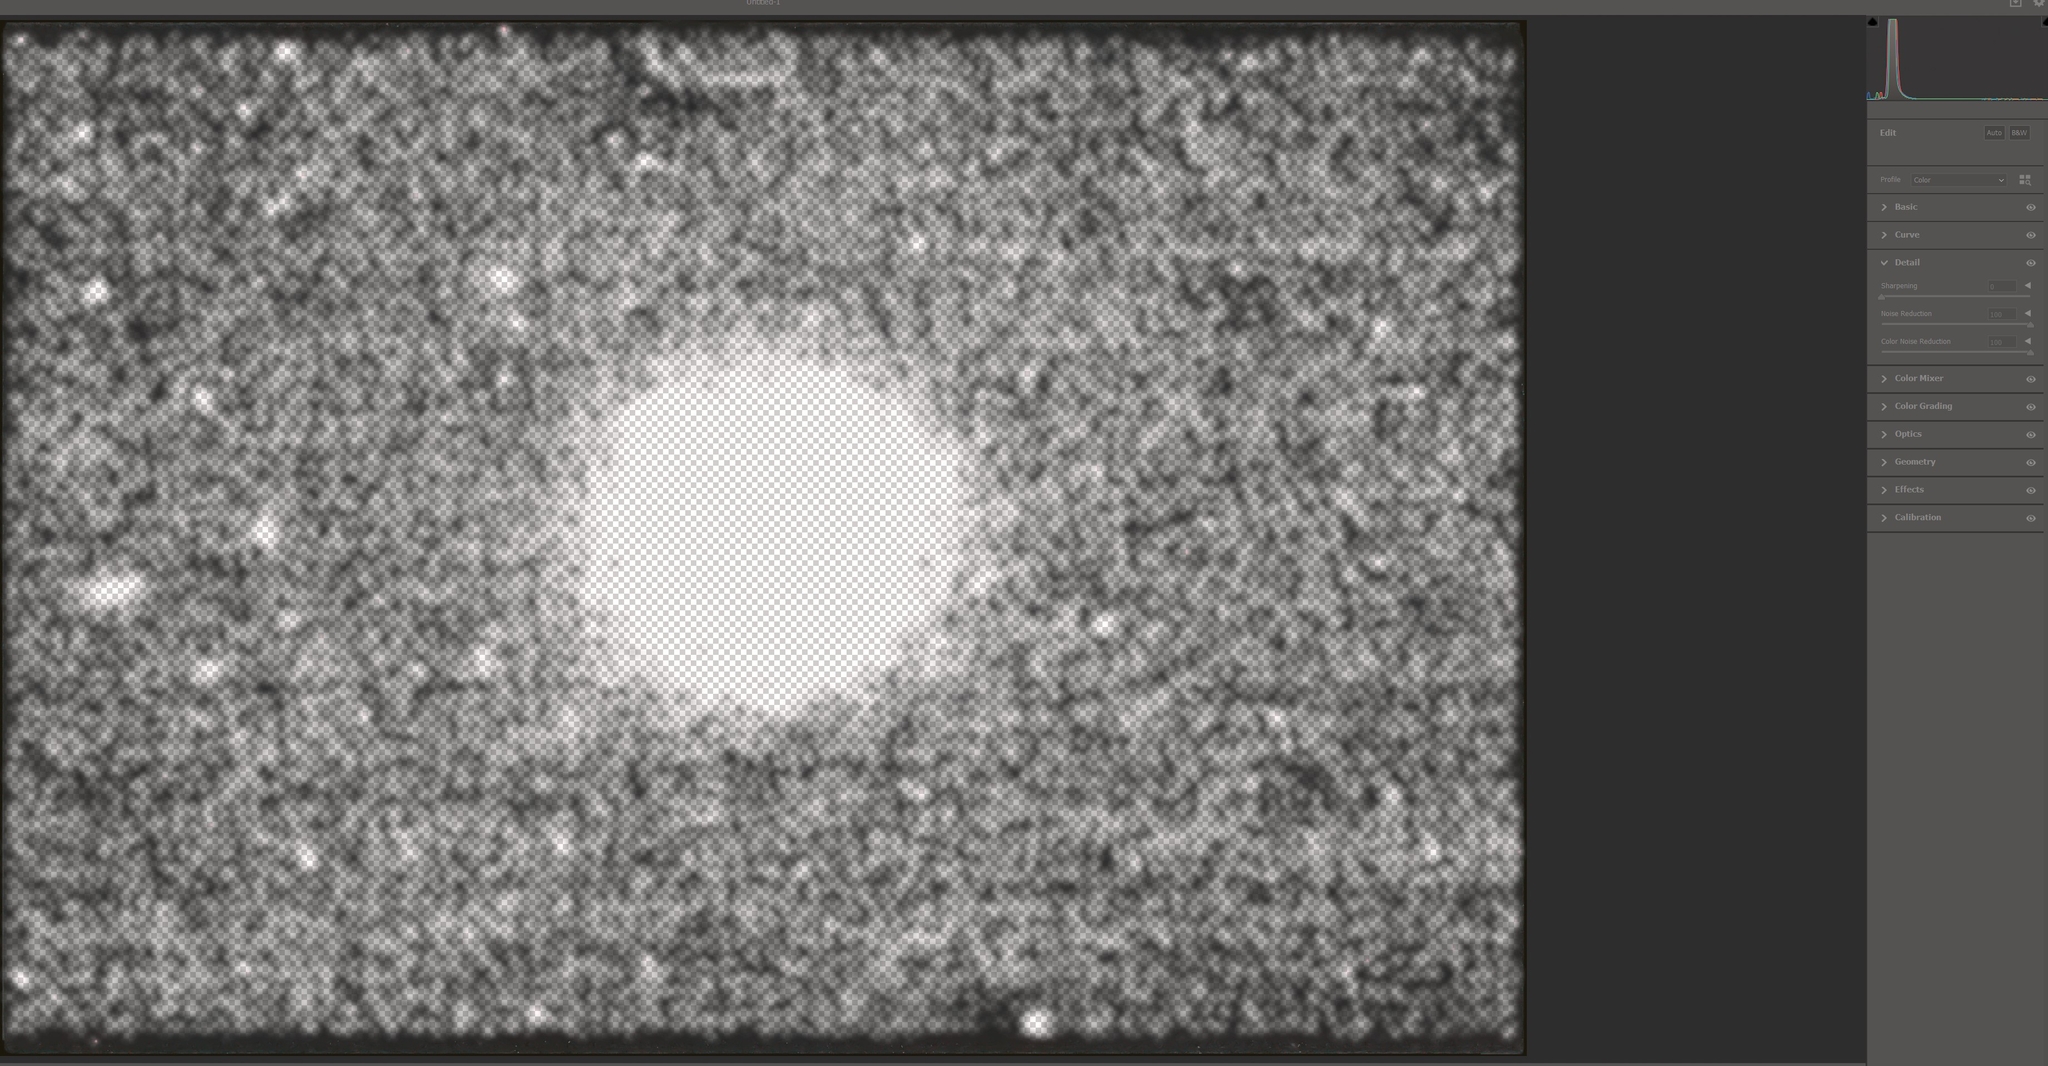
You will then need to do Select > Modify > Expand and do that by 5 pixels. Then you will need to do Select > Modify > Feather and do that one by 5 pixels as well for this image. Once this is done you will need to do ctrl+c to copy that selection. Now you need to go to File > New > Clipboard and that will give you an image in a new tab that is only what you copied out. Also make sure that the background of that is set as transparent.
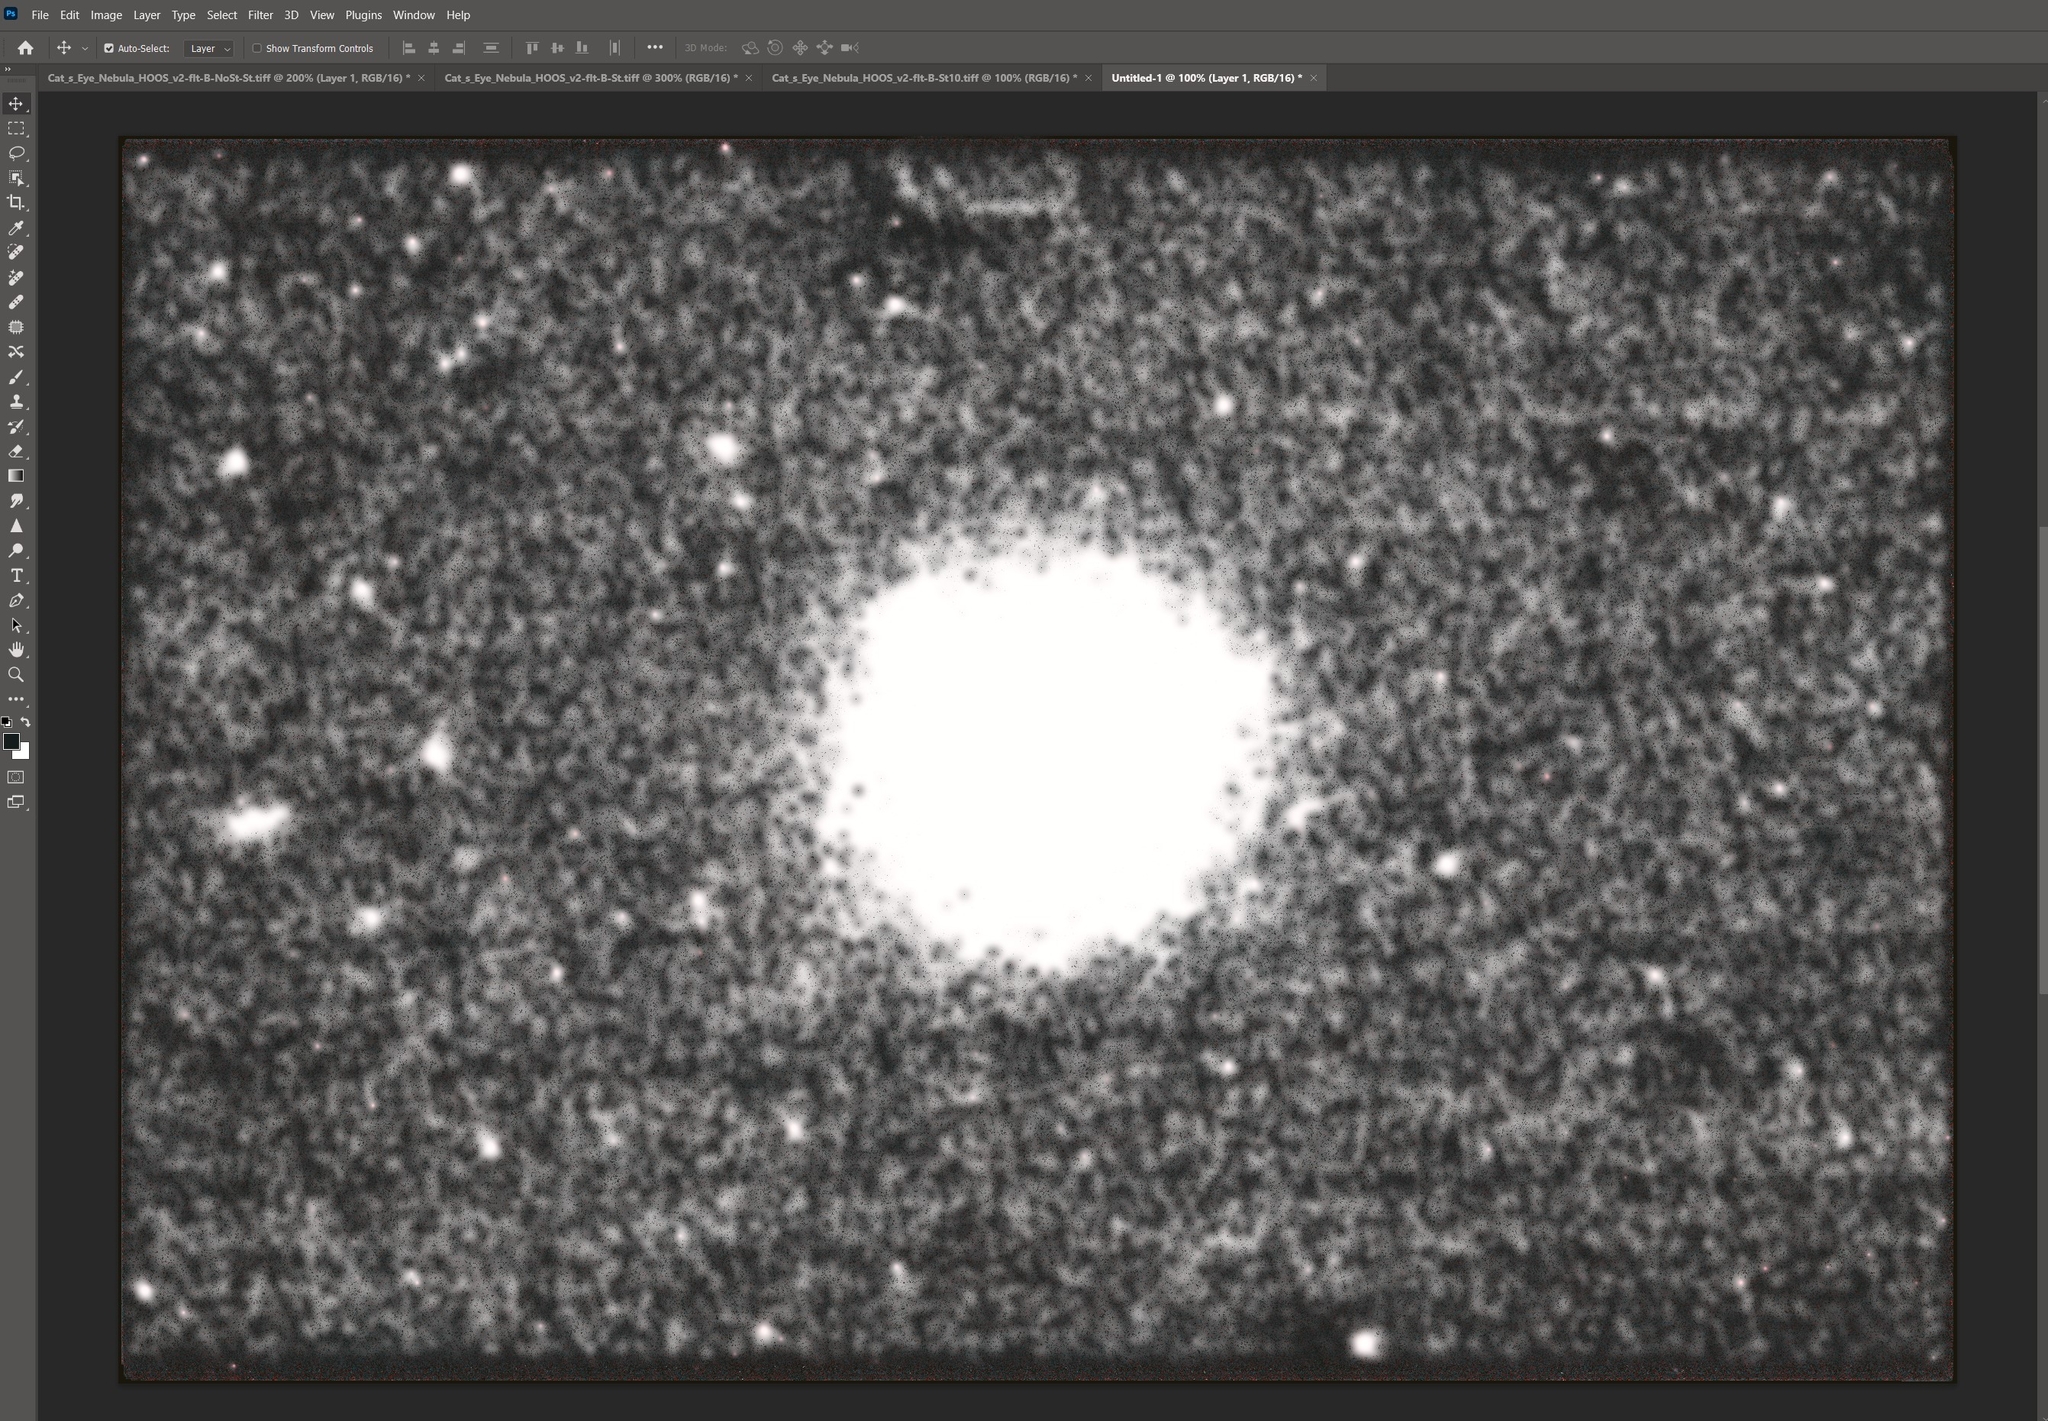
When you have done that you will use ctrl+v or whatever your method for pasting is into the new image tab that you created. The resulting image will look strange, but that is by design since we are trying to eliminate the noise from where ti stands out the worst.
The next thing you will do is open that image in Filter > Camera Raw. You may have to flatten the image first depending on how you have Photoshop set up.
When in Camera Raw go to Detail and then push your noise reduction and color noise reduction sliders to the maximum. Hit OK to apply the changes.
Now you are going to select the image, copy it, and then go back to your stretched image and paste it as a normal layer. Since this is only selecting areas that were in shadow it will only paste those back into the image, giving you a huge reduction in noise. Leave your opacity and fill at 100%, then flatten the image.

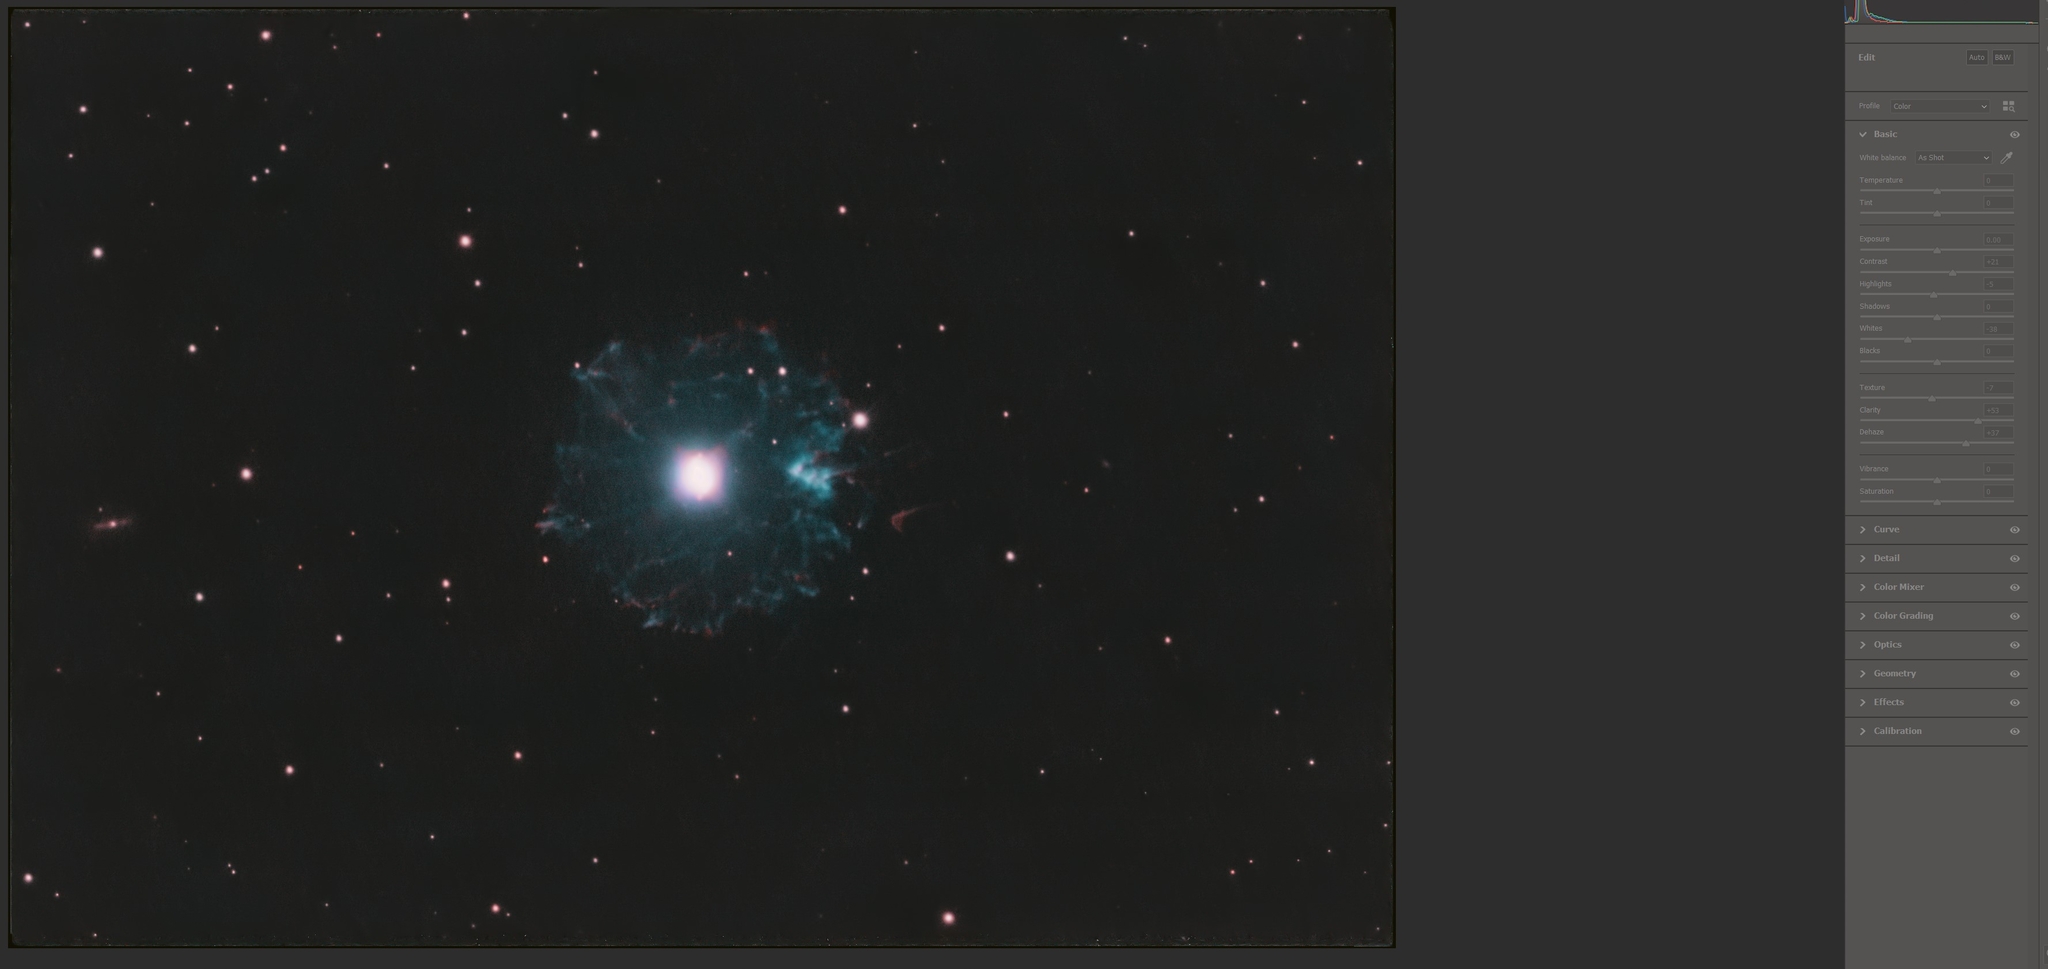
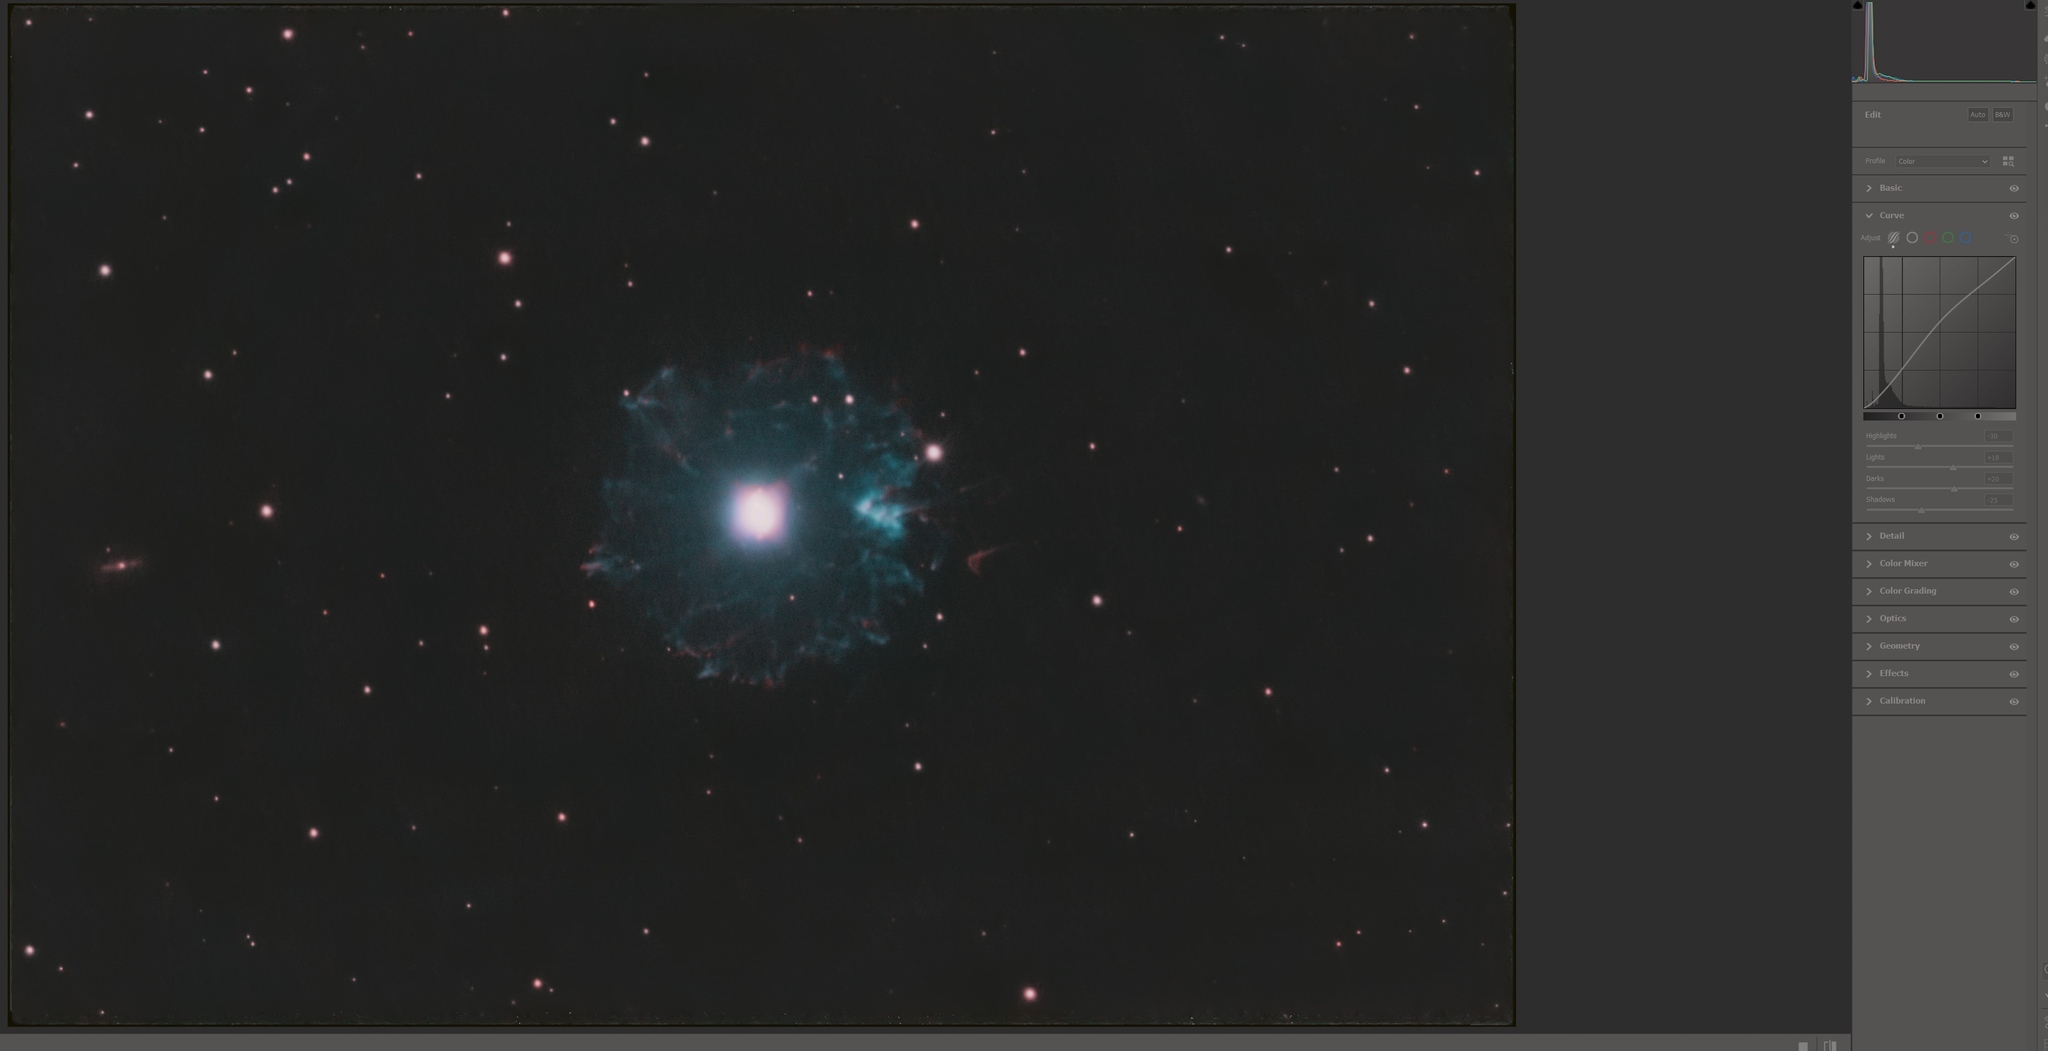
The next thing on this one is to work the nebula and the background both at the same time. For that I opened it in Camera Raw and made adjustments in both the basic and the curves portions as shown in the screenshots below.
Select OK to apply the changes. Your next step is to go to Select > Color Range > Sampled Colors and then pick somewhere on your background part of the image. Set your fuzziness to 40. If done properly you should have the majority of the background selected and that selection should pretty well run up to any of your mid and highlights.

Now that you have this all selected you can again work the background to take any extra tint to it out. For this one I used levels and worked the red, green, and blue channels to get them to match each other as closely as possible to get a pleasant background that was a little bit darker. You can also do a photo filter, or pretty well anything that you would like to do to the background at this point as an adjustment layer. I frequently use Layers, Curves, Hue/Saturation, Brightness/Contrast, and Photo Filter on my background. Notice that I have levels open on this one.

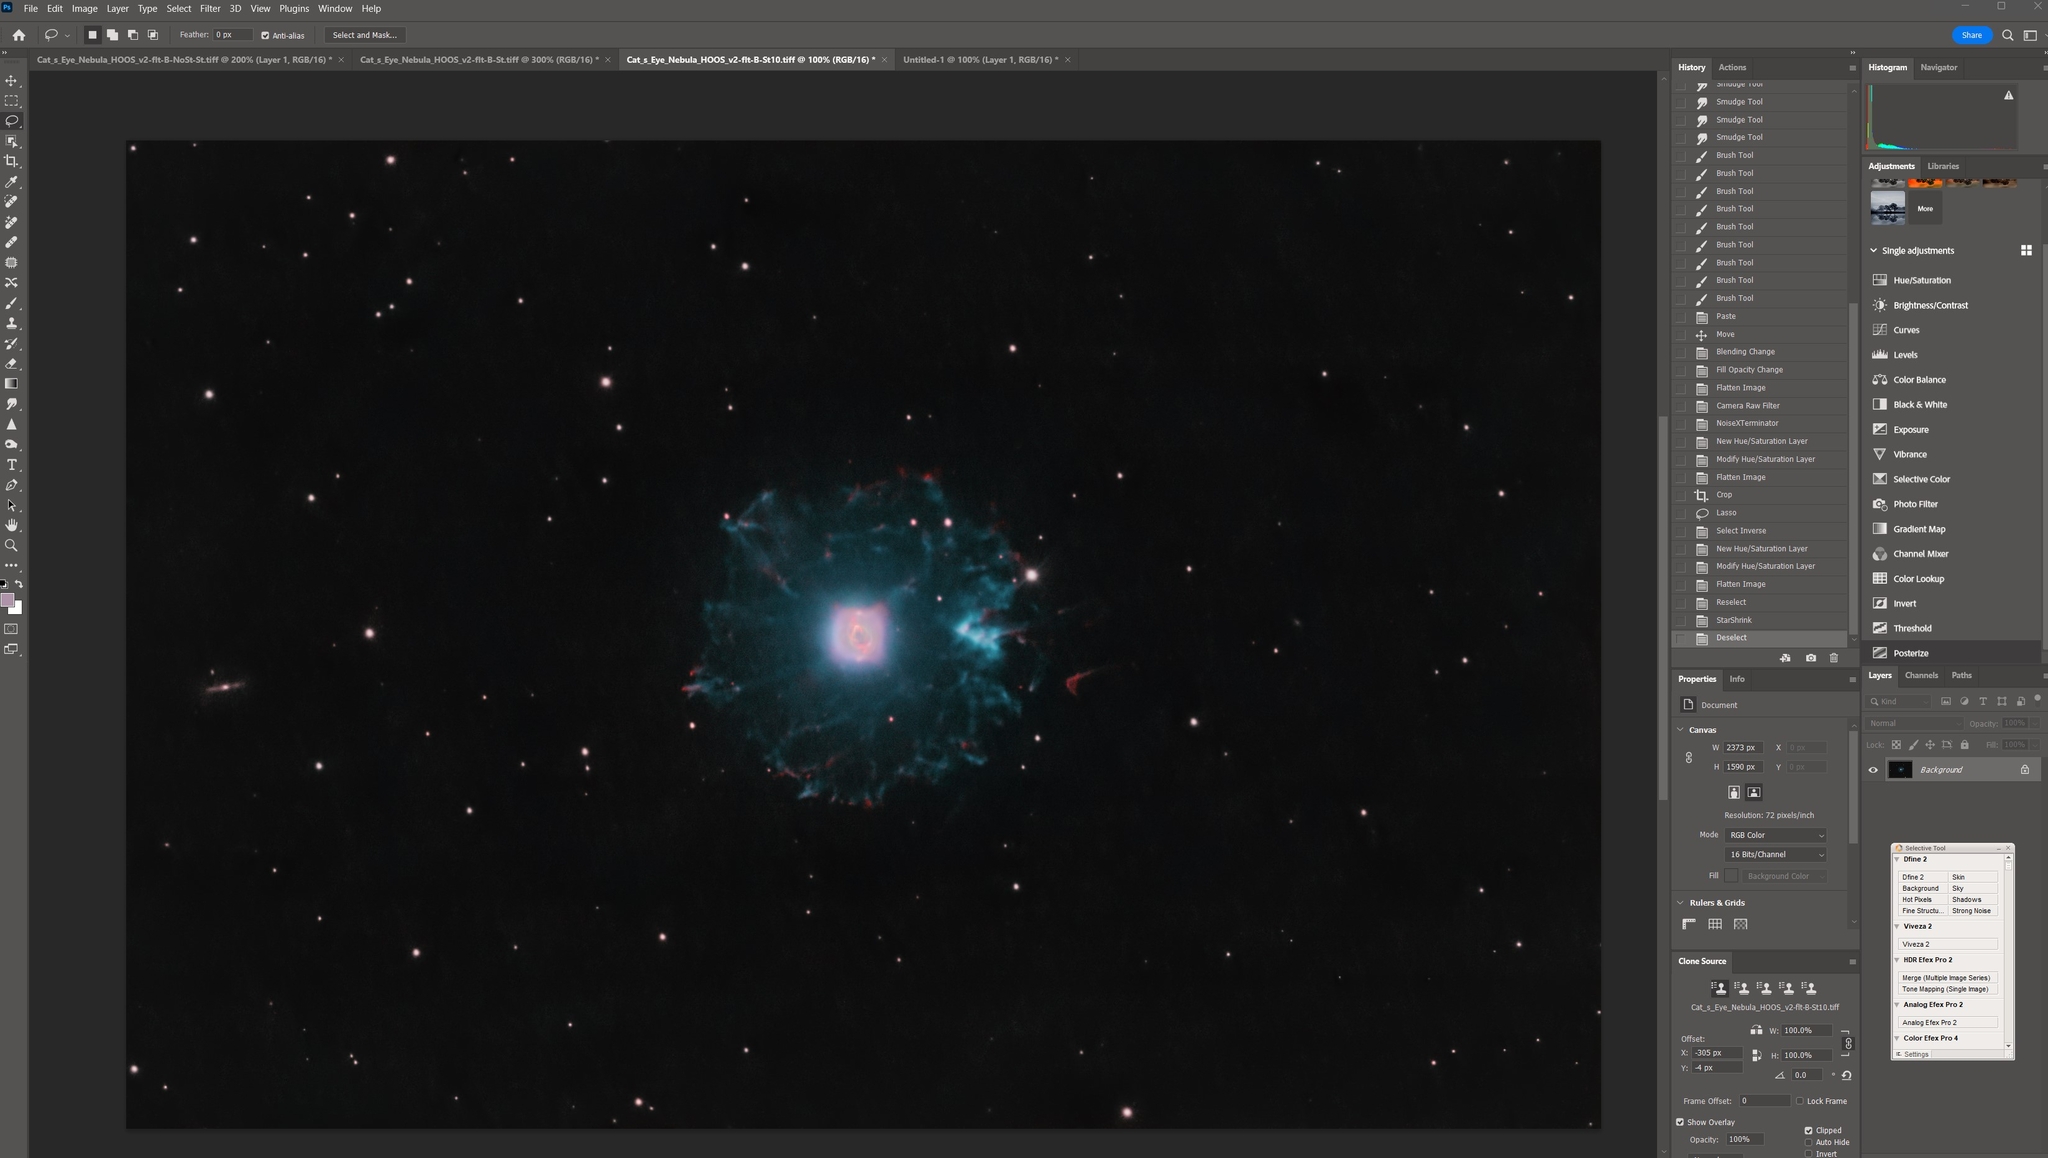
As you can see at this point we have an image that doesn't contain loads of noise and also has a background that can be worked with. Now is the time to go work on your no stretch version so you can work out the core of the nebula. I blow the view way up and work on it some, then use the lasso tool to copy out what I am going to use. Notice I have it at 300%, so it will look soft, and since I did incremental curve stretches anything outside the core is going to look strange. This is to be expected unless you use levels to correct your histogram Since I was going to discard everything else in the image I did not do those corrections.
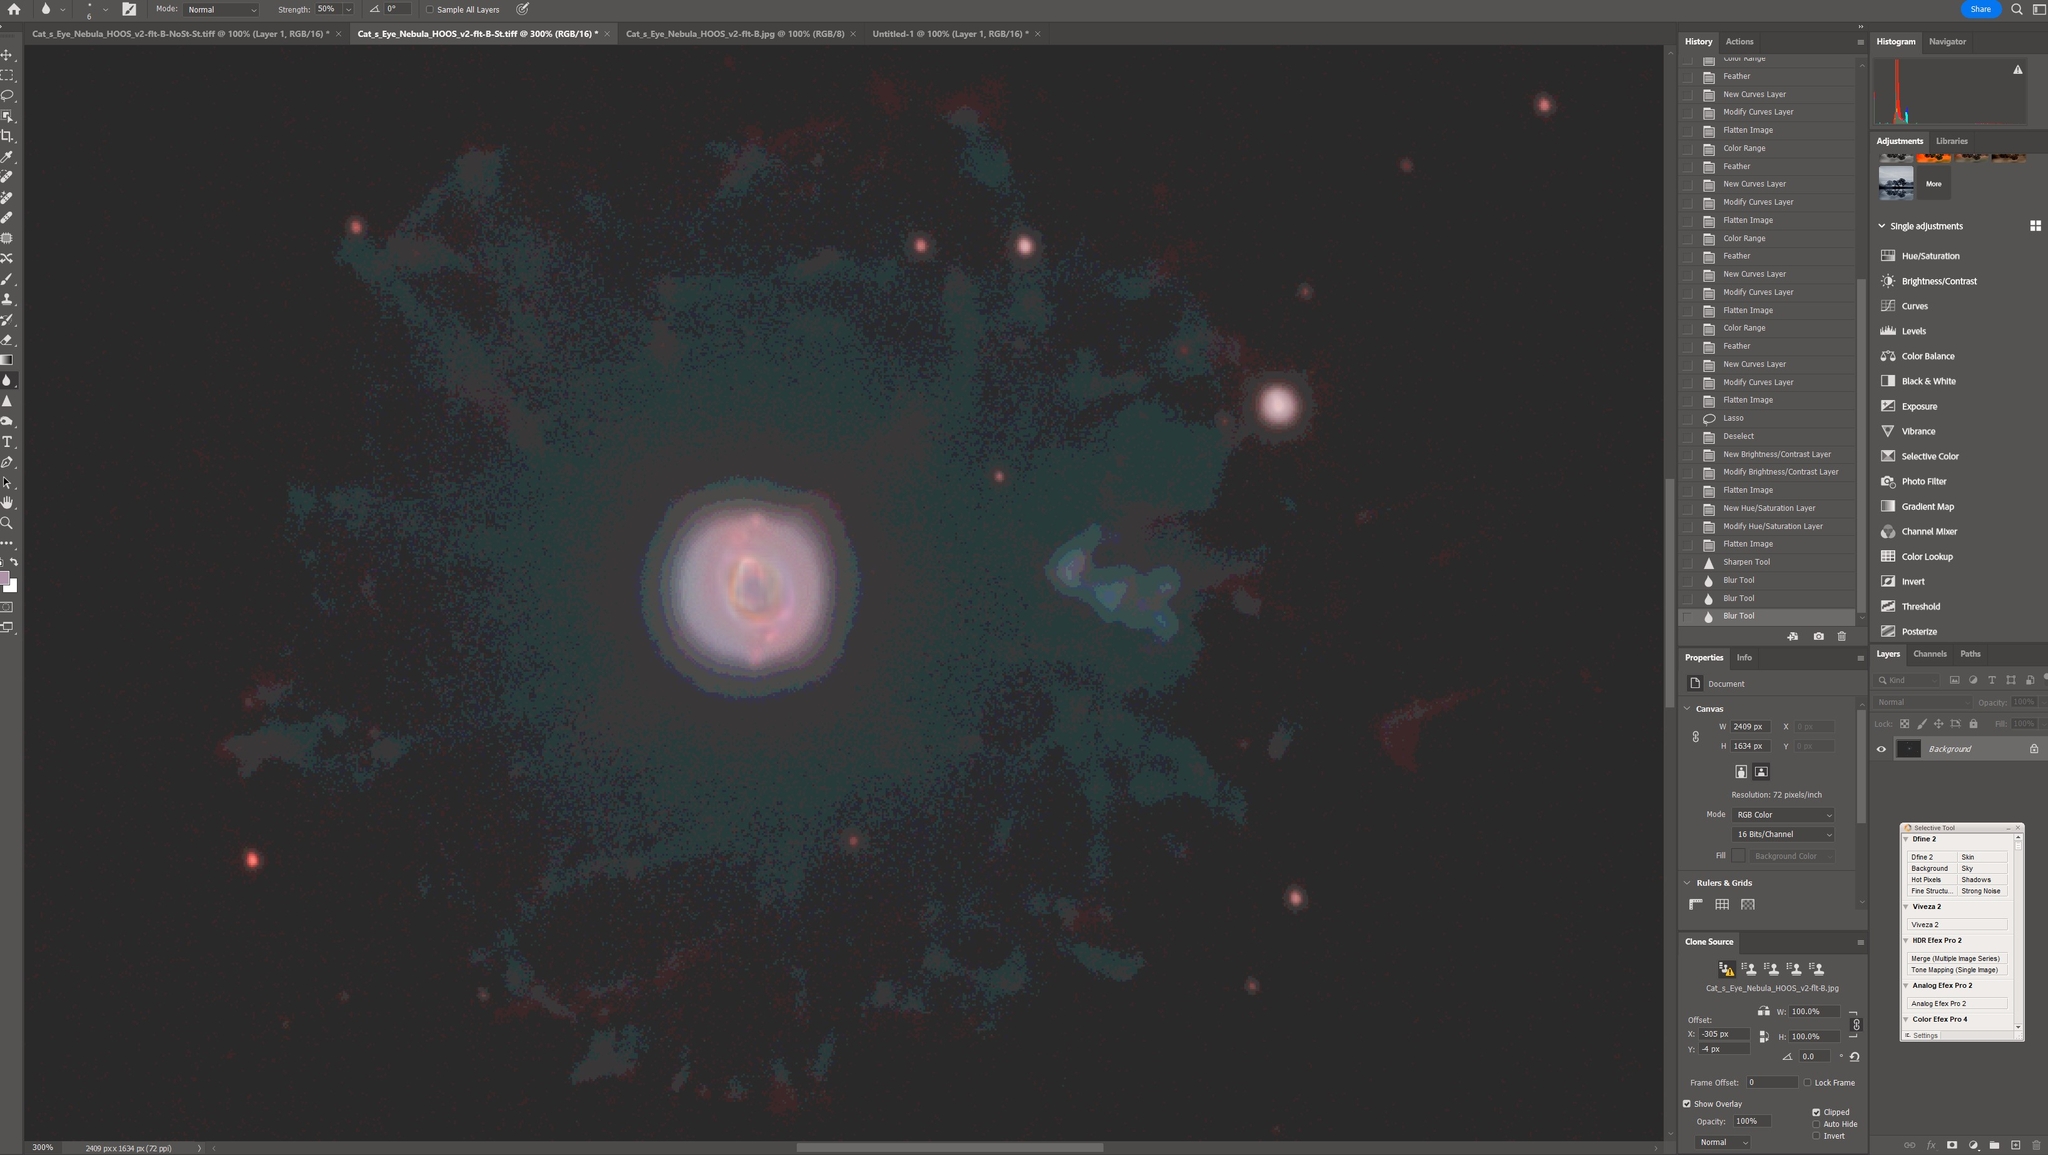
After I use the lasso tool to copy out what I want I paste it back on the other image, then normally set that layer as a lighten layer, lighten color layer, or an overlay layer. For this one I did it as a lighten layer because I pulled the center of the original one back pretty far and left this one pretty muted. You can also play around with the opacity and fill sliders to get what you like. At this point you're simply setting it to what you think is pleasant.
At this point you finish the photo to your taste. You may need to run a light amount of noise reduction to get some of the induced noise out of the nebula. You can also adjust colors, the stars, etc. as finishing touches. One thing I have found that helps a little with images from SPA-2-CMOS is as a last step before you change it to an 8 bit image and save it as a jpeg is to reduce the size of the image slightly. I generally reduce it to somewhere between 70% and 80% of the original size using Image > Image Size, and then set the height and width to whatever percentage, then leave the resample on automatic. This ends up giving you a finished image that is slightly sharper without introducing noise.
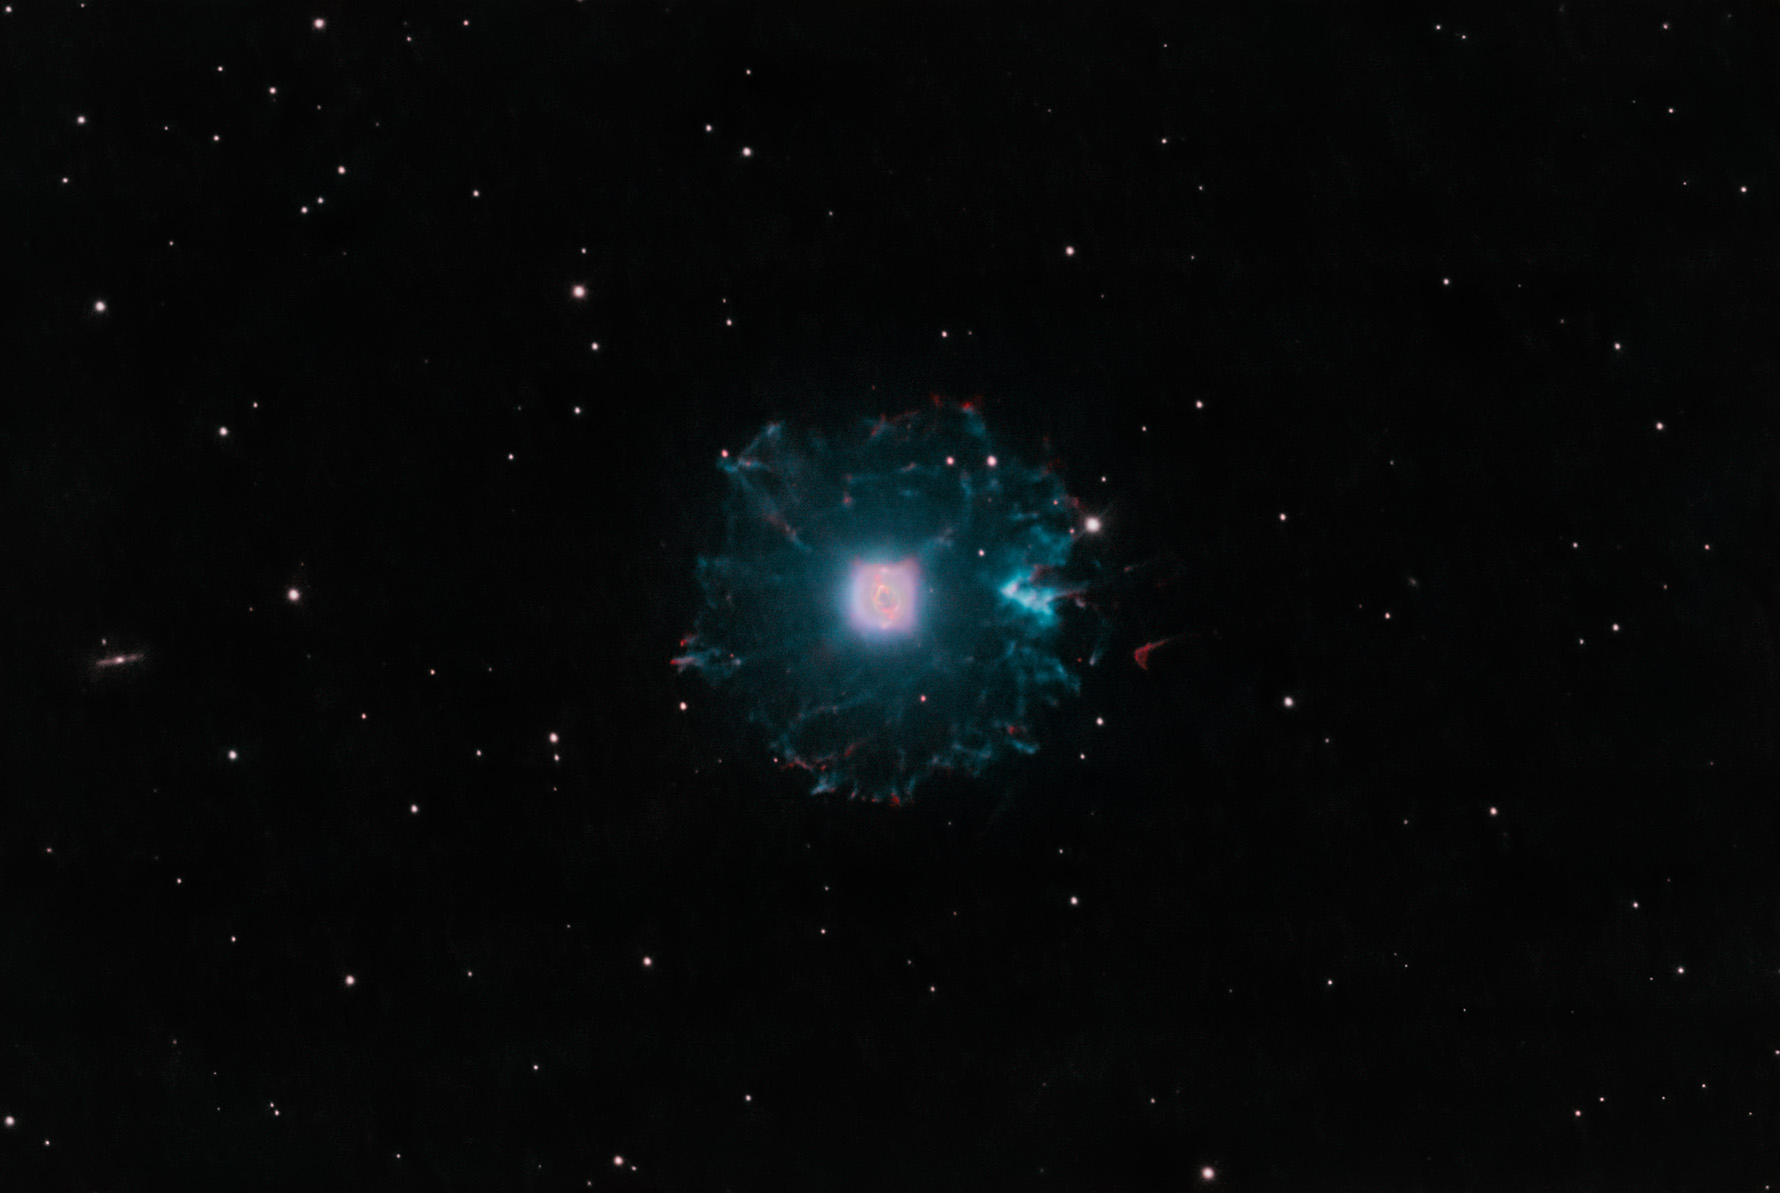
As you can see this data is definitely usable, but only if you have some patience and are willing to work it some. My recent advanced request for Abell 39 was one I also used this technique on for background noise reduction. Go ahead and give it a try on some of the latest SPA-2-CMOS data and I think you might like what you can get out of it.