Setting Telescope Back Focus

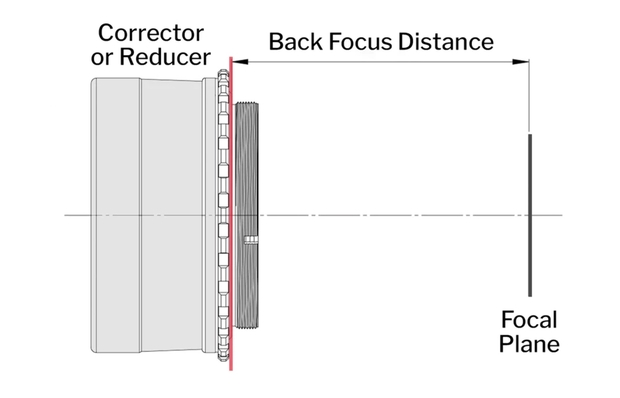
The back focus for your telescope imaging train is the measured distance from the last optical component at the back of the telescope, whether it’s a coma corrector or field flattner / focal reducer and the focal plane of the telescope where the camera detector is. Determining this distance can be a tough issue for imagers to get right and the distance depends on what optical tube camera combination you have. It is crucial to get this measurement correct as your corrector is designed to be optimized a set distance from the optical focal plane. If you don’t get it right, your images will have problems with misshaped stars usually off from the center of the image that are very noticeable and can not be corrected in post processing.
First, you’ll need to understand what the manufacturer’s recommended back focus spacing is for your telescope, the corrector accessory (coma or field flattner) and the camera. This will be spelled out in the manufacturer’s specifications. The common industry standard is 55 mm, but check your particular equipment; a notorious example is that for Astro-Physics refractors, you need to contact them and have them provide you the specific back focus recommendation as I did for my 130 mm Starfire f/8 refractor; it was NOT 55 mm.

Note: If you’re attaching to a DSLR, usually the focal plane is in the body of the DSLR and is already set to 55 mm and you do not need to make any adjustment. However, if your DSLR has a different distance, you’ll need to make an adjustment with a longer or shorter T-Ring attachment.
As you connect your CCD or CMOS camera to the imaging train, be mindful of any devices you have between your corrector and the camera such as filter wheels, filter drawers or an off axis guider. The width of these objects will fill in the back focus spacing and any remaining distance to account for the 55 mm measure will need to be taken up with spacers. If you don’t already, head to your local astro shop and get an assortment of spacers at different sizes and threads (M42 and M48) to use. You can never have too many different spacers, especially at 1mm. You will also need to invest in a digital caliper to use to take your measurements and check your back focal distance and be as precise as possible.
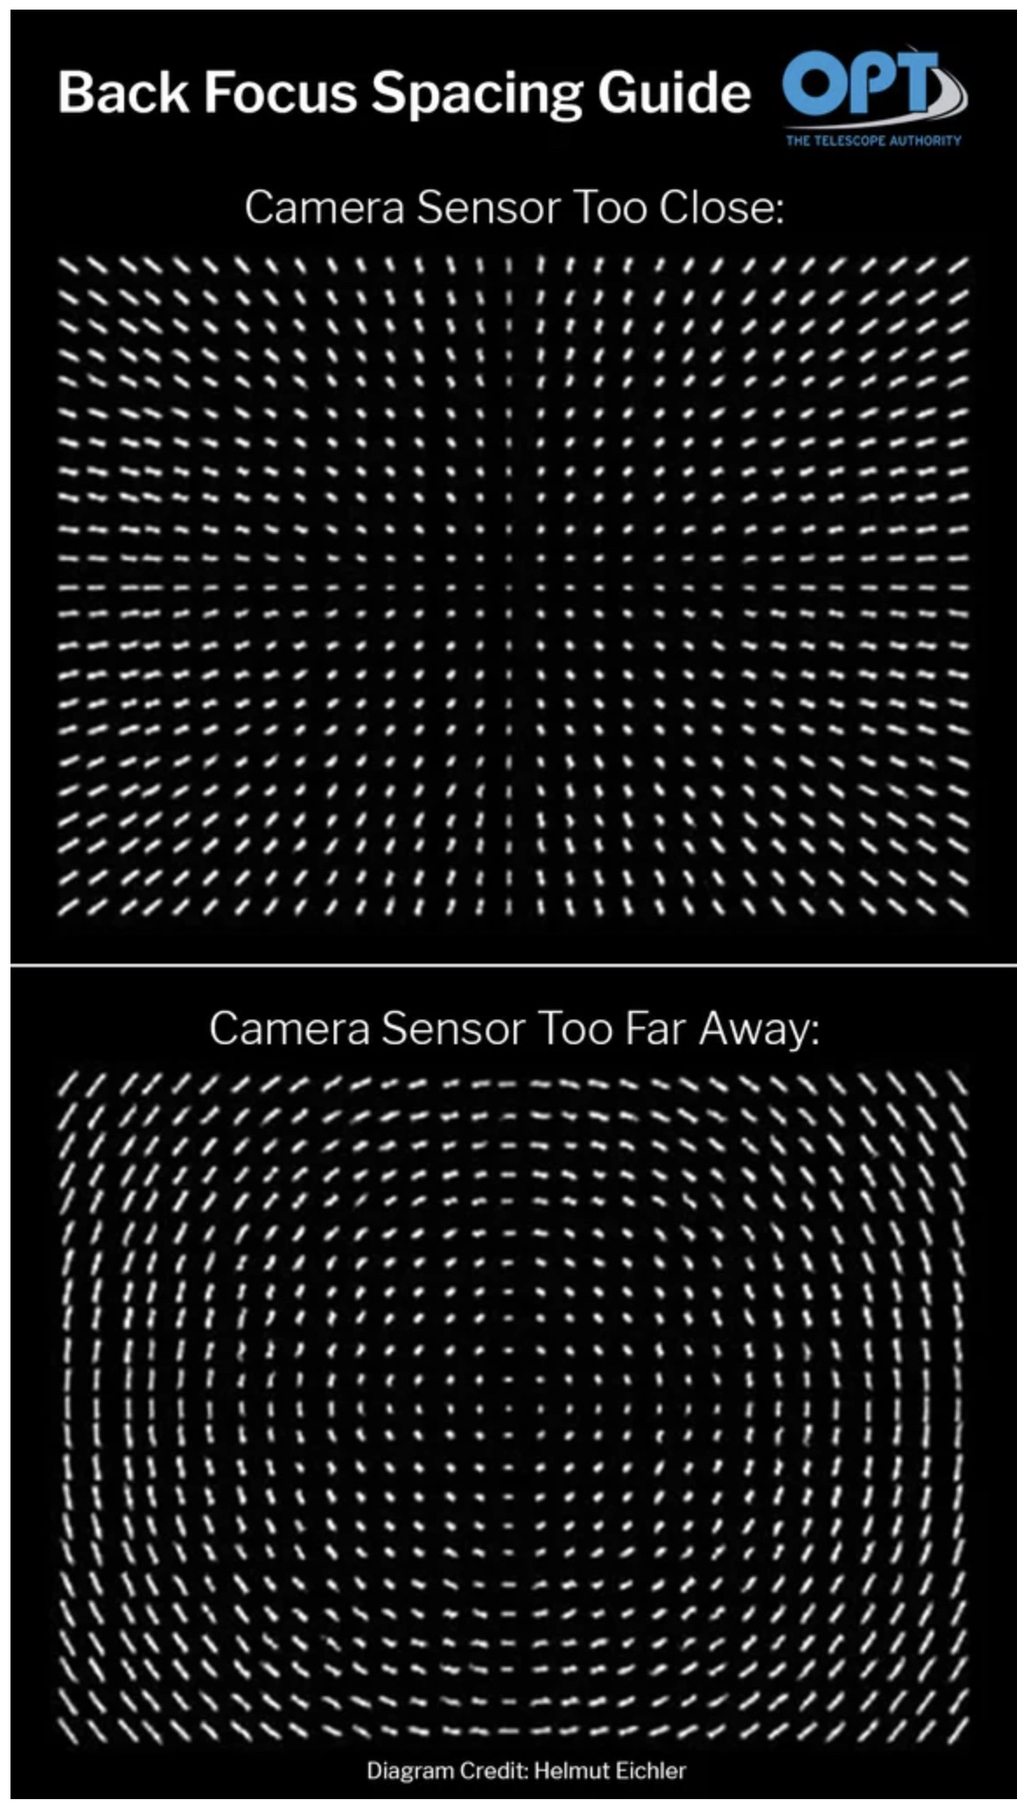
After you think you have things set up with the correct spacing and you begin taking images, you can check to see if your spacing is correct or not. Below are the indications whether your spacing is too much or not enough.

Clear skies….
Image Credit
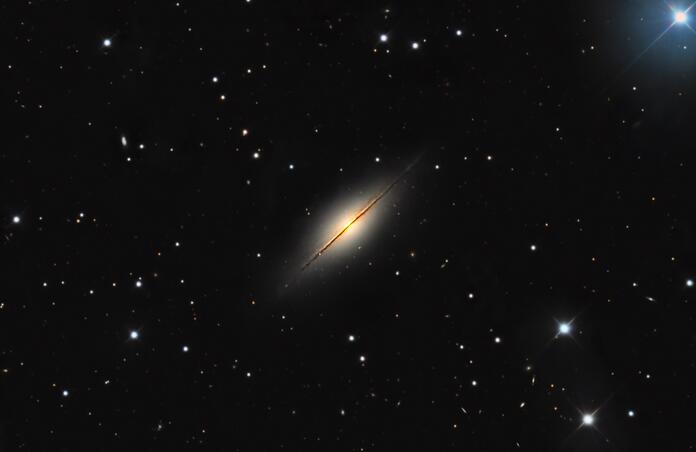
NGC 7814 Advanced Request
