Starnet++ GUI for WIndows - An Easy Way to Remove Stars

I occasionally try out different software to see if anything can make my workflows better for astrophotography processing, and I decided to try out the Starnet++ standalone app for Windows computers since it has a GUI and looked like it would be pretty easy to use.
As some of you are aware, when I process images with a lot of dust or with nebulae, especially the faint stuff, I like to use a starless image to push the background stuff without blowing out stars and galaxies. I pretty well always use Photoshop when I do this too. Unfortunately there is only one direct plugin that removes stars, and while it is good, not everyone is able to purchase it. This is where Starnet++ comes in.
You can get it from here: https://www.starnetastro.com/download/
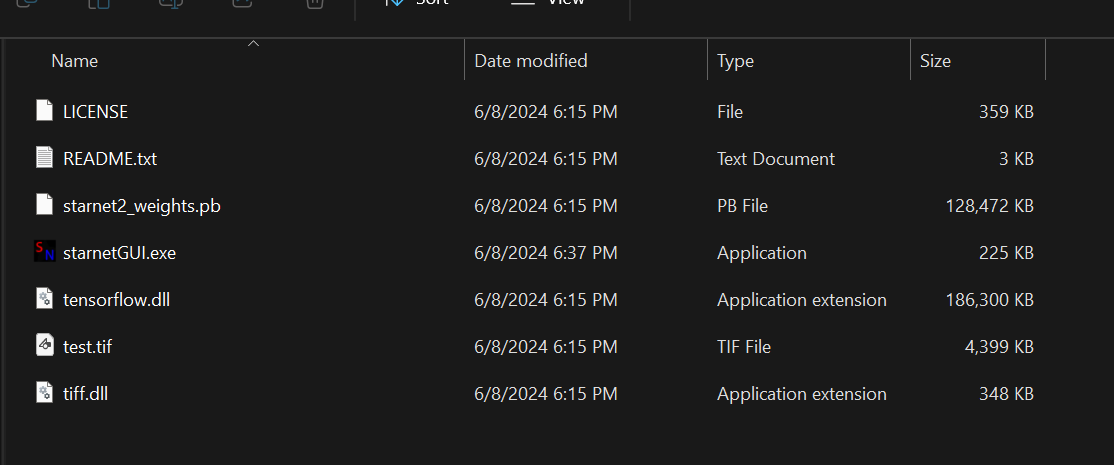
Make sure you go to the bottom of the page past the PI plugins and the CLI versions if you want to get to the Windows GUI version. Download it, unzip it, and you should see the following in the folder.

This has the everything you need to use it as a standalone. Make sure to take a look at the readme.txt file since it does have some important information for you in it. It even has test data so you can make sure it works too.
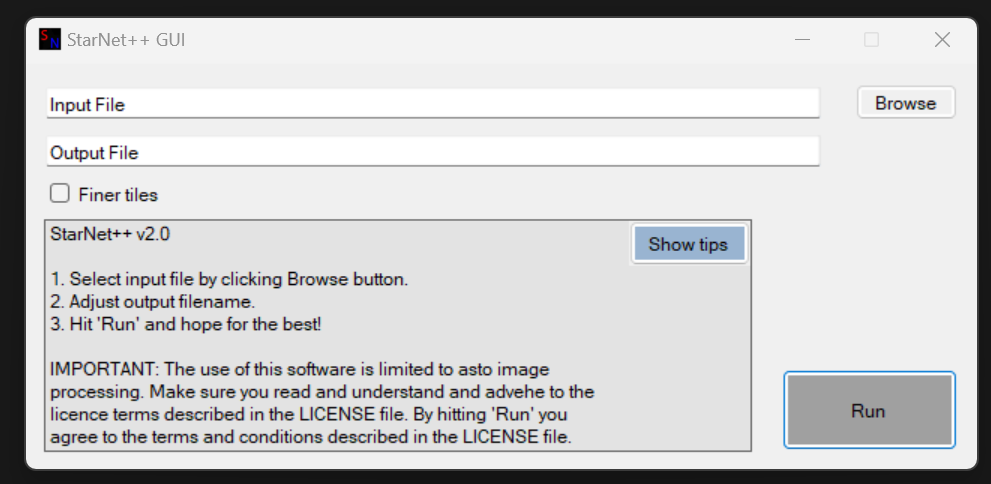
After you have followed the directions you should be ready to use it. It honestly is almost self explanatory. 16 bit tif files are the only ones supported, which if you are using Photoshop is perfectly fine since that is the best to use in Photoshop.

To use my technique for processing nebulae and dust you will first need to make a copy of your 16 bit tif and then rename it something like "starless layer" and then run it through StarNet++ and when done you will have a nice starless working layer.
Now open the original and lightly stretched version and the starless version in Photoshop or your favorite photo editor. Do your heavy stretching and enhancement on the starless image. Make sure to clean up any residual star light and do any noise reduction you need to do. After you finish this paste this over your star layer and change the layer type to either lighten or screen (be careful with screen because it can easily blow things out or add too much noise) if using Photoshop. Then use the fill and opacity sliders to get what you want with it.
There you have it, a nice, free, and very easy to use method of removing stars from an image as a stand alone application. I would like to give a shout out to Mikita (Nikita) Misiura for putting in the time to make this available for free.
