Understanding Calibration Frames

When you take your deep sky astro images, they contain not just image data on the target you selected to image, but they also have a lot of unwanted data that you don’t want. The additional unwanted image data is generally in the form of noise of all types, amp glow, dust, vignetting and artifacts and other imperfections that will have a negative affect on the quality of your final image. To combat this, we use calibration frames to make corrections to these problems so that our final image has a very good chance to be a high quality image. There are 4 types of calibration frames that we need to use: Darks, Bias, Flats, and Dark Flats.
Dark Frames

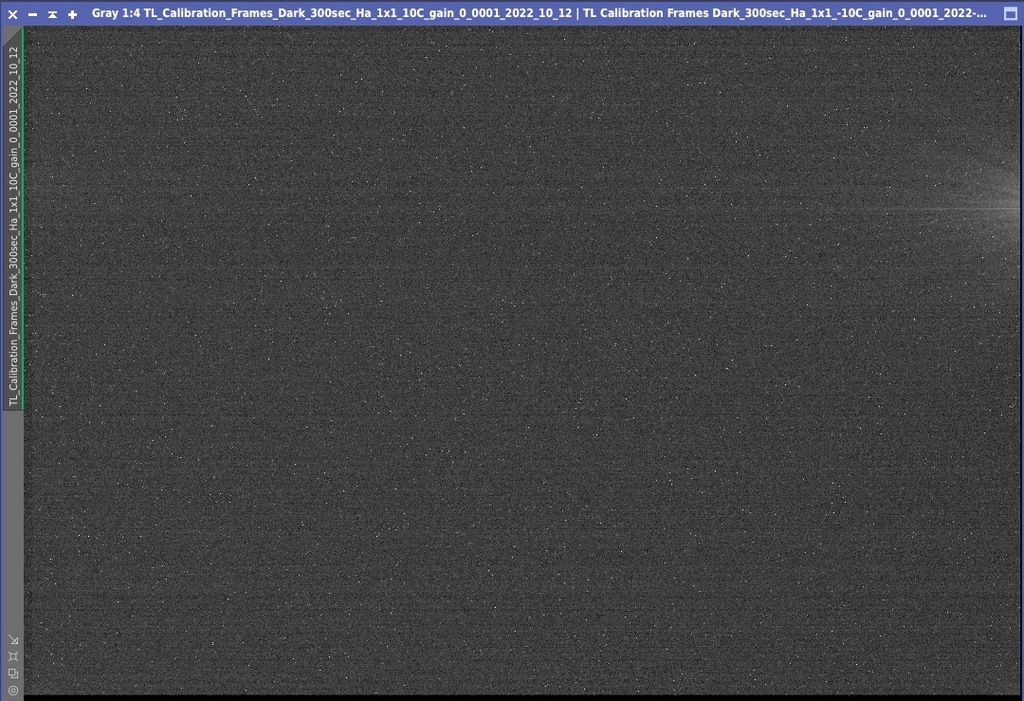
Dark frames are used to correct for hot pixels on the image sensor and sensor heat noise, which includes any amp glow from the sensor. These problems will show up in your images if they’re not accounted for and processed for removal. Dark frames are very easy to acquire; the key is that you must match the sensor temperature, gain, offset and exposure time that you took your light frames at. You then simply cover the telescope aperture completely and take roughly 30 to 50 sub exposures at those settings. After you’ve taken all the exposures you need, you then stack and integrate the sub exposures into a single master dark file that you will use to calibrate your light frames.
You should create a library of these types of sub exposures, using different exposures times and sensor temperatures that you can use on later projects. You should also retake dark frames and refurbish your dark library about every 3 to 4 months. The reason is that hot pixels on the sensor can change over time; the darks you used previously may not be accurate with where hot pixels are now. If you calibrate your light frames with old dark frame data, you could wind up with artifacts in your images.
Bias Frames
Bias frames are very similar to dark frames, except that the length of exposure you use to acquire them is as short as your imaging camera is able to take them. Bias frames are used to calibrate out the sensor camera’s readout noise. As electricity flows through your camera to take the image, there is signal noise from the electricity used to do this. The requirements to take bias frames are the same as taking dark frames except that the exposure time is usually 0.1 seconds or less. Again, 30 to 50 of these kinds of sub exposures should be taken, stacked and integrated into a master bias file.
Flat Frames

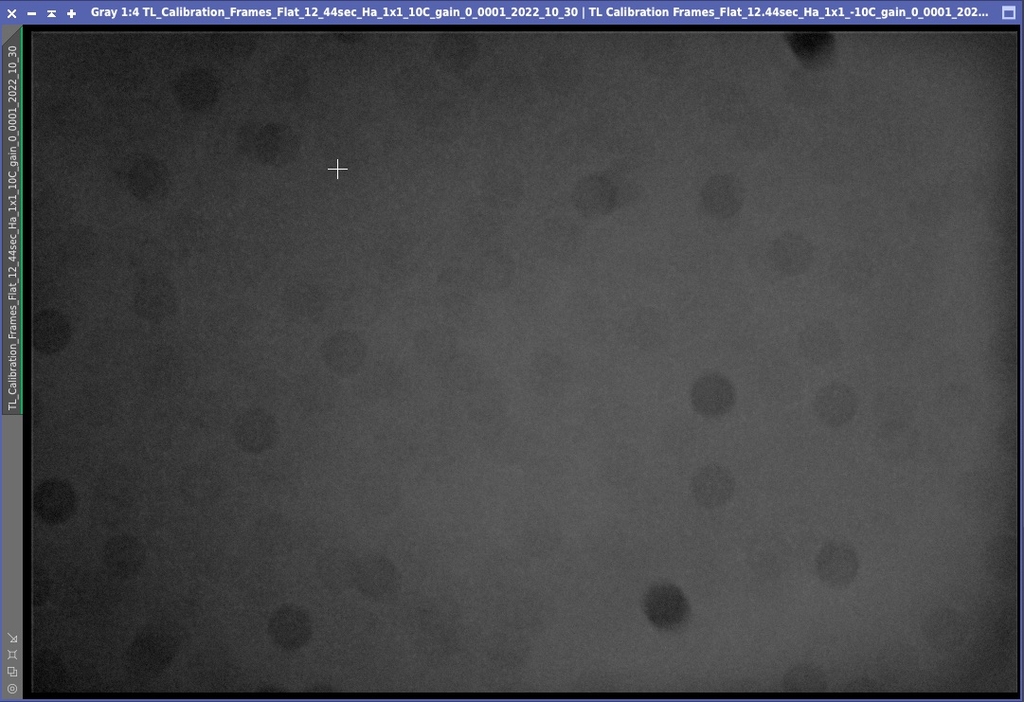
Flat frames are the calibration frames that keep us up at night. These are used to address vignetting, dust and other particles that get in all parts of the imaging train, such as focal reduces, coma correctors, field flattners and of course the image sensor itself. What this also means is that for these calibration frames to be effective, you must not break the image train between the time you take the image light frames and the flat calibration frames for these light frames.
You should take these frames as soon as possible after you take the light frames. Also, be careful you do not bump or disturb the image train before you shoot the flats. Doing so could disturb the dust or particles just enough so that the flat frames you take won’t be correct for your light frames anymore.
To take flat frames, you will need to use an evenly illuminated light source. This is done either with an artificial light source or in the very early morning using indirect sunlight with a T-shirt covering the telescope aperture. This is one of the reasons flat calibration frames are not easy to properly capture. As with darks and bias frames, you need to use the same temperature and gain / offset or ISO as your light frames. You also need to set a median ADU value or the midpoint of the camera’s histogram. The ADU value will depend on whether the camera is 16 bit, 14 bit or 12 bit. Meeting this condition and the level of light illumination will determine the exposure time you will need to use. Additionally, if you use a monochrome camera with filters, you will need flat frames completed for each filter that you used to image the target. For one shot color cameras, you only need one set of flat frames for this. Again, you should shoot 30 to 50 sub exposures for each set of flat frames. You will then stack them into master flat frames to be calibrated with your light frames.
Flat Dark Frames

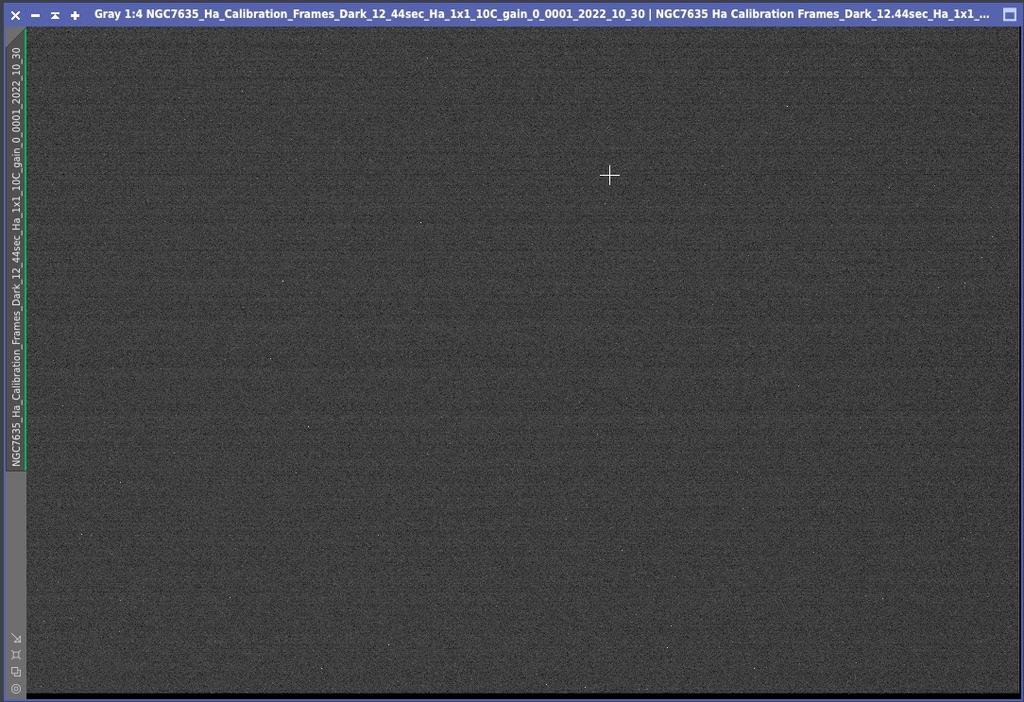
Some image sensors, especially CMOS sensors will have problems with very short exposure times. For these devices, bias frames will not be usable and generally will make things worse instead of better. Flat Dark frames are the calibration frames to be used instead. These are flat frames taken with the cover over the aperture as you would with dark frames. The same flat calibration rules apply for taking flat darks except that you do not use a light illumination source. Again, these exposures will then be stacked into master flat frames to be calibrated with your light frames.
Stay safe and Clear skies….
Image Credits:
Dark Nebula Complex - Telescope Live 1-Click Observation Data, Processed with PixInsight by Reggie Jones - https://app.telescope.live/click-grab/all?target=dark%20nebula%20complex
