Understanding Image Stacking

Novice astrophotographers should have a solid understanding of how image stacking works. One of the best sources I’ve found for gaining astro imaging information is the magazine Sky & Telescope; they take the time to explain basic observing or imaging techniques and I’ll not only learn new things I wasn’t aware of before, I’ll also have my misunderstandings and misconceptions corrected. Such is the case here on image stacking in an article Richard S. Wright wrote a few years ago explaining image stacking. I won’t repeat the information contained in his column here ; I strongly recommend you read it fully yourself and I will try to summarize some of the main points I learned from the article.
First, shot noise in low light images is noise you have when you’re missing data in your image because your detector isn’t capturing enough light from the imaging target. The solution to this is to capture more light, either by increasing the aperture of your optical tube, increasing the exposure time you’re using to take sub exposures or both.
Second, the light you’re trying to capture is signal and it is the quantity of this light that we’re trying to record. Additional exposure time doesn’t create better images; only capturing more light does. Depending on your equipment, you will always get some amount of shot noise (and other types of noise) with the signal you get. The key is that the more signal you can get, the less of an impact the shot noise will have on your image. Basically, this is improving the signal to noise ratio which is ultimately the key objective we’re trying to accomplish when capturing data.
Finally, stacking your sub exposures doesn’t brighten your target; it improves the signal to noise ratio and allows you to stretch the image when processing it with whatever image processing software you use to get a good, low noise result and hopefully with a lot of detail. Stacking the sub exposures simply increases the total signal of the image.
How long your exposures should be and how many sub exposures you should take are the major questions astro imagers struggle with daily to find good answers. It depends on your equipment, the brightness of your target and the sky conditions. As Mr Wright said in another article on this subject, “Individual exposures need to be long enough that the faintest details you’re trying to capture register enough photons to rise above the floor of your camera.” In my opinion, the key is being patient enough to use whatever target frame and focus feature you have with your imaging capture software and get a sense what may or may not work for that target, that night. Also keep in mind that the longer your sub exposures are, the more risk you have of an airplane or satellite moving across your image and leaving a trail. Last, if you have a lot of skyglow or light pollution like I have when I image from my inner city residence, this will introduce unwanted gradients into longer sub exposures that you’ll need to deal with in post processing.
Image Credits -
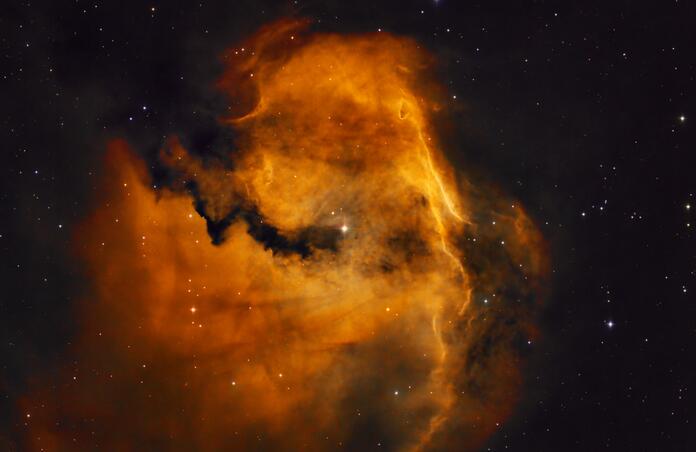
IC 2177, the Seagull Nebula - Narrowband; Telescope Live data taken on CHI-1, Processed in PixInsight
