Using the Hue/Saturation tool in Photoshop in Astro Processing


Sometimes after doing everything we can on an image it just doesn't seem to quite get there. Maybe your Ha regions are too pink. Maybe your blue reflection nebula looks okay, but your blue stars look like eye bleeding over saturated blobs. Maybe you want to bring up the subtle cyan color, or get those overcooked orange stars back under control. In Photoshop you can do all of that simply by using the Hue/Saturation tool on a stretched image.
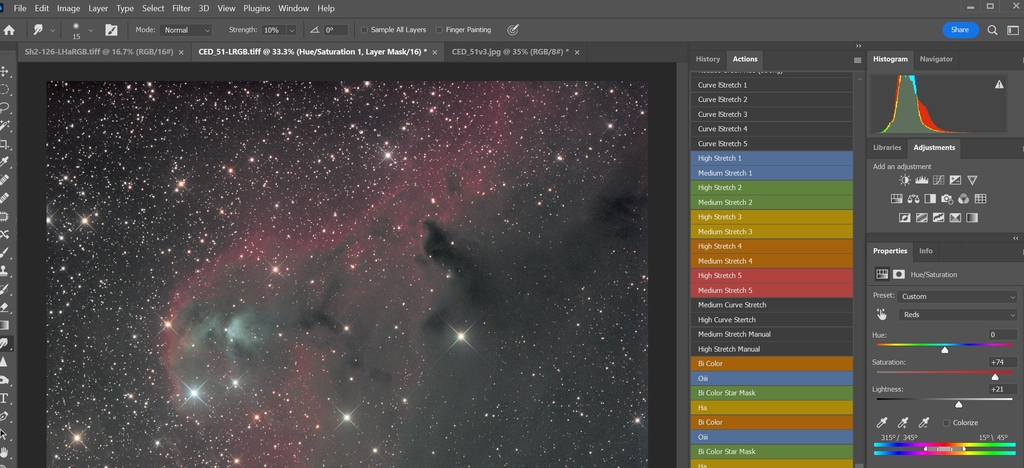
First you will do most of your stretching on an image and when you get things near where you want them to be, but what better colors, that is when you open up the Hue/Saturation tool, which I have circled here.

As you can see when you click on it you get various color channels. When I am doing this I mainly focus on the red, yellow, cyan, and blue channels, though I sometimes have to go in and drop saturation and lightness on both green and magenta, but that is to taste. Start with the red at first and then work your way through the other channels, focusing on the ones that you see more of in astrophotos. As you can see in this shot I have made some adjustments on the red channel.
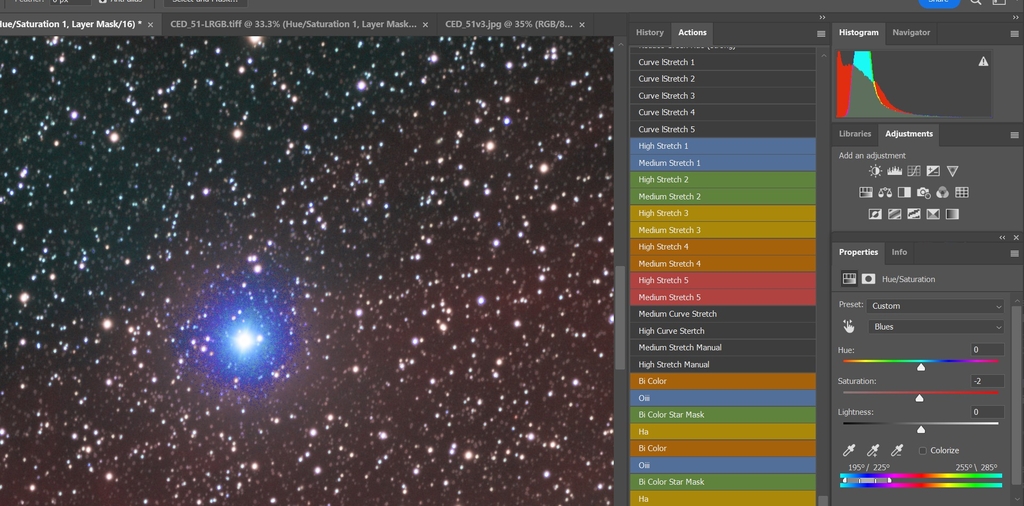
Now on to how you make stars that are overly saturated better. Here is an example of one I pushed the vibrance and saturation on the whole image on. Notice how that blue star looks pretty bad? We can fix that while retaining what we want. First you will use the lasso tool to select the area around the star and far enough out that you will get all of that blue and purple looking mess.
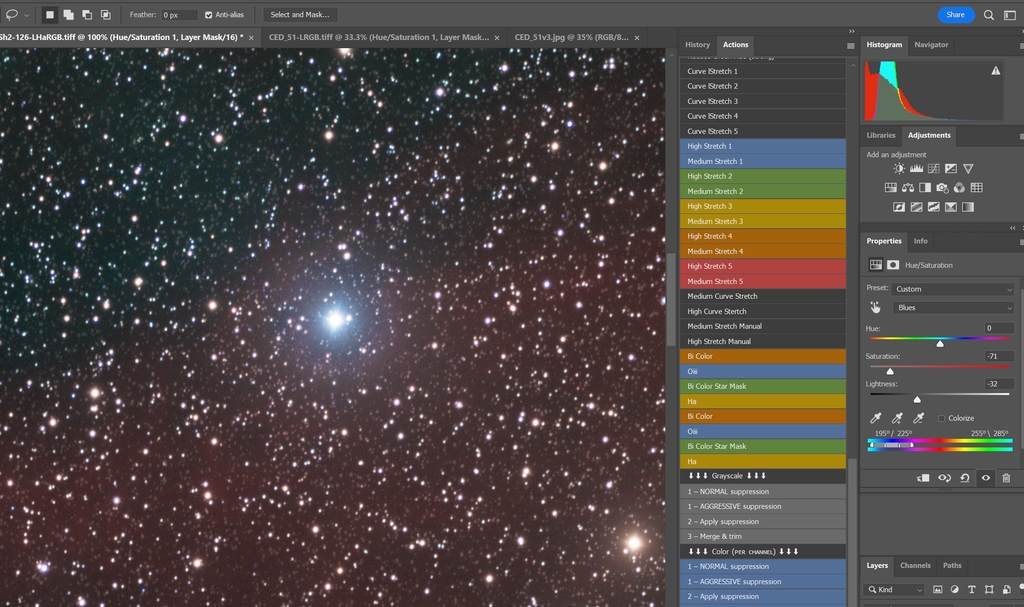
While doing this pay attention to the boundary of your selection because you do not want to make it look artificial. Also, if your image doesn't really have any blue you're trying to preserve saturation in, such as in a reflection nebula or some Oiii, then you can simply do this on the whole image. Notice the difference between before and after on this star. You may need to go in and make minor adjustments on other channels to get it where you want it to be, but the blue channel took a lot of the problem away.
Now you know how to use the Hue/Saturation tool to make a big difference in how your image looks. Speaking of images, here is the main image I used for this, CED 51 and you can get it here: https://app.telescope.live/click-grab/all?target=Cederblad%2051%20in%20Orion
This blog post was originally published in our Telescope Live Community.
The Community represents Telescope Live's virtual living room, where people exchange ideas and questions around astrophotography and astronomy.
Join the conversation now to find out more about astrophotography and to improve your observation and post-processing skills!