New Tutorials
Our tutors
Most Popular
All Tutorials
Mastering Broadband: A Comprehensive Photoshop Processing Guide
In this three-part tutorial series, Telescope Live tutor Peter Jenkins walks you through the entire process of enhancing the M51 galaxy using only Photoshop (data stacked in a free software - Deep Sky Stacker). Each part focuses on a crucial aspect of the workflow:
Part 1: Stretching and Cropping Basics
-Learn how to stretch, crop, and adjust the levels of the RGB and luminosity images.
-Set up a consistent crop across all image files.
Part 2: Color Balancing and Sharpening
-Fine-tune color balances to match the RGB channels.
-Apply sharpening techniques and use a layer mask for selective sharpening.
Part 3: Integrating Luminosity and Final Adjustments
-Integrate the luminosity layer to enhance detail.
-Perform advanced color corrections and final adjustments to bring out the galaxy's intricate details.
This series will equip you with the workflow to process any galaxy using Photoshop alone, however, this tutorial will also give you the necessary tools to process any other broadband dataset with ease.
Advanced Galaxy Processing With SIRIL
[ Standard ]
Advanced Galaxy Processing With SIRIL
In this tutorial, Telescope Live Co-Founder Alexander Curry will guide you through some advanced and complete processing of a galaxy using SIRIL. Alex will guide you through all the steps necessary to process any galaxy using SIRIL. This tutorial will begin from post-stacking and will cover 3 sections and is suitable for intermediate users as it will continue from some already established concepts from the SIRIL beginner series.
This tutorial will cover:
Part 1 histogram transformation, colour calibration, star removal and further processing of the RGB layer
Part 2 processing of the luminance layer and the creation of the LRGB composite
Part 3 re-introduction of the stars (including some processing steps for the star layer that you may wish to consider) and the final touches
Photoshop Emission Nebula Masterclass
[ Premium ]
Photoshop Emission Nebula Masterclass
In this tutorial by award winning astrophotographer and Telescope Live tutor Peter Jenkins, he will show you step by step his processing of the emission nebula - The Skull and Crossbones Nebula. This tutorial covers the entirety of the post-processing in Photoshop after stacking in your preferred stacking software.
This tutorial is broken down into 6 digestible parts covering a variety of intermediate post-processing steps. Peter will guide you through the initial stretching, star removal, colour calibration in the Hubble Palette, recombination and finishing touches which can be applied to any emission nebula.
Photoshop Mastery in Astrophotography: A Guide on Advanced Editing & Color Techniques
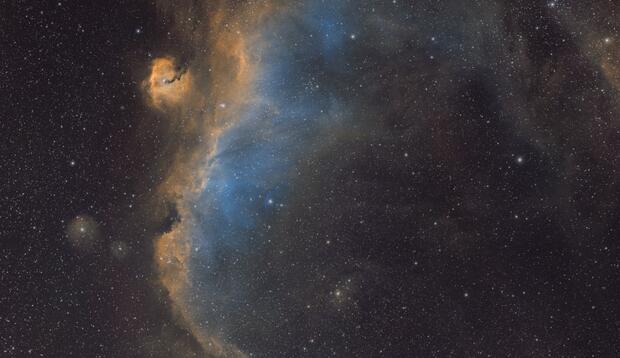
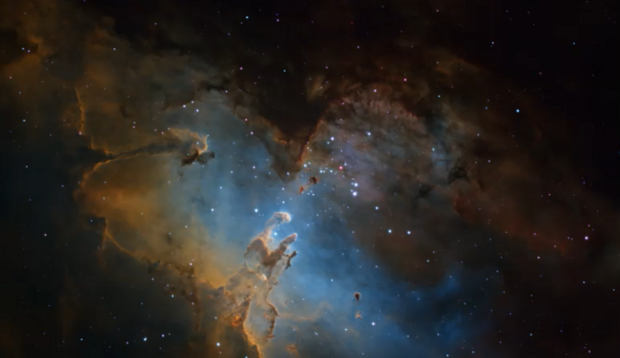
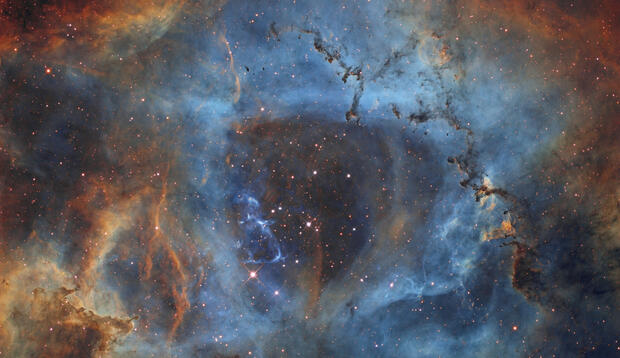
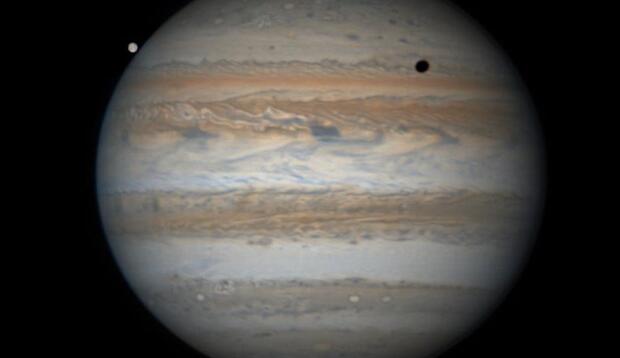
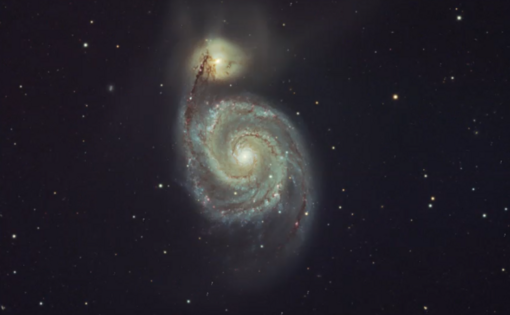
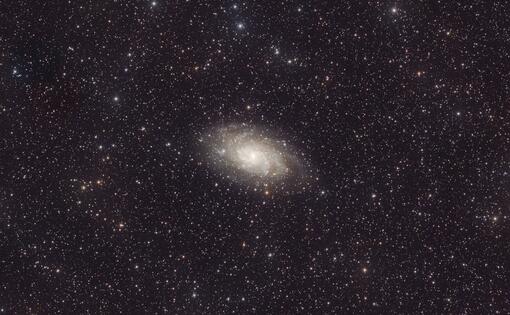
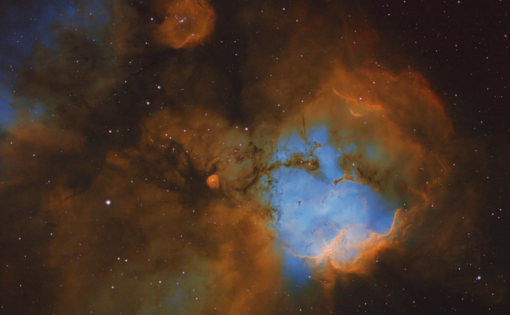
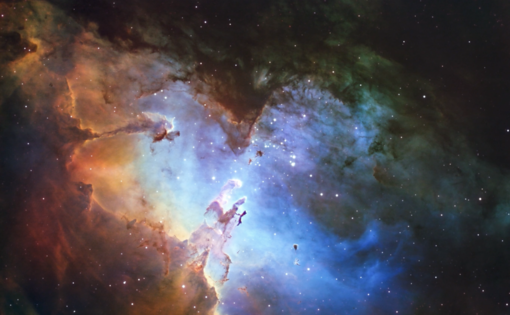
In this comprehensive 5 parts tutorial, Ryan Voykin guides you through advanced astrophotography processing in Photoshop. Starting with a stacked RGB image, he delves into essential Photoshop techniques like masking and non-destructive adjustments. He introduces the Camera Raw tool, highlighting its importance for astrophotography edits. Ryan emphasizes color editing and calibration, using the Colour Mixer for precise control and discussing the Color Grading tool. He navigates through Camera Raw's final tools, offering tips on selective color adjustment. The tutorial culminates with Ryan demonstrating third-party plugins for sharpening and noise reduction and advanced masking for star isolation, concluding with advice on image saving and sharing.
Part 1: The Fundamentals
Starting from a stacked and RGB combined image, Ryan will bring you over to photoshop and discuss some of the fundamentals that will be required within the tutorial, particularly masking, adjustment layers and non destructive techniques.
Part 2: Exploring Camera Raw
Getting started with Photoshop, Ryan will introduce a powerful tool that is only available in Photoshop, the camera raw tool. Ryan will walk through each of the key editing tools within the camera raw tools, and which ones are best used with astrophotography.
Part 3: Mastery of Color Editing
Remaining in the camera raw tool, Ryan will demonstrate one of the most important factors of astrophotography, colour editing, and how the Colour Mixer tool gives you great leverage over your image. Ryan will also touch on the Color Grading tool, which can also be a useful tool to adjust the colour palette of your image.
Part 4: Advanced Color Adjustment
Continuing in Camera Raw, Ryan will cover the final set of tools in Camera Raw and demonstrate when it's appropriate to use them. Continuing with some more colour adjustment work using the selective colour adjustment layer. Ryan will give you his creative insight into colour adjustment and calibration using a variety of adjustment layers.
Part 5: Finishing Touches
Moving into finishing touches, Ryan covers the use of various 3rd party plugins for sharpening and noise reduction. Ryan also covers some more advanced masking tools to isolate your stars and other features that may not require sharpening. Finally Ryan will cover the saving and sharing of your finished image and the various formats you may wish to use.