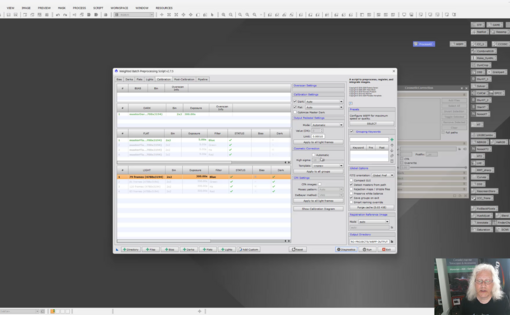
Our tutors
Most Popular
All Tutorials
Hybrid Processing Masterclass of M16 with PixInsight and Photoshop
In this six part hybrid processing tutorial, Telescope Live tutor Peter Jenkins, demonstrates the step-by-step workflow for processing an image of the Eagle Nebula (M16) using both PixInsight and Photoshop. Key steps covered include:
Data Preparation in PixInsight:
- Learn how to register, align, and crop Hydrogen Alpha, Oxygen III, and Sulfur II data using PixInsight’s dynamic crop tool.
- Use powerful tools like Blur Exterminator and Noise Exterminator to enhance image clarity and reduce noise before going non-linear.
Star Processing and Channel Combination:
- Explore how to handle star removal with Star Exterminator and create color-matched stars from Hydrogen and Oxygen data.
- Combine the data into the Hubble Palette and adjust the color balance using Narrowband Normalization and SCNR processes.
Final Enhancements in Photoshop:
- Discover Peter’s preferred method for fine-tuning color and sharpening nebula details, while reintegrating stars in Photoshop.
Stacking and Enhancing One-Shot Colour Data in Affinity Photo
In this tutorial, Telescope Live tutor James Ritson provides a step-by-step guide on stacking and editing one-shot colour (OSC) astrophotography data in Affinity Photo. He covers essential techniques for creating a clean and vibrant image, including:
Setting Up the Stack:
- Learn how to add light, dark, bias, and flat frames to Affinity Photo’s astrophotography stacking workspace, and configure settings like Sigma Clipping to remove artifacts.
Post-Stacking Adjustments:
- Discover how to apply levels and curves adjustments, manage brightness and contrast, and use blend ranges to control highlight details.
Colour Correction and Structural Enhancements:
- Use Affinity Photo’s astrophotography-specific tools to remove background colour casts, enhance clarity, and adjust HSL for targeted colour improvements.
Removing Artefacts with Blemish Blaster in PixInsight
In this tutorial, award winning astrophotographer and Co-Founder of Masters of PixInsight, Warren Keller demonstrates how to use the Blemish Blaster script by Frank Marek (SetiAstro) to remove unwanted artefacts from astrophotography images in PixInsight. This script offers an alternative to the Clone Stamp tool, making it easy to blend away blemishes. Key points include:
Setting Up Blemish Blaster:
Learn how to access and install the script, and prepare your image by removing stars for easier artefact cleanup.
Using the Script to Remove Blemishes:
Explore techniques for selecting blemishes with circular or freehand selections and adjust settings like feathering and opacity for smooth repairs.
Understand when to use this tool versus more advanced options in Photoshop, especially for challenging artefacts.
Practical Tips and Applications:
Warren shares insights on handling various image issues and demonstrates Blemish Blaster's effectiveness in maintaining a natural look in cleaned-up images.
Enhancing HDR with Color Corrected HDRMT
In this tutorial, Warren Keller, Co-Founder of Masters of PixInsight, demonstrates the powerful Color Corrected HDRMT script by Russell Croman of RC Astro. This script serves as a refined alternative to PixInsight’s HDRMT, preserving color saturation while enhancing detail. Key highlights include:
Understanding HDRMT and Masking:
Learn how to use an internal lightness mask and apply the HDRMT process to reveal hidden details in bright areas, such as the core of M42 (Orion Nebula).
Introducing Color Corrected HDRMT:
Explore how this script integrates the HSI color space to retain vivid color while compressing the brightness range, preventing the usual desaturation seen with traditional HDRMT.
Optimal Settings for Best Results:
Warren shares tips on finding the right opacity (or “amount”) for the script to balance detail and color, ensuring a harmonious result.
This tutorial provides a practical guide for using the Color Corrected HDRMT script to bring out both vibrant color and intricate details in your images.